Well, I said this was going to start in late October, and it actually did, but was then off and on for a while and I never got time to post anything. So here is the start.
After I had chosen my wood, the first thing I worked on was making some of the decorative stuff. This guitar has a multicolored "zipper" backstrip and sort of a multicolored "rope-like" top purfling. Both are in shades of brown, "white", and green veneers. There is nothing remotely close available in commercial stuff, so I had to do it from scratch. And I didn't have any green veneer, so I had to dye some holly. I used a fiber reactive dye and just soaked it for a few days and it worked fine.
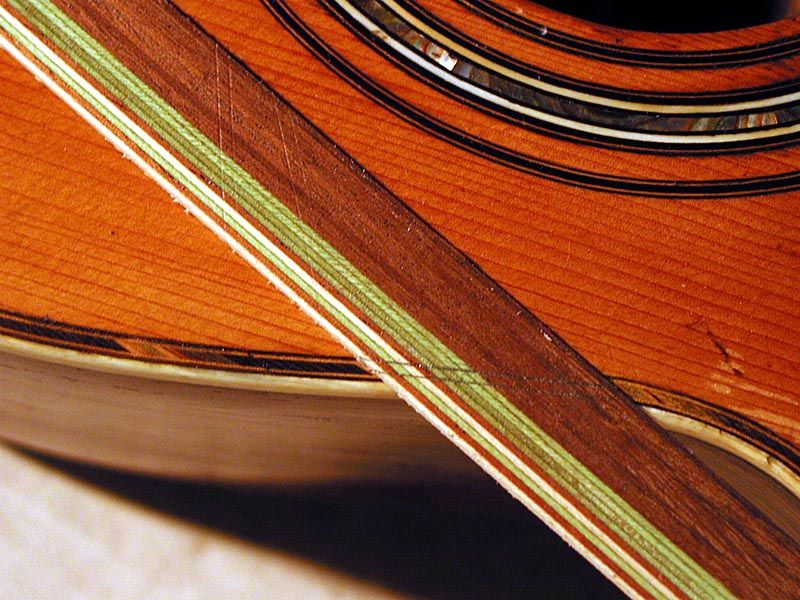
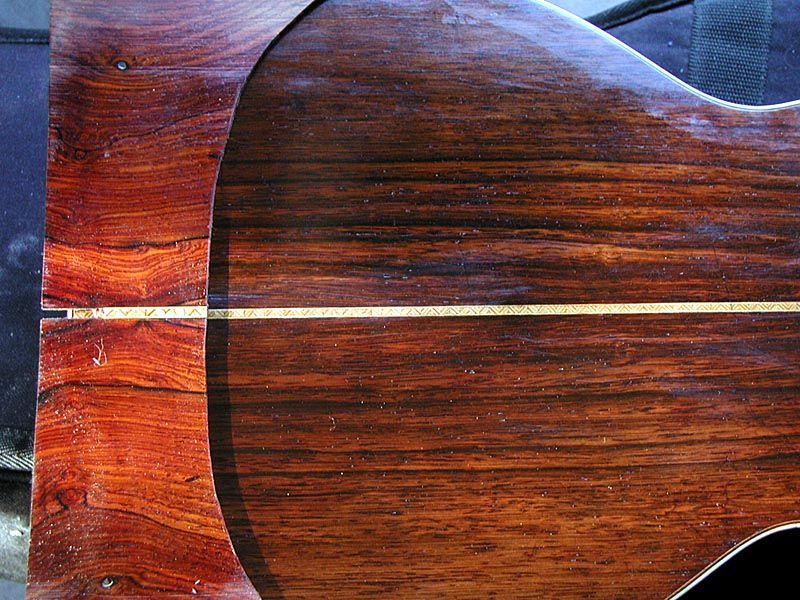
So here is the backstrip on the original guitar
I glued up some stacks of colored veneers for both the backstrip and the purfling
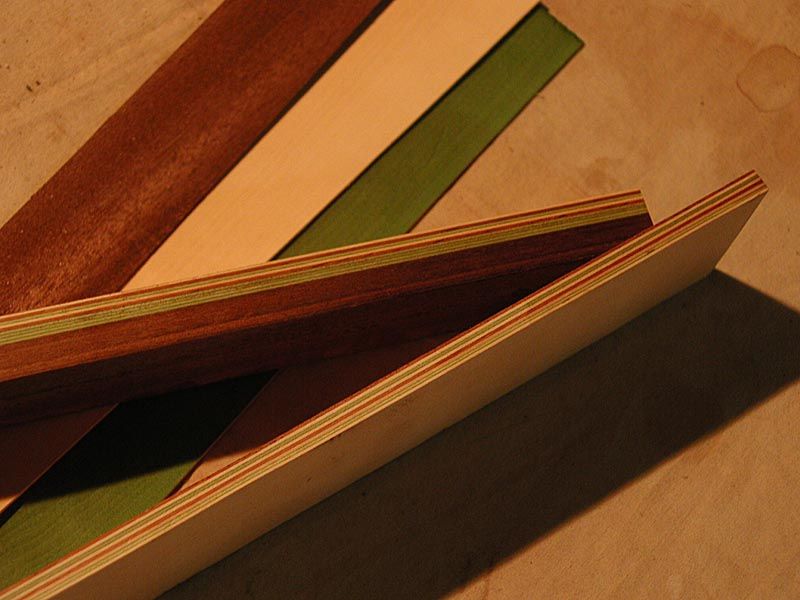
Here you can also see the colored veneers that I used.
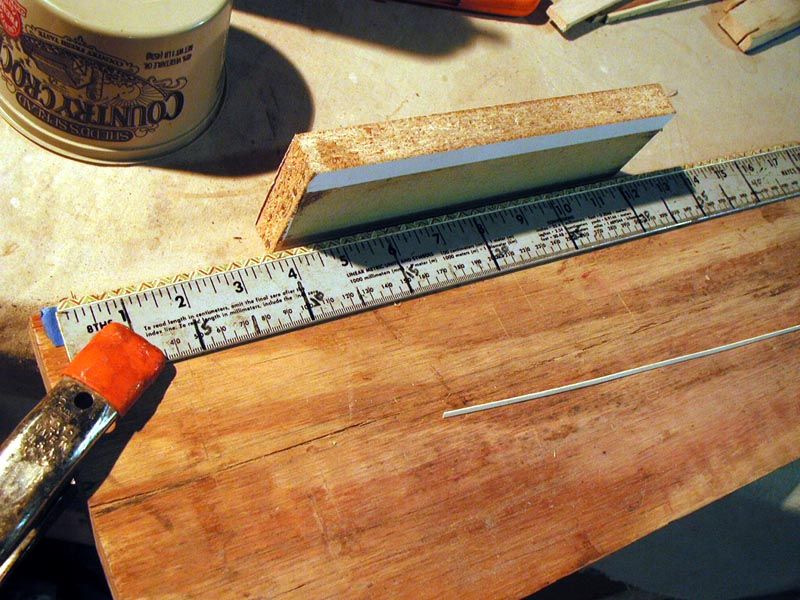
I then sliced off thin strips from the edges of these stacks. Here is one of the backstrip slices
It is a double sequence of the colors in the backstrip
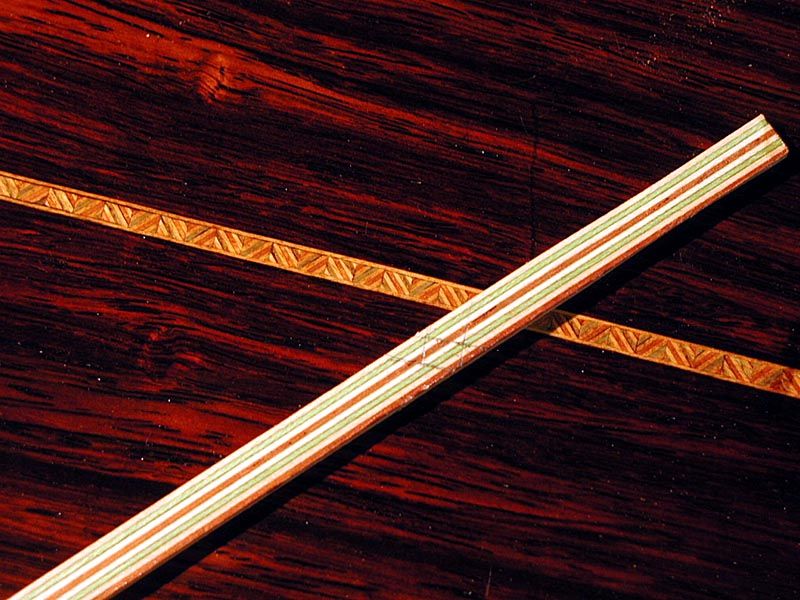
And here is one of the purfling strips
This is a single sequence of the colors in the purfling. More on the purfling later since I have not made any yet. Also note the rosette in this photo. That will be my next project after the backstrip.
On to the backstrip
The first step in making the backstrip is to slice off sections at a 45 degree angle from the glued up strip
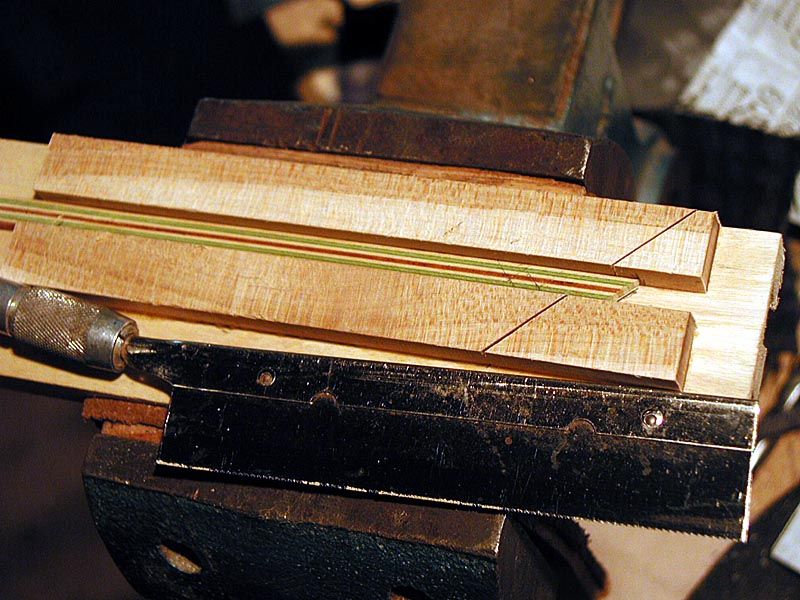
Just a quickie miter thingy and an X-Acto saw
Then start gluing them up into a long row
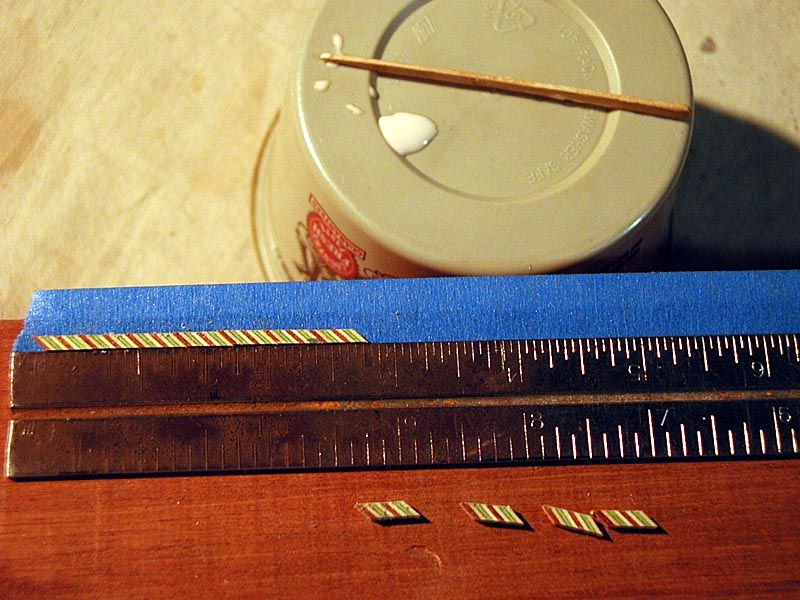
I just stuck a strip of blue tape onto the back of a straightedge. The straightedge kept them lined up and the tape held them in place while the glue dried
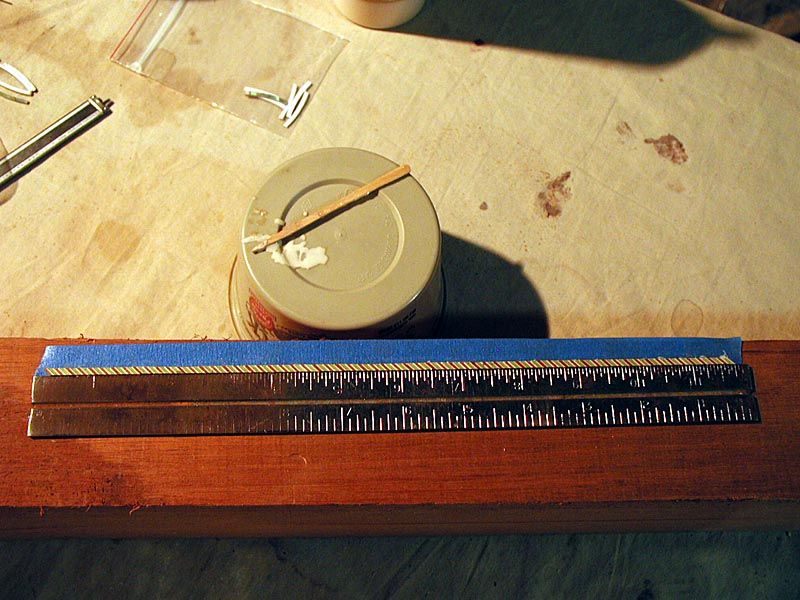
A long strip completed
Next step was to cut short blocks from these strips and glue them up to a strip of white veneer. Same process with the blue tape and straightedge
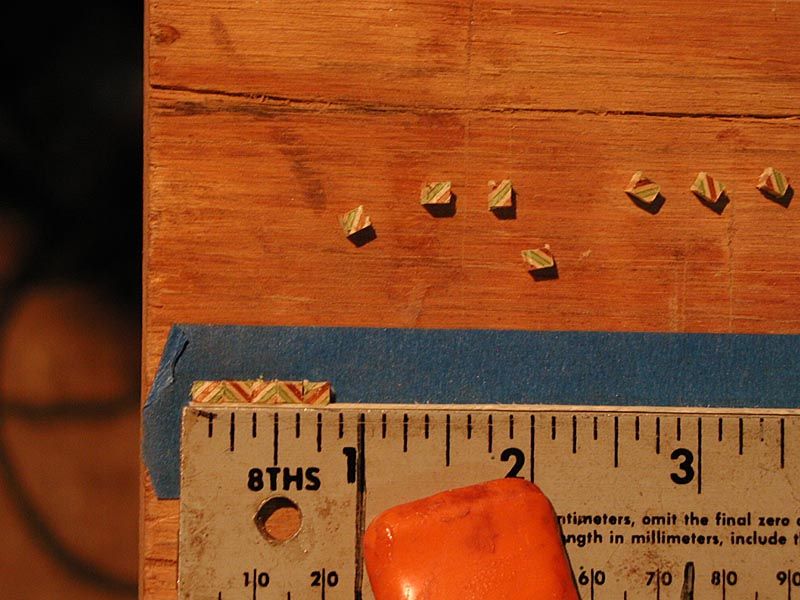
This is the beginning.....
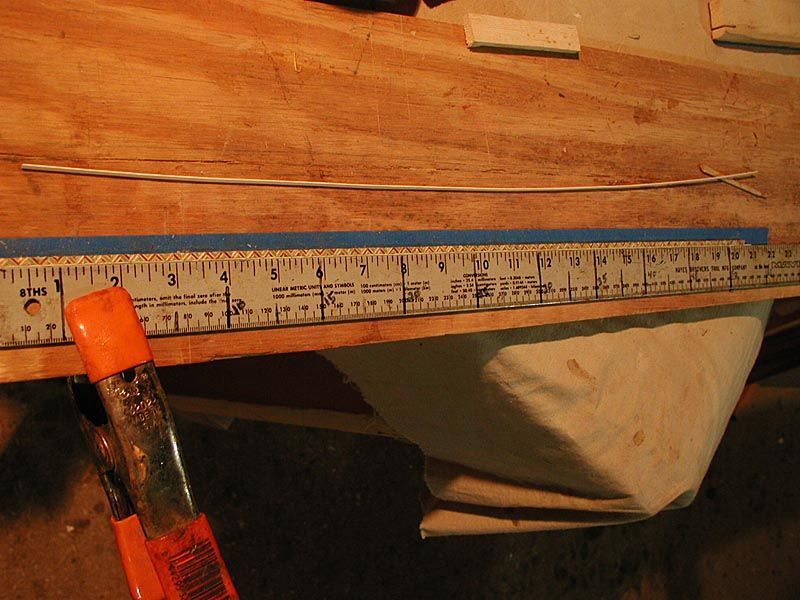
....and here it is completed
Then I trimmed the excess blue tape and sanded the outer edge even
Then I just needed to glue another white veneer strip to that edge
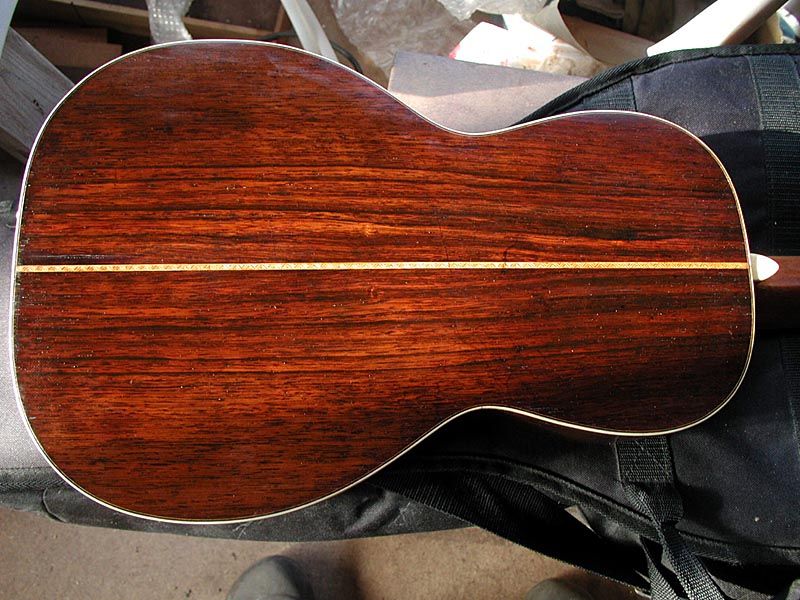
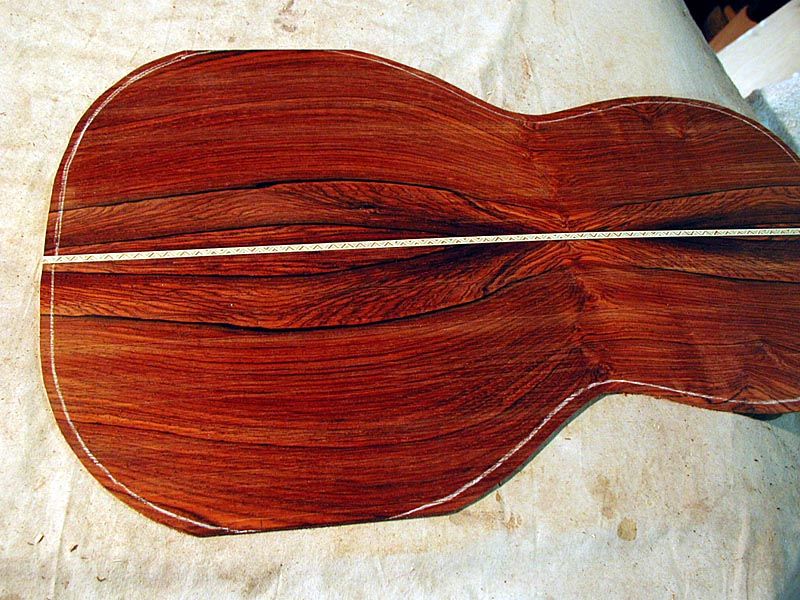
Here is the finished backstrip compared to the original guitar
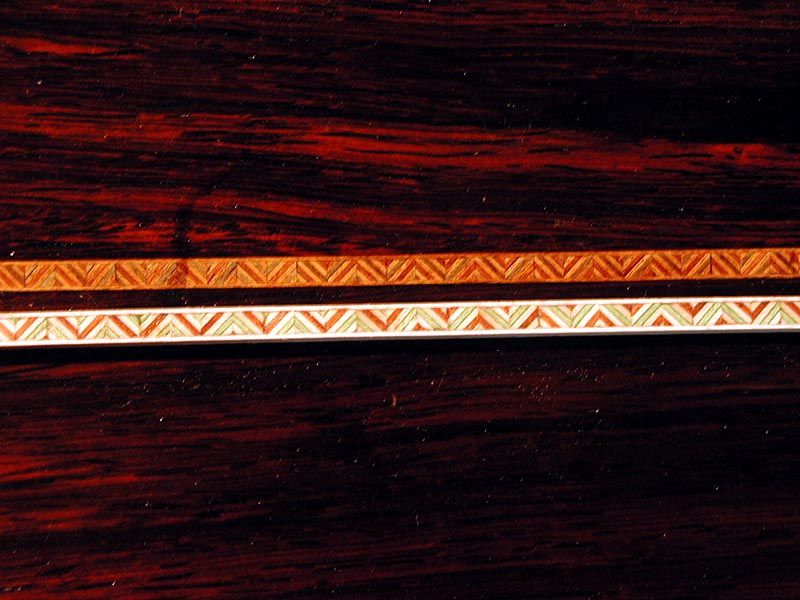
Probably not a perfect match, but since the original varies along the length, this should look just fine
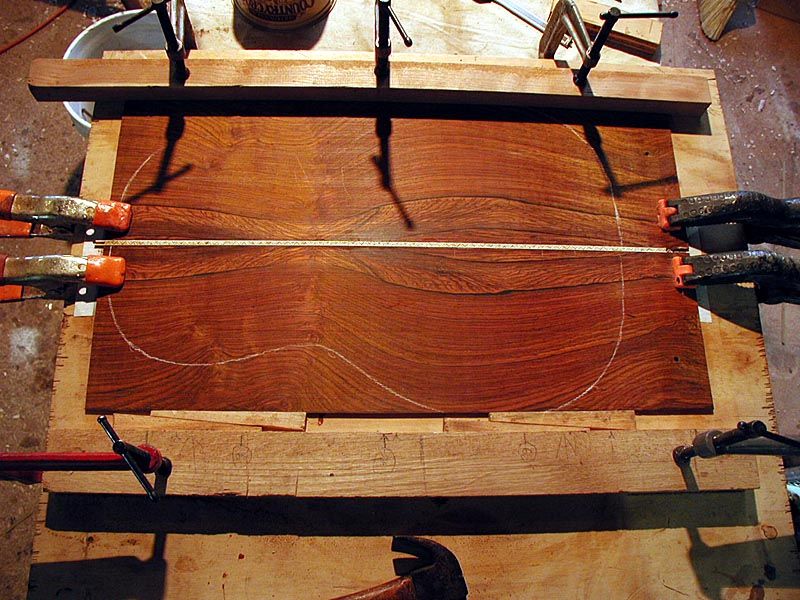
Then to glue up the back with the backstrip
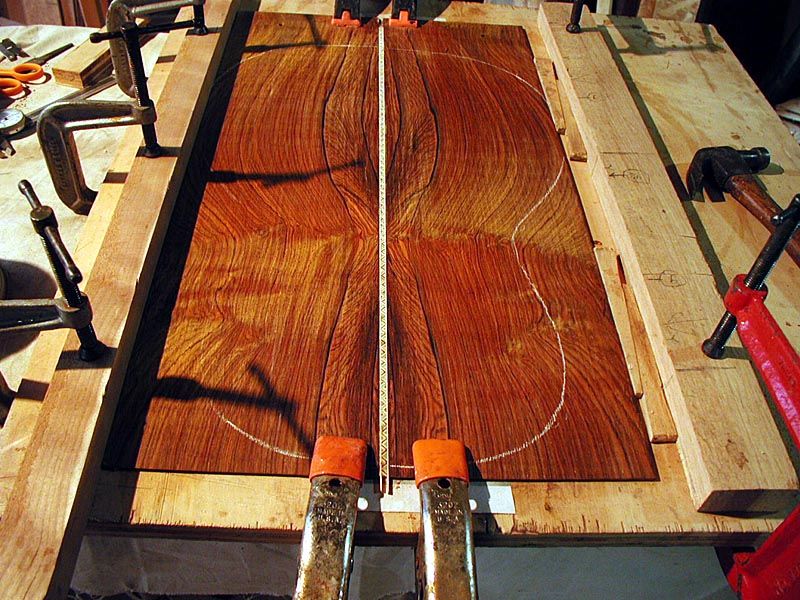
And scrape it level
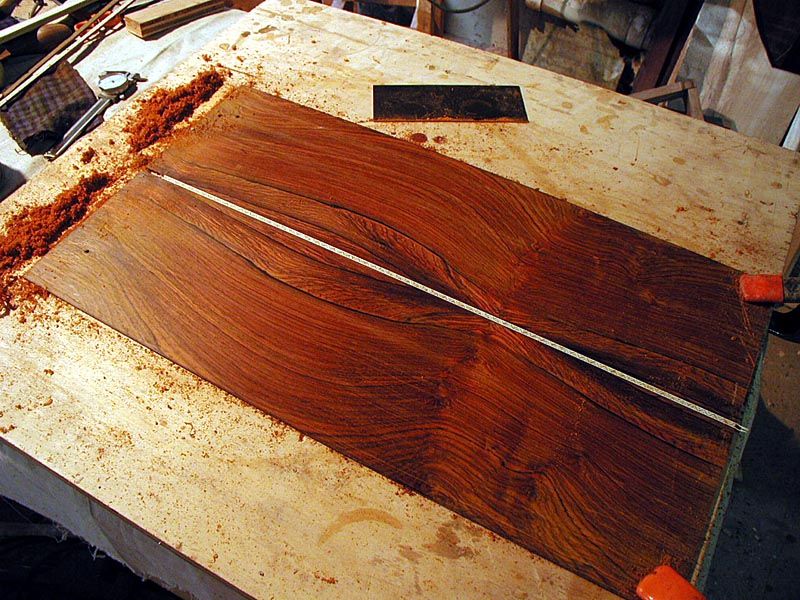
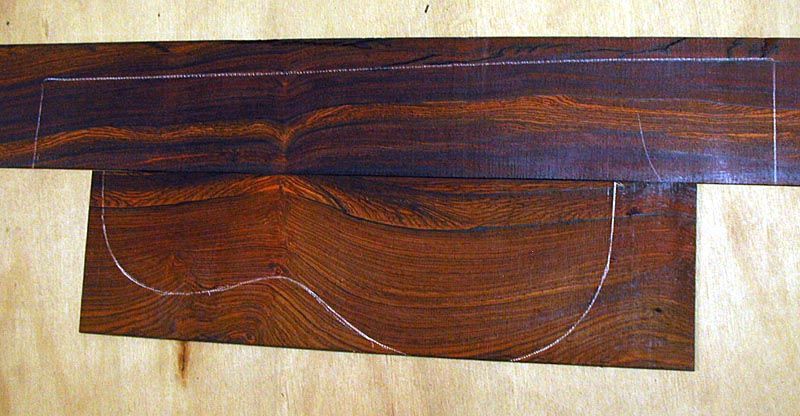
Then cut out the back a bit oversize
Here is the offcut with a few coats of shellac padded on compared to the original guitar
And with the new back to show a finished color

Next, I will be doing the rosette. I just glued up the top today and some ivoroid/black strips that I ordered arrived today also, so I have everything I need for that.
Thanks for looking.
G