Page 1 of 3
Curly Maple #1
Posted: Wed Oct 08, 2008 8:56 pm
by MrZ
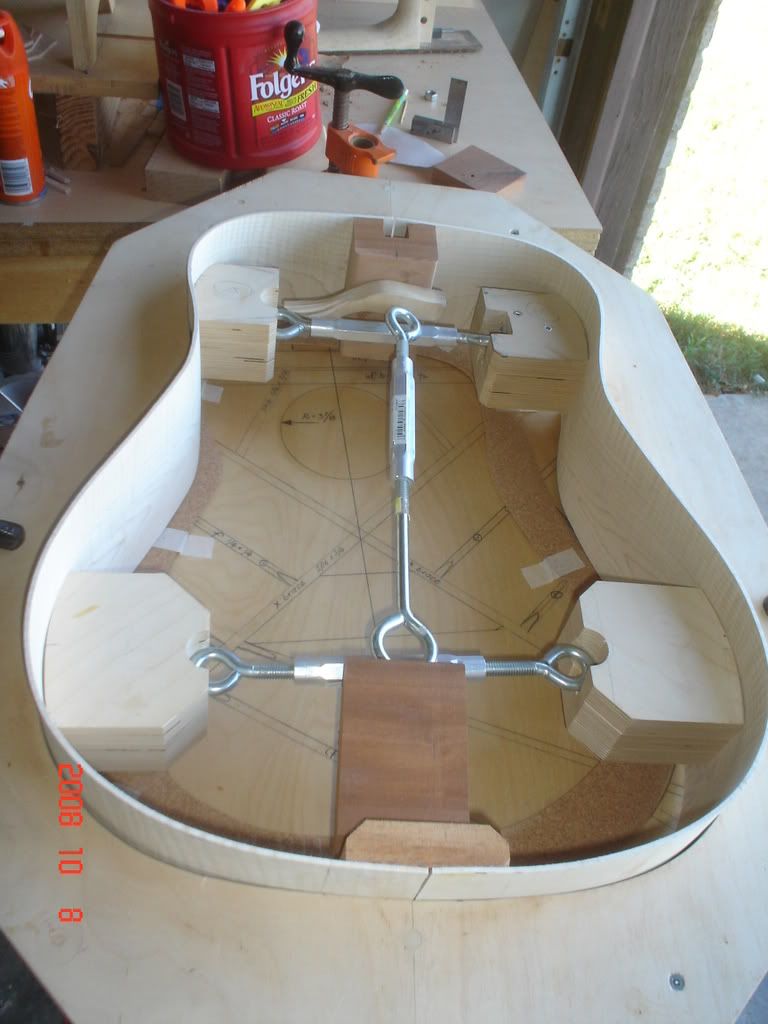
Just start with another guitar.Forgor to take pictures when i bend sides but i'm gona add that momant on maple #2 if you guys agree.So here is few pics of begining.This is just after i bend sides trim them to fit in to the mold, and put blocks
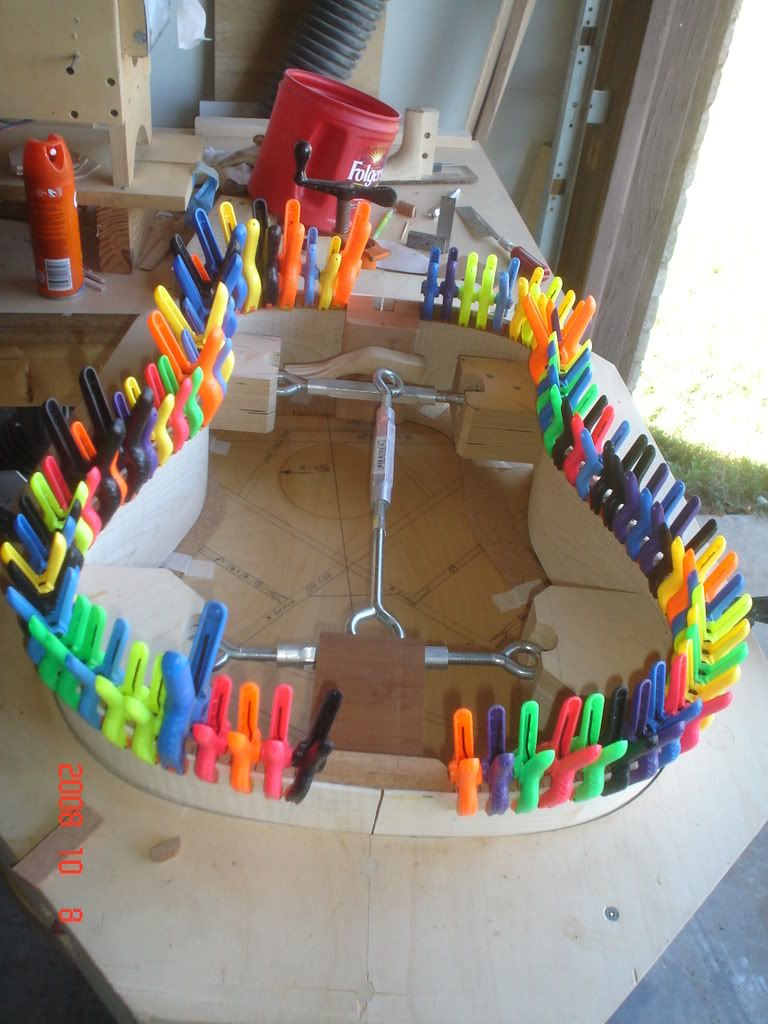
Right after that i made mohagony kerfing on top side,
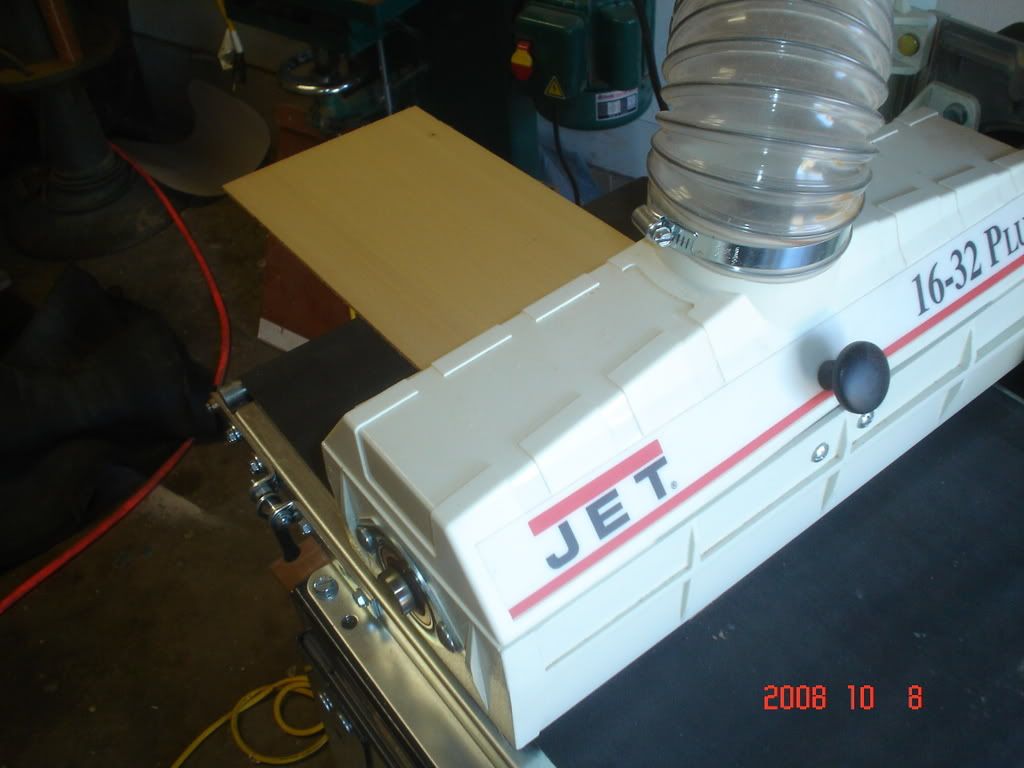
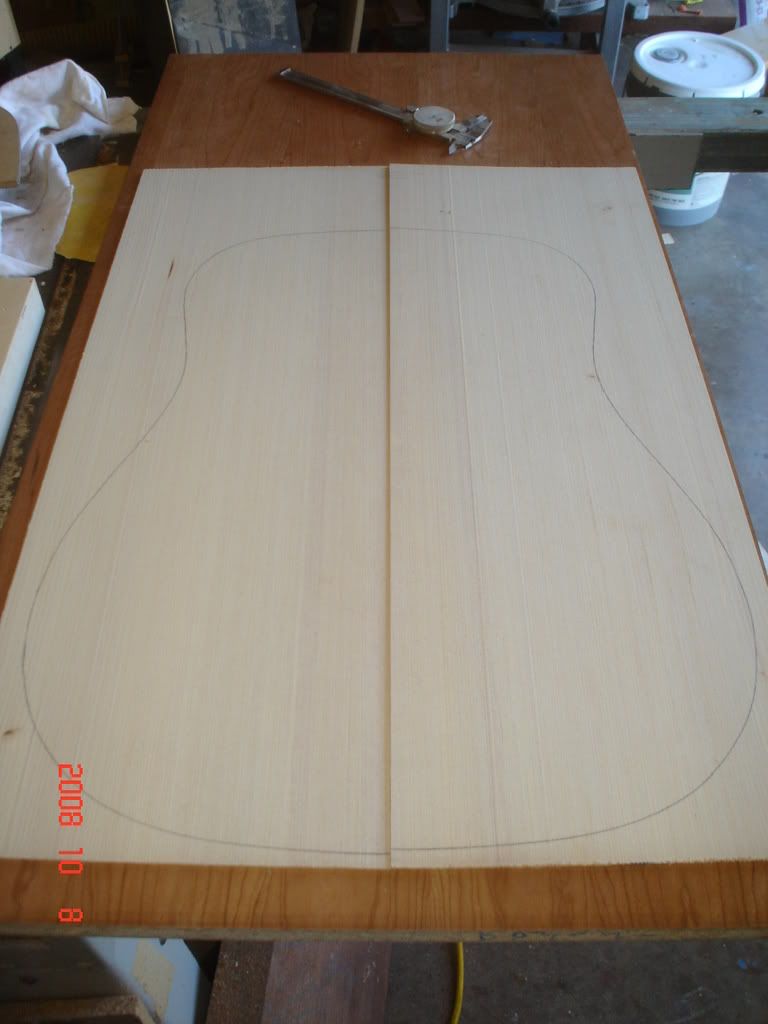
Choosing and sending top halfs on proper thicknes
Hope that is enough for today aftermy day job
Thanks for looking,
Zdenko
Re: Curly Maple #1
Posted: Wed Oct 08, 2008 9:08 pm
by Jimendo
Hey there - nice start thanks for posting. How did you bend the sides and is that the neck you are planning on using in the background? Can you give us more details about that when you get time.....
Take care
Jim
Re: Curly Maple #1
Posted: Thu Oct 09, 2008 1:03 pm
by Eben
Lookin' good as always Z!
This is number 3 on here, huh?


E
Re: Curly Maple #1
Posted: Thu Oct 09, 2008 3:19 pm
by MrZ
Thank you Jim and Eben.
I still bend my sides using heat from 3 200w bulbs.The neck you see in background is my first neck ever build and is always on my way, but still dont have heart to trow that thing to dumpster.neck is gona be mohagony.Maybe laminated stil thinking about.Today have in plan to do on wet sanding on my 12 string.
Eben yes it seem to me the third one in this forum.I think the header would be ok like MrZ's Guitars.What do you think?

Z
Re: Curly Maple #1
Posted: Thu Oct 09, 2008 4:47 pm
by Eben
I like it,
I like it a lot - Let's do it!!

E
Re: Curly Maple #1
Posted: Sat Oct 11, 2008 8:28 pm
by MrZ
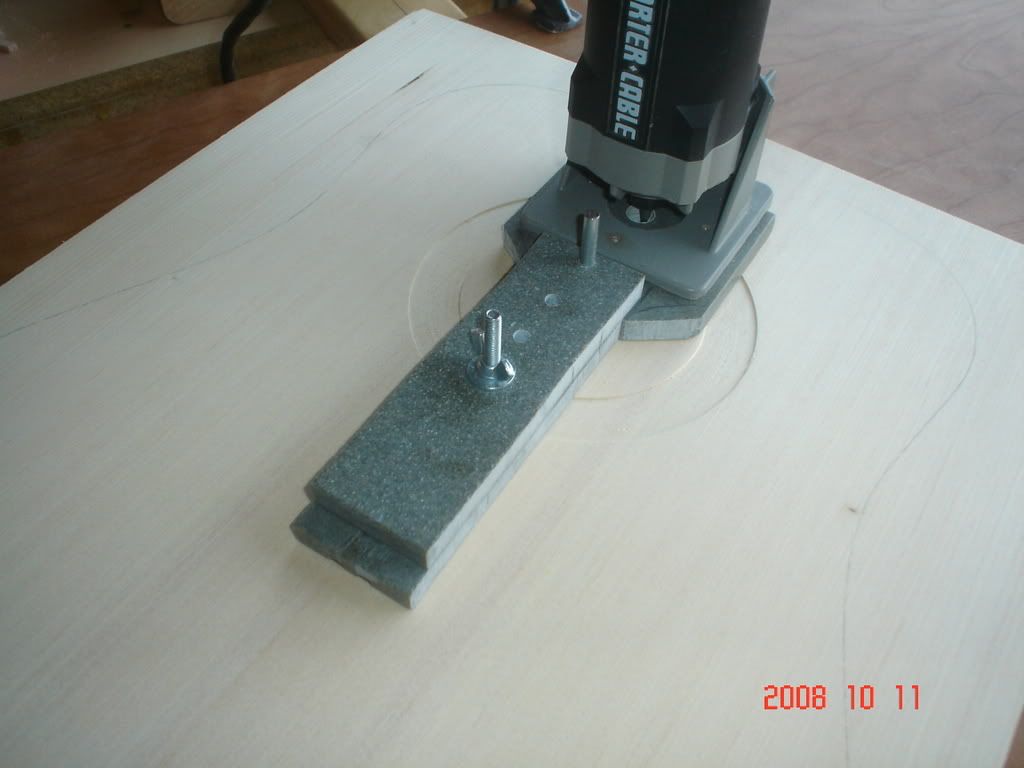
I did some work afternoon.Cuting rosete chanel with my circle cutting jig made of corian.It is not fancy but working very well.So here is some pictures.I forgot to take pick of making rosete but it is very simple .
Dry fitting rosete
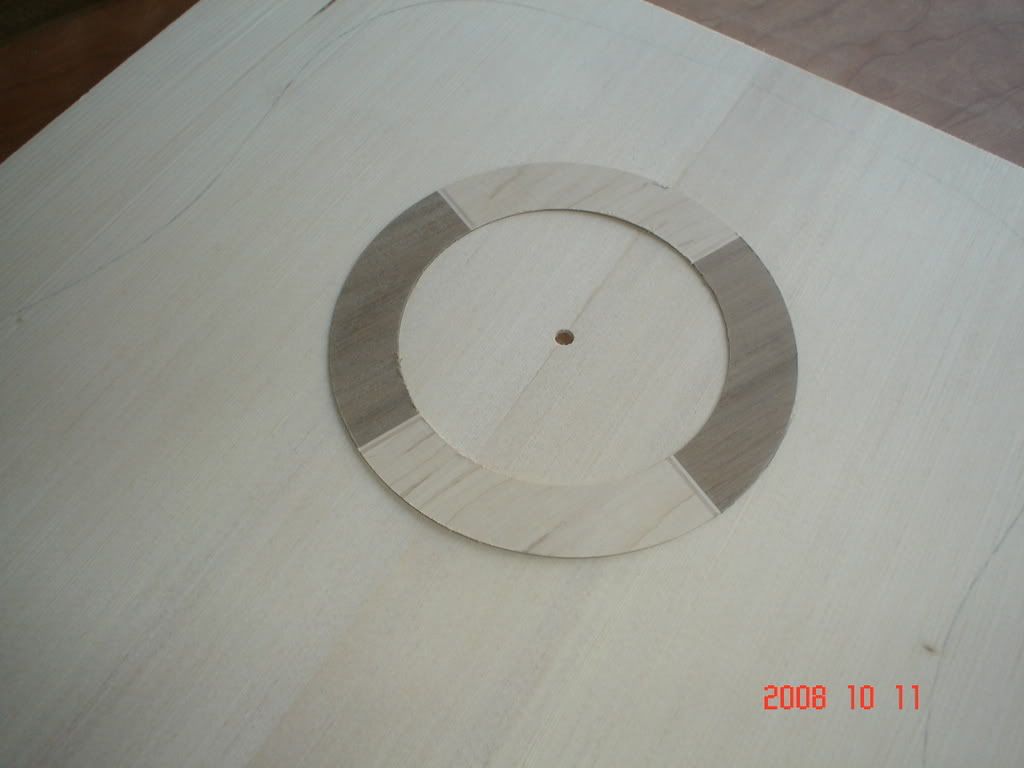
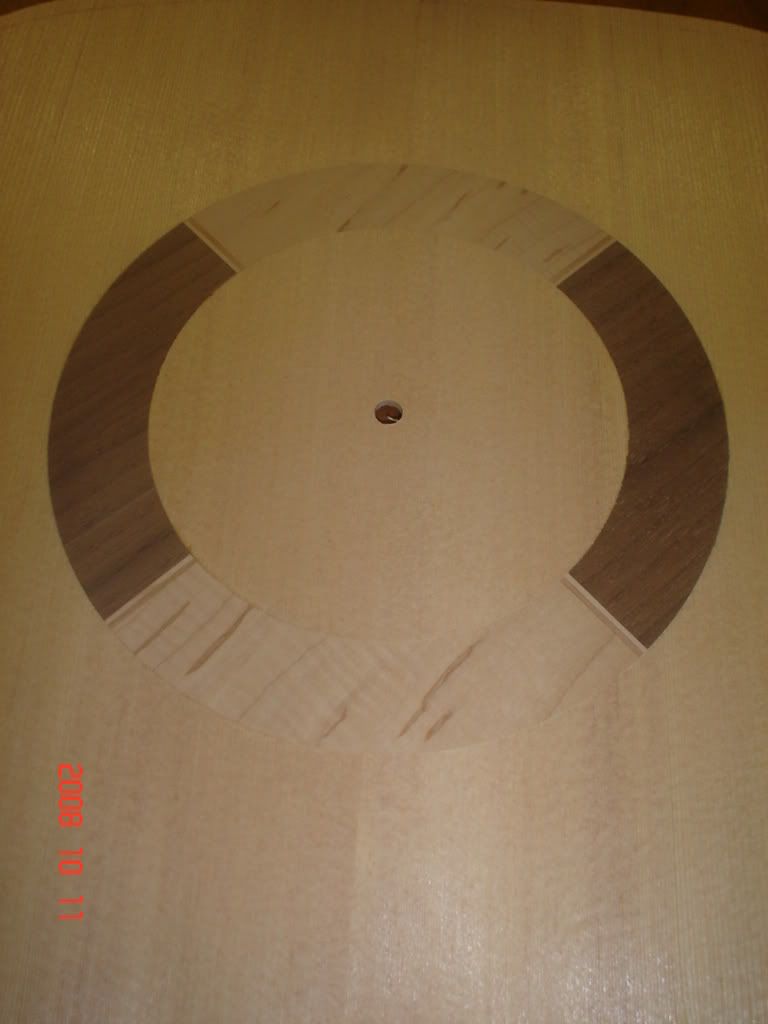
Z
Re: Curly Maple #1
Posted: Sun Oct 12, 2008 2:30 am
by Ventura Bill
Dobro Dan Zdenko,
I like your build!

I am impressed with your Circle Cutting Jig made of Corian. Looks like something I might like to make for my trim router. I like too, your spreaders for holding the sides in place against the mold. I have used the same clamps as yours for Kerfing when I made my first guitar. They work well and are not too expensive.
I have a homemade Drum Sander. It is not as nice as yours but it works well. Keep up the good work and thanks for sharing with us.
Bill Londree in Ventura, CA.
Re: Curly Maple #1
Posted: Sun Oct 12, 2008 6:38 am
by Hesh
Looking great Z!
I wanted to suggest a trick that works for me and see if you might find it interesting.
Like you I have a Performax as well, great little machines if used as intended.
After I thickness the top just before inlaying the wood rosette I leave the machine (Performax) set where it was for the top thicknessing. Inlay the wooden rosette with Titebond or LMI white. I cut the rosette first and then creep up on the channel width until I can just lightly press the rosette into place dry.
Butter up the channel with Titebond, LMI white would be great too, press the rosette into place. The water based glue swells the wood a bit so the fit, although the channel is now lubricated, gets tighter fast so do this quickly. Weight it all down with waxed paper over the rosette and go watch the bad news on TV for 20 minutes.
When you return and after about 20-30 minutes and before the Titebond is cured pass the entire top through the Performax without changing the depth settings. A couple of passes without touching the depth setting will not only level the rosette and clean up and smears from not yet dry glue but it will also mix wood dust with wet glue and your rosette will be completely gapless.
This has worked for me as described 8 times in a row now and others who have tried it love this method too.
Good luck if you ever choose to try this.