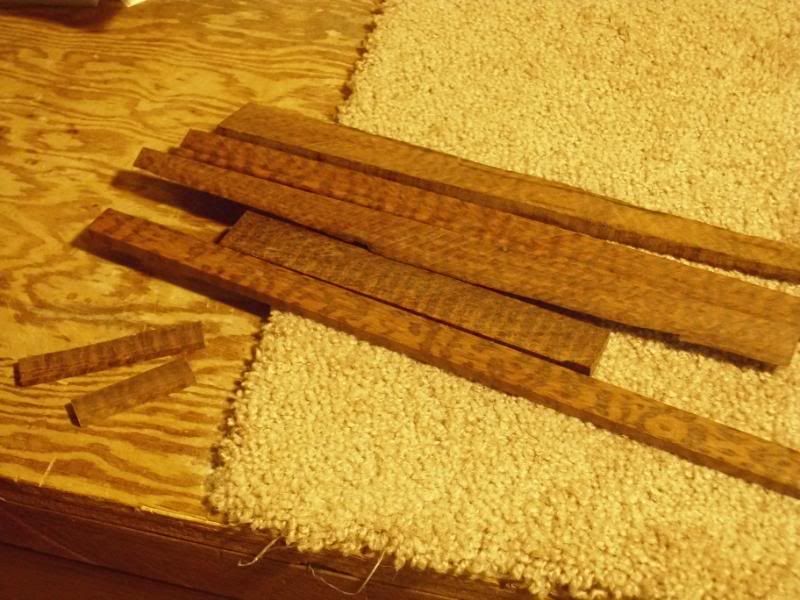
So much for back in a few days... This one has actually already been delivered to Debbie, and once again I was pushing to get it finished and didn't stop to take pictures like I should have. I did make the nut and saddle out of snakewood, and I liked the way it sounds, looks, and the workability of the wood.
I didn't take any pictures of the set-up phase, but will instead use pictures from previous builds.
Once cut to approximate size, I hand sand the saddle/nut until it just fits snuggly in the slot, then polish out the scratches with 400 grit which will usually take it from snug to just right.
I tend to follow Jonathan Kinkead's set-up procedure getting the bridge and saddle to approximate height and then cutting the slots in the nut until the string is just clear of the first fret when fretting between the second and third fret. I use a flattened pencil to mark the fret height onto the nut as a guide. Here is a picture of me doing that on a previous guitar.
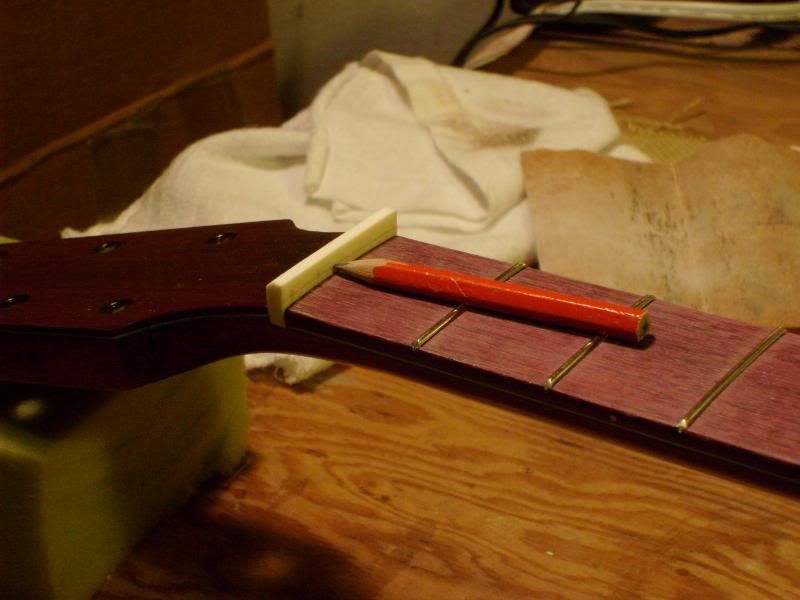
I've been preshaping the nut to give about 1/16" above this pencil mark, but I've found that the slots are too deep and I end up having to take the nut down to touching the line. In the future if I'm doing my standard shape and neck angle, I will preshape the nut to just shy of the pencil mark and save myself some work. I used the string spacing rule from Stew Mac to mark the string slots giving 1/8" clearance on both sides.
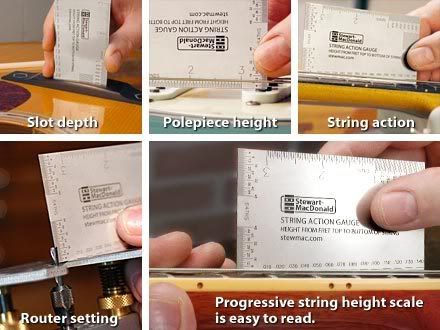
Once I have the nut slots to the depth I want them, I then measure the distance from the top of the 12th fret to the bottom of the string. I shoot for 0.010" for the low E and 0.008" inch for the high E. This gives me a medium to low action which I tend to like. Debbie is just starting out so I went with a low action using light strings. As she develops she can add more relief to the neck and/or switch to a heavier string and gain a little more action. I also will replace the saddle on request as part of the limited lifetime warranty. I use the String Action Gauge from Stew Mac. It is much easier on these old eyes to see which column lines up with the bottom of the string than it is to distinguish between lines that are 0.01' apart.
I've had success with a compensated saddle so I will shape the top of the saddle to get a consistent height across all the strings, and then shape the saddle top for the desired intonation with extra compensation for the b string. Once I get the top profile the way I want it, I adjust the action of all the strings at the same time by removing material from the bottom of the saddle. Using the initial height suggested by Kinkead, I usually need to remove about 1/8" so I will use the bandsaw to get close and then sneak up on the saddle height using hand sanding on a flat surface. Sorry, but I don't seem to have ever taken any pictures of this stage...
Here are some shots of the finished product.
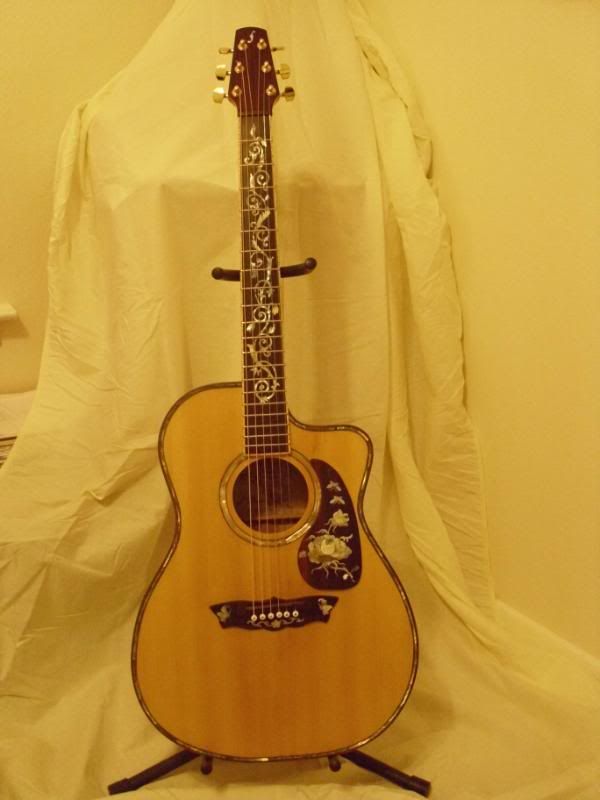
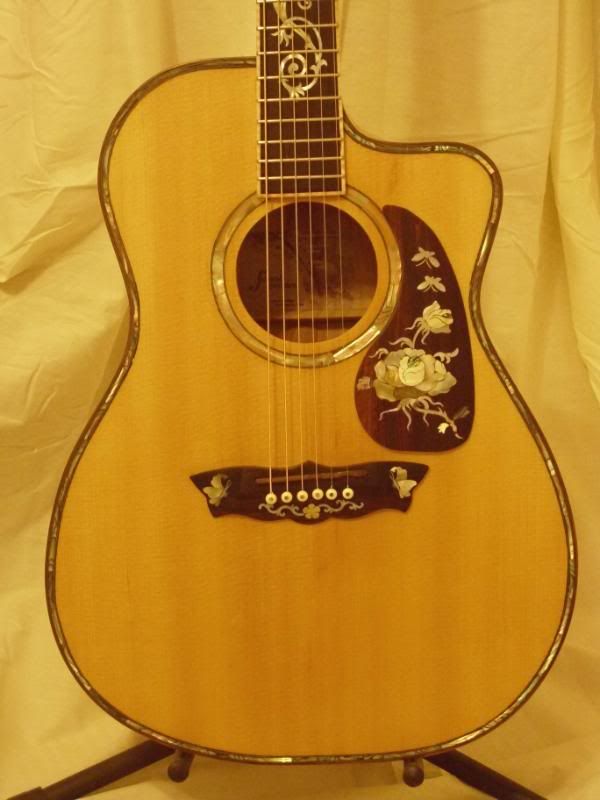
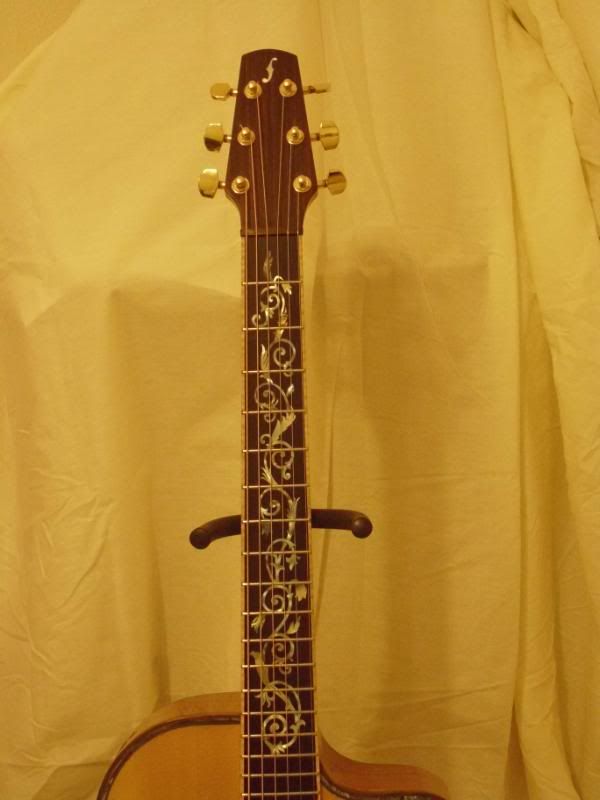
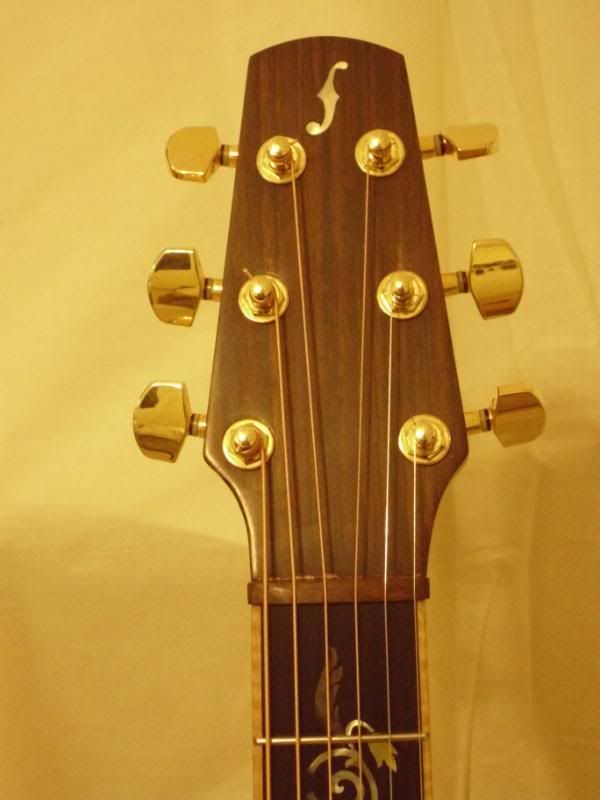
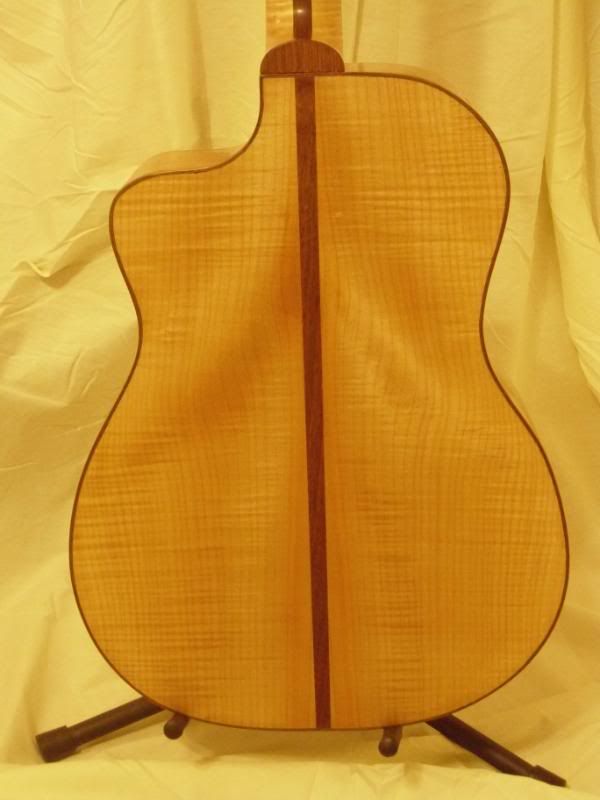
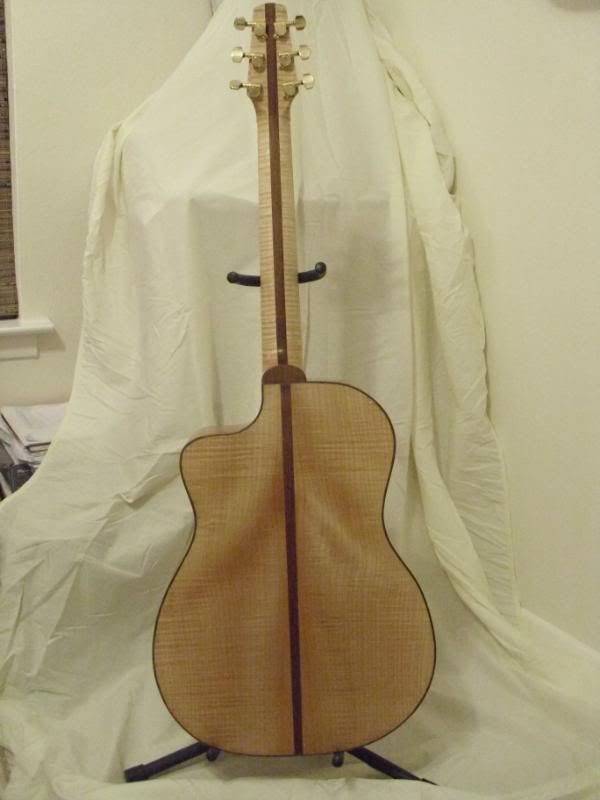
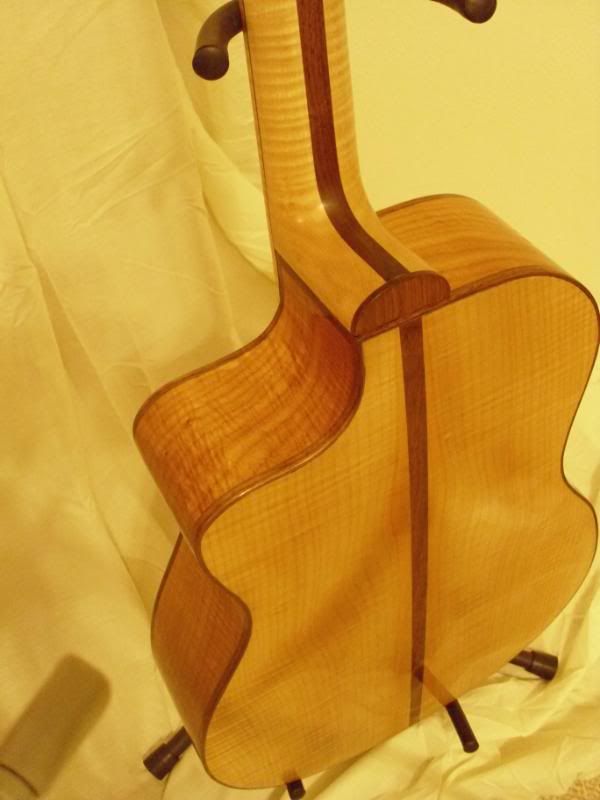
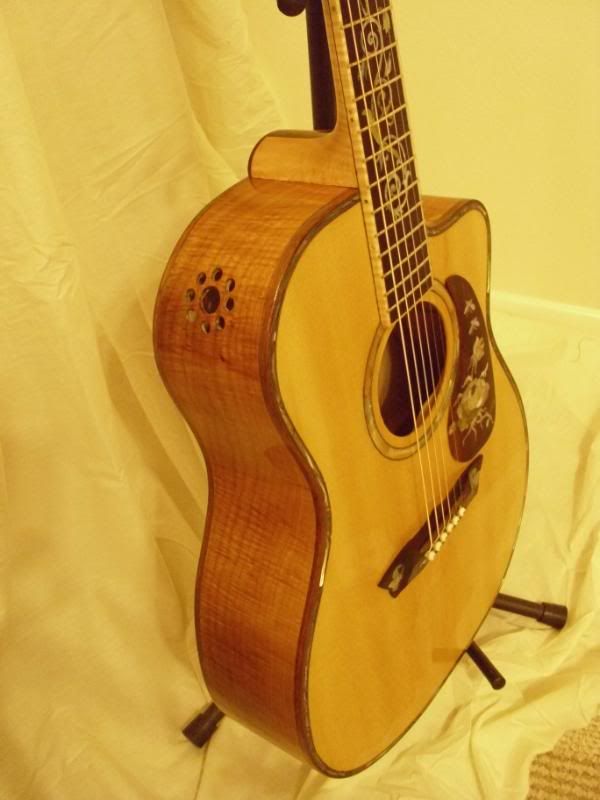
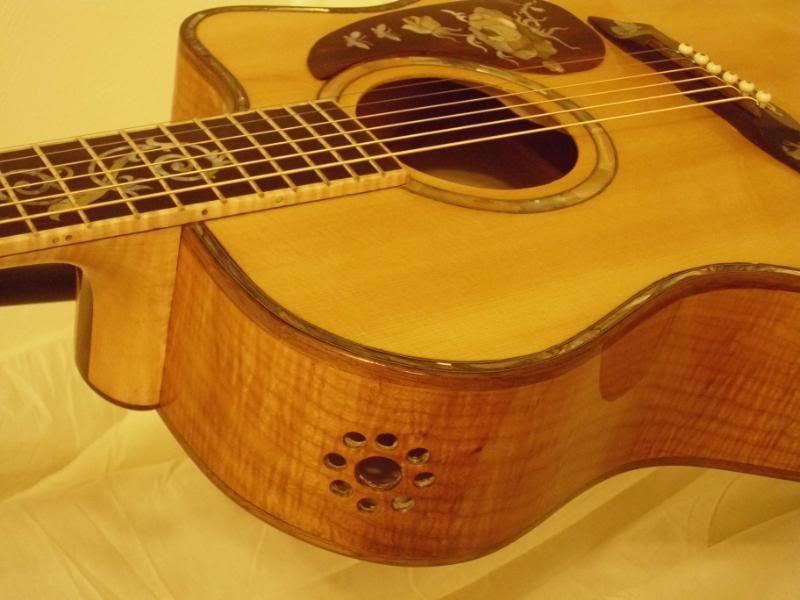
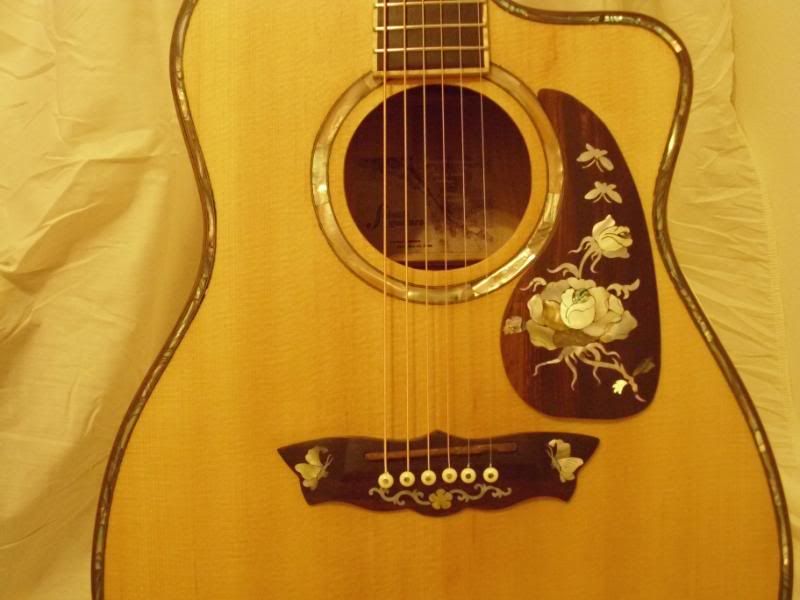
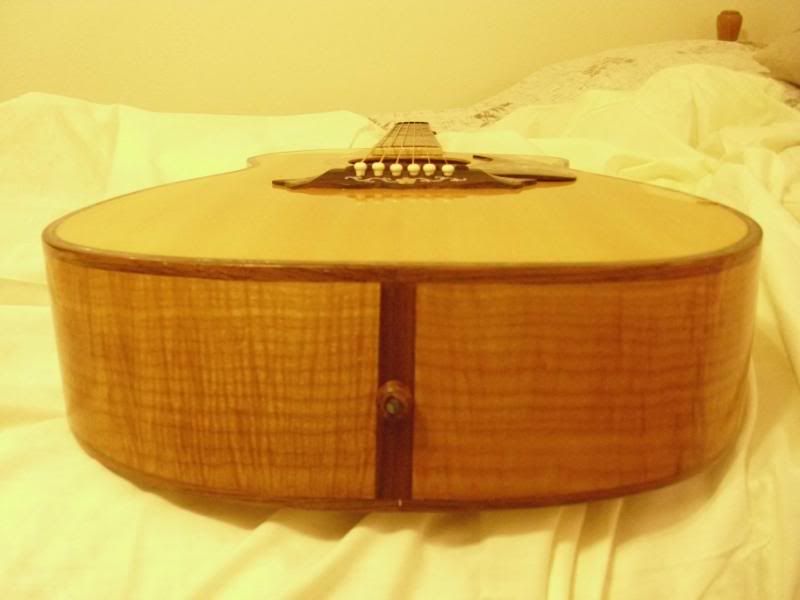
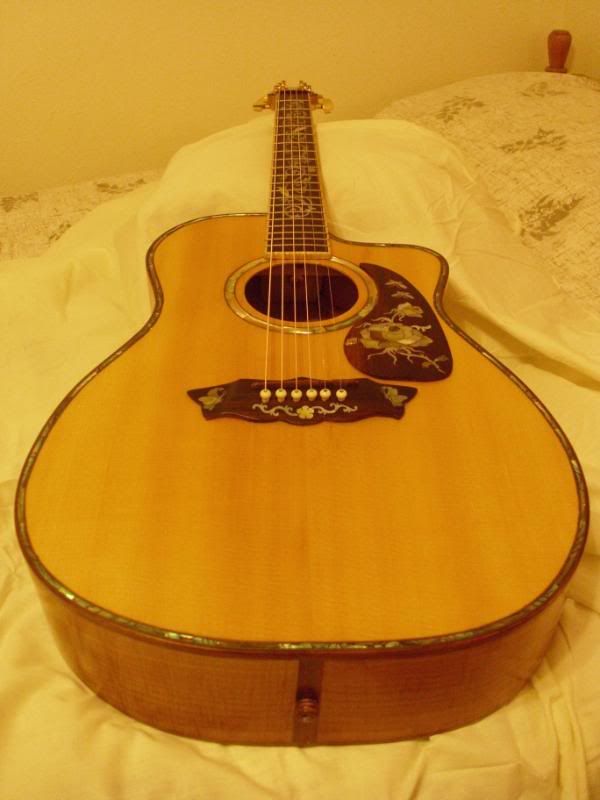
This is number 7, and is the easiest playing guitar of the lot. I think it has a nice sound, but I don't know how to play or record so don't have a sound file.
Thanks for looking,
Raymond

