Page 4 of 12

Re: Documenting my first total thermally modified build

Posted: Sun Oct 18, 2015 10:09 pm
by whitespruce
Continuing on with bracing the back.

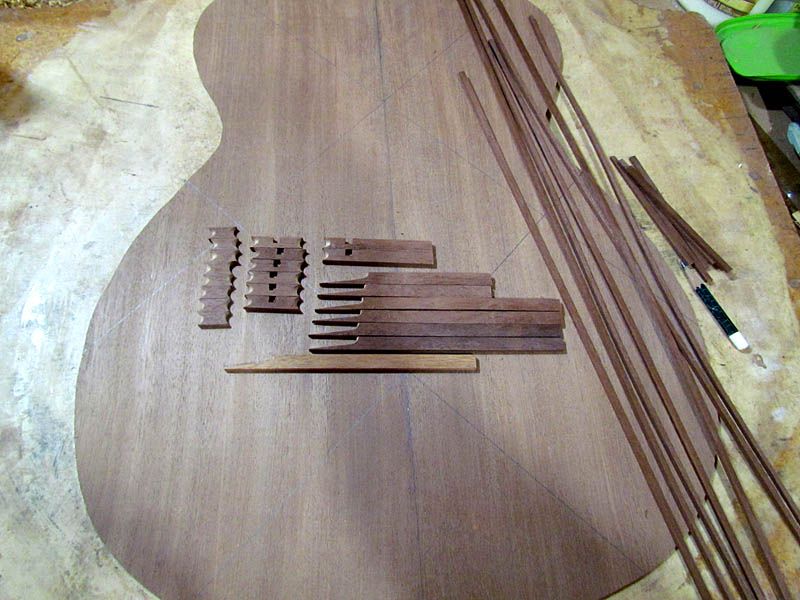
Here are the brace components ready to go. This probably looks familiar. Again, note an uncooked piece for comparison.
Image
I am finding the thermally modified wood very easy to work with...it cuts and sands easier than unmodified.

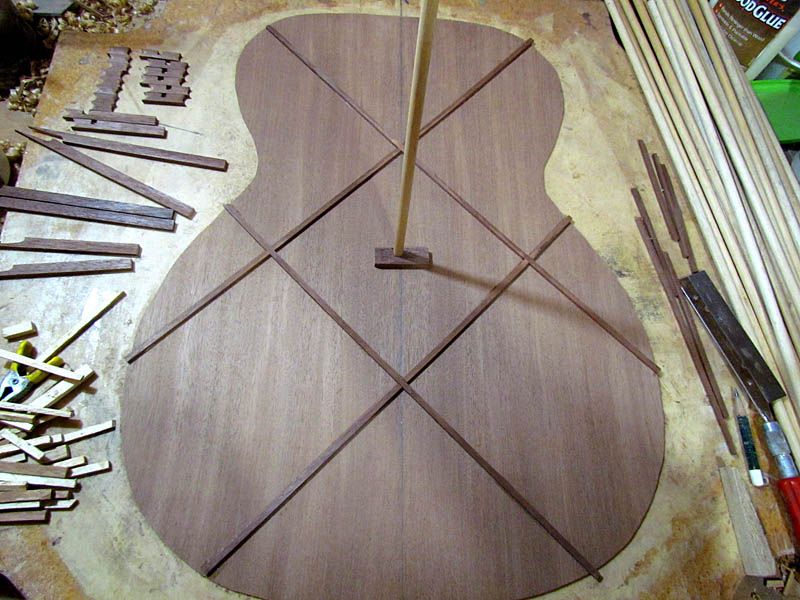
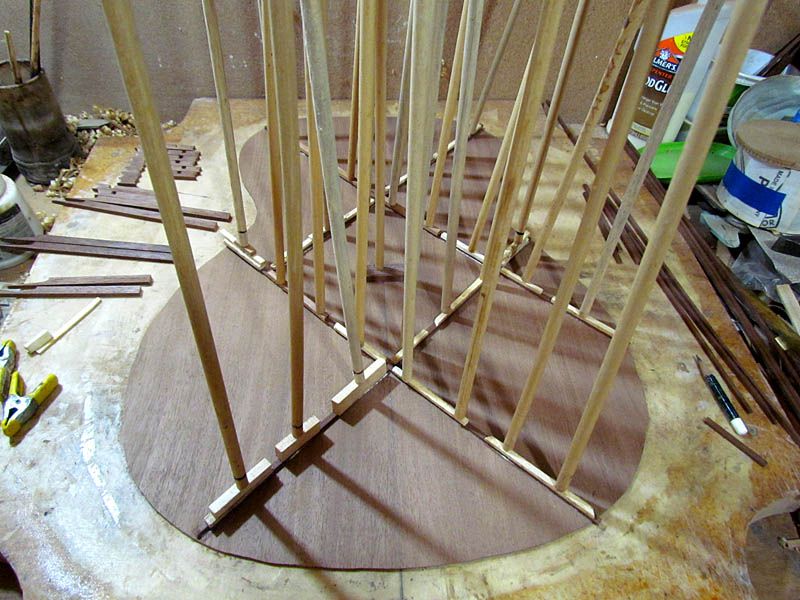
Again, the first layer is comprised of 1/8" thick strips. I laid out my regular 6" square, but am gluing inside the lines for this smaller body
Image

First layer done
Image

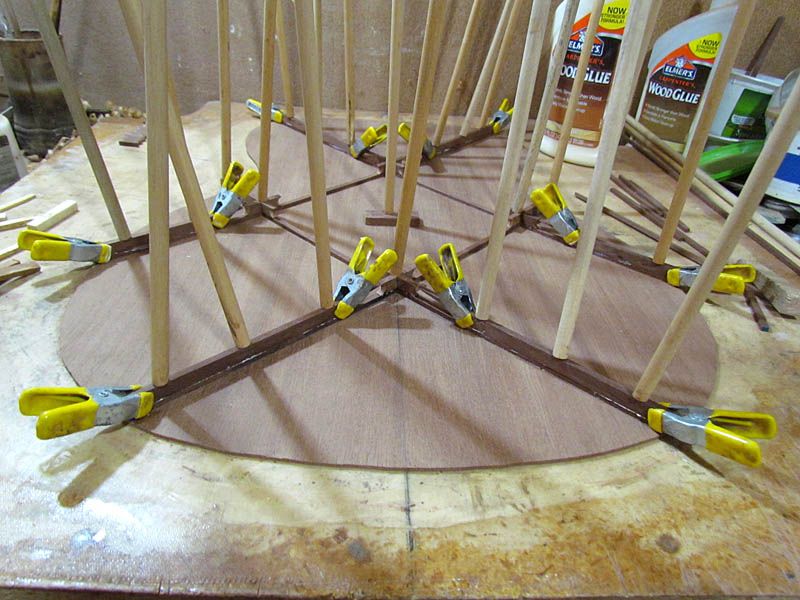
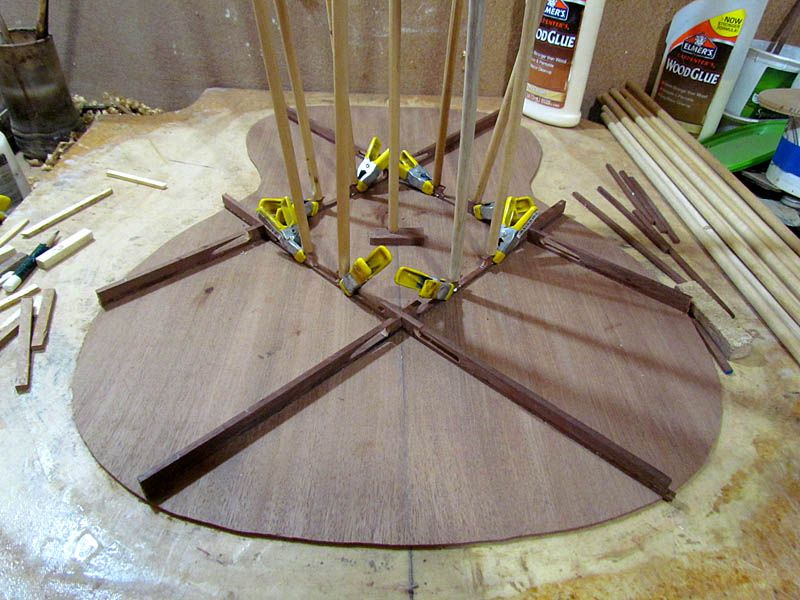
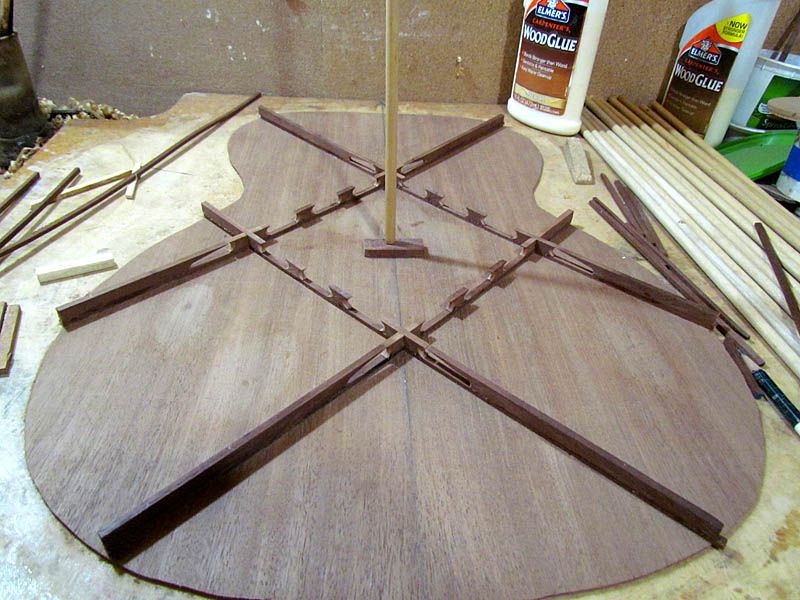
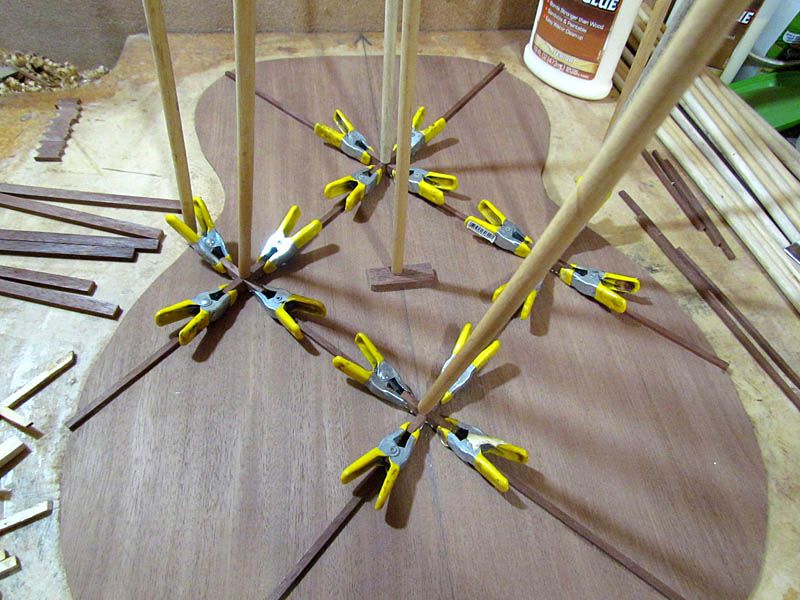
Next, I glue in the center layer of pre-shaped parts, starting with the little X's. I use the small clamps to keep the layers lined up
Image

Image

Image

Image

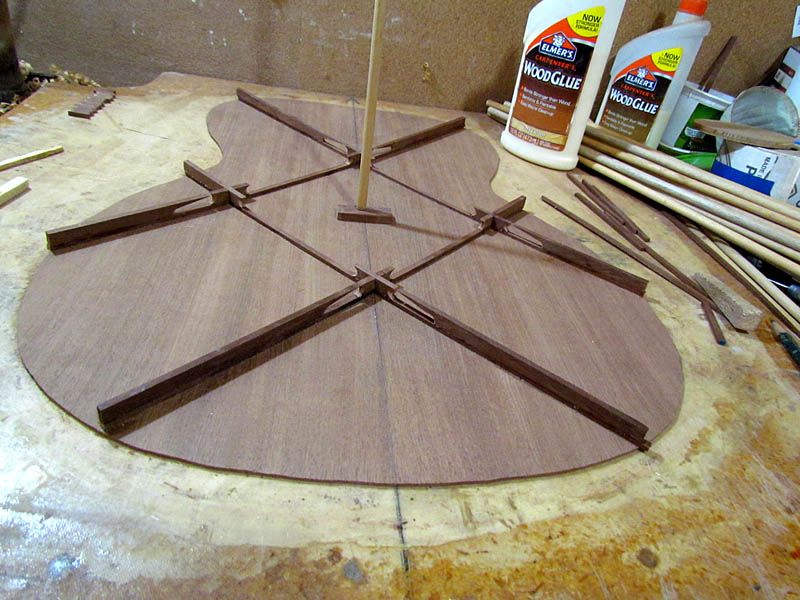
Center layer done
Image

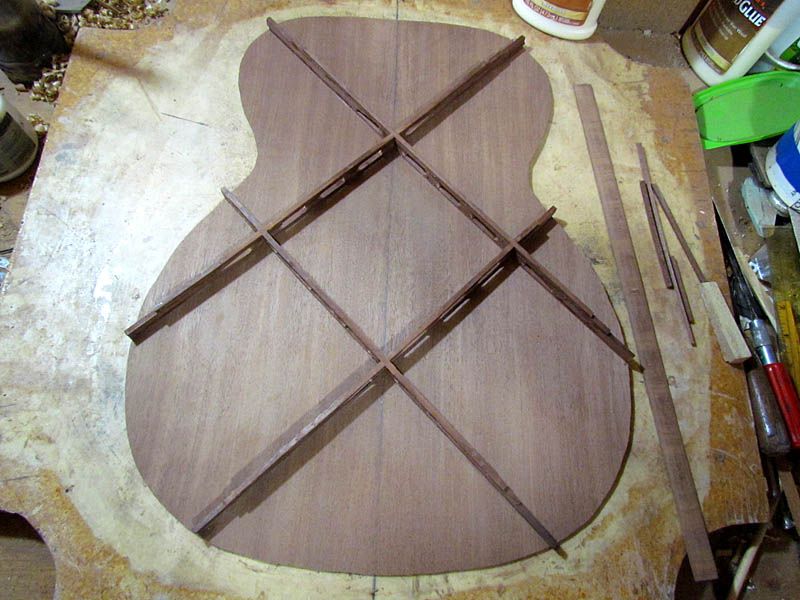
Then I just need to glue on 2 more 1/8" layers
Image
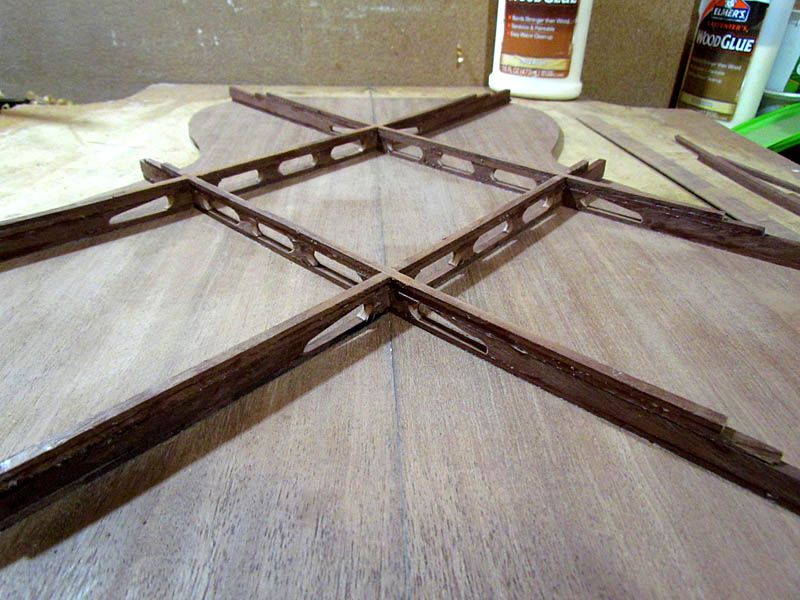
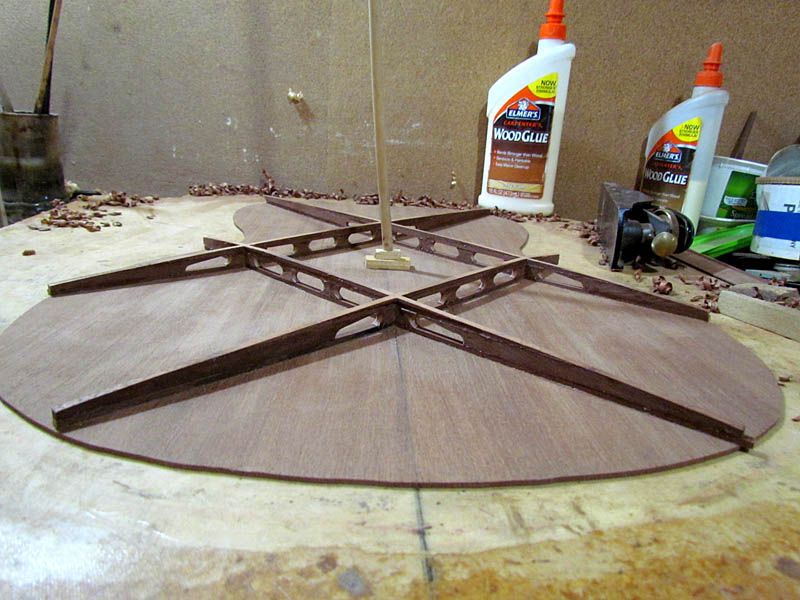
Done

And a low angle view
Image

Next, I plane the tops to height
Image

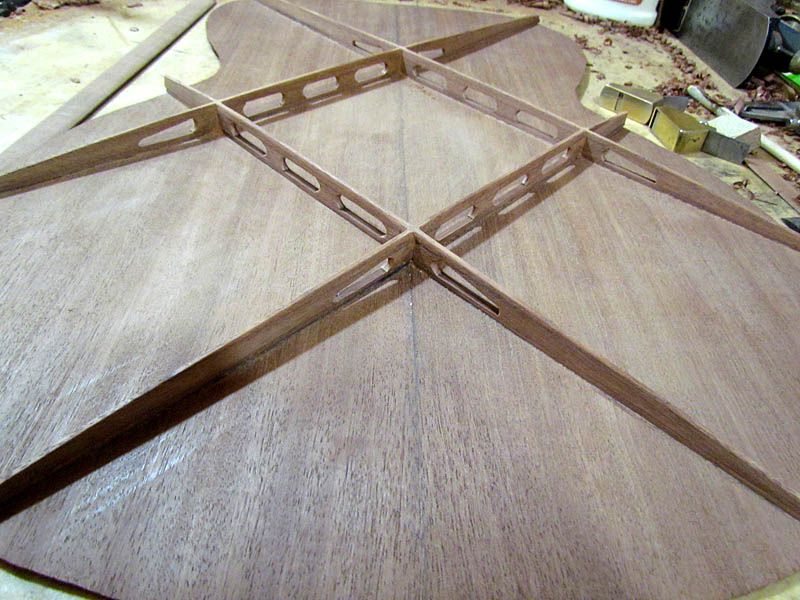
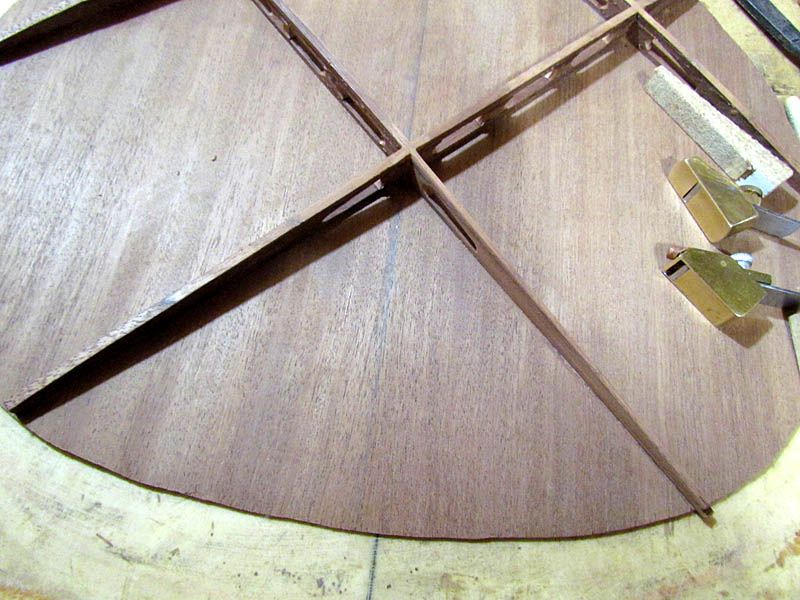
The final step is to carve the brace sides to a nice taper. Here is the first leg done
Image

And all of them
Image

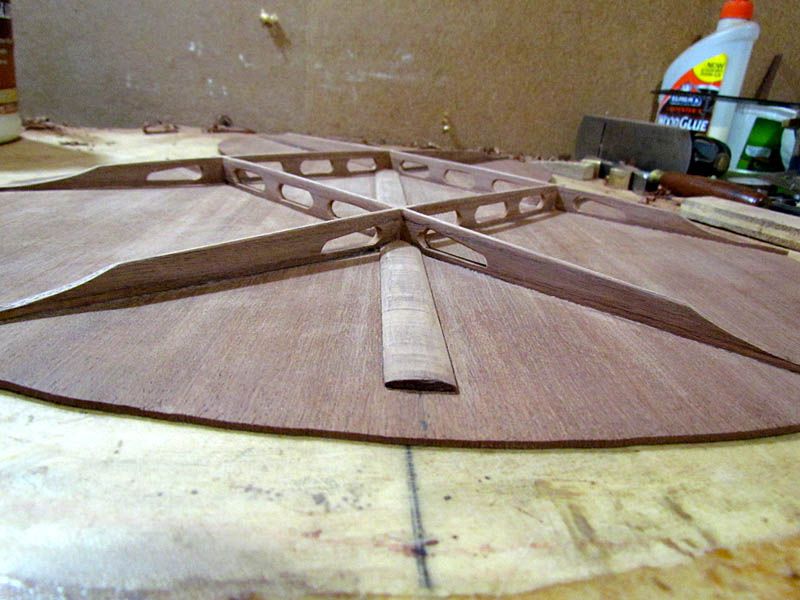
A low angle view
Image

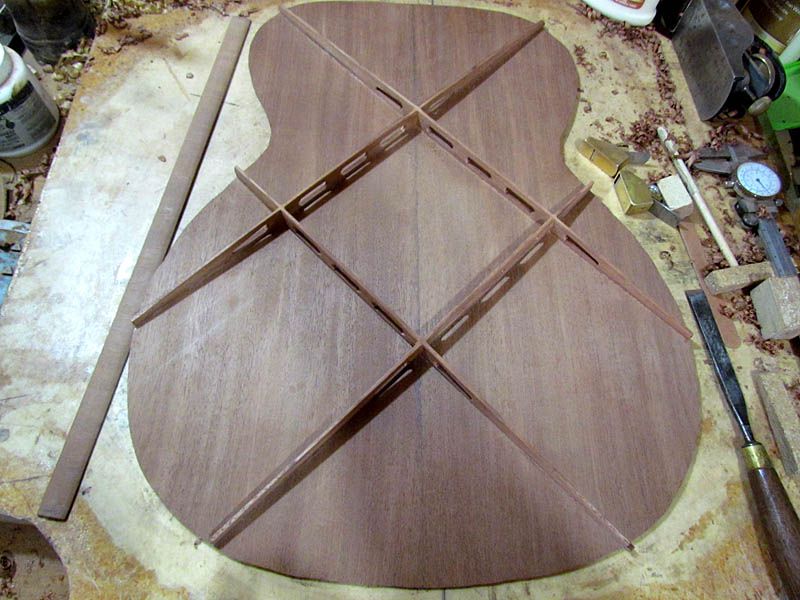
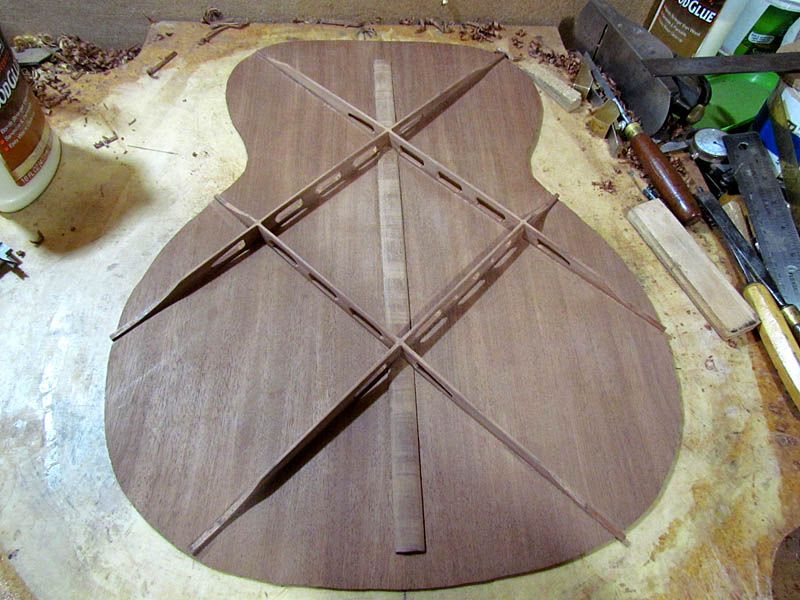
Everything sanded, center back strip glued in (offcut from back plates), and brace ends carved
Image

Image

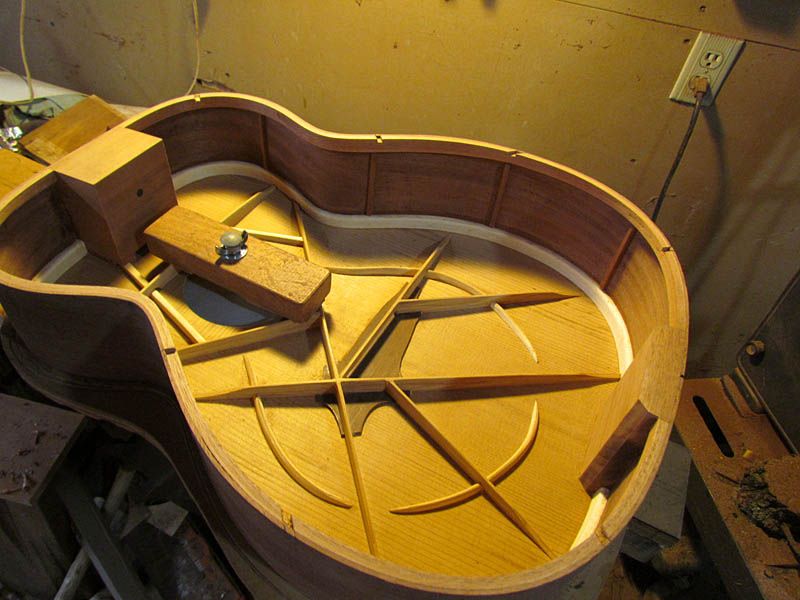
Now I just need to final shape the back linings by sanding on my dish mold and carve the brace pockets
Image
Done

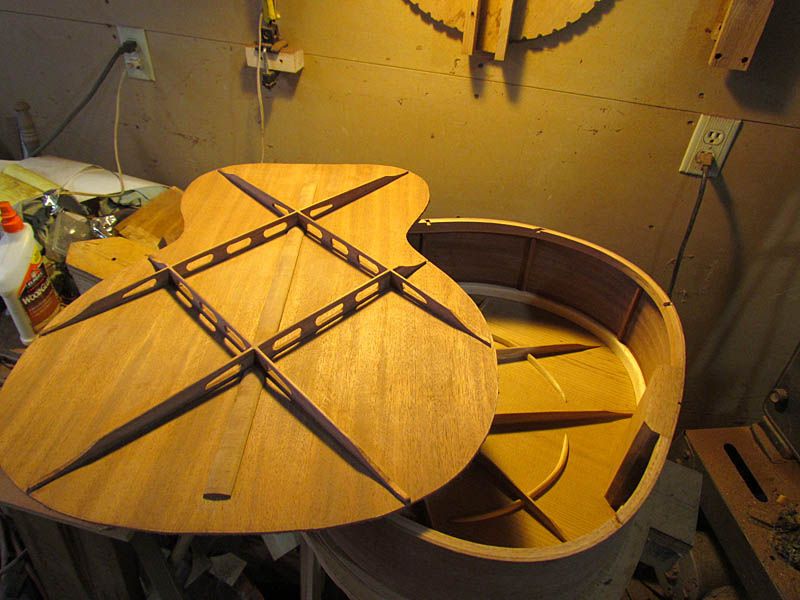
The back ready to glue
Image

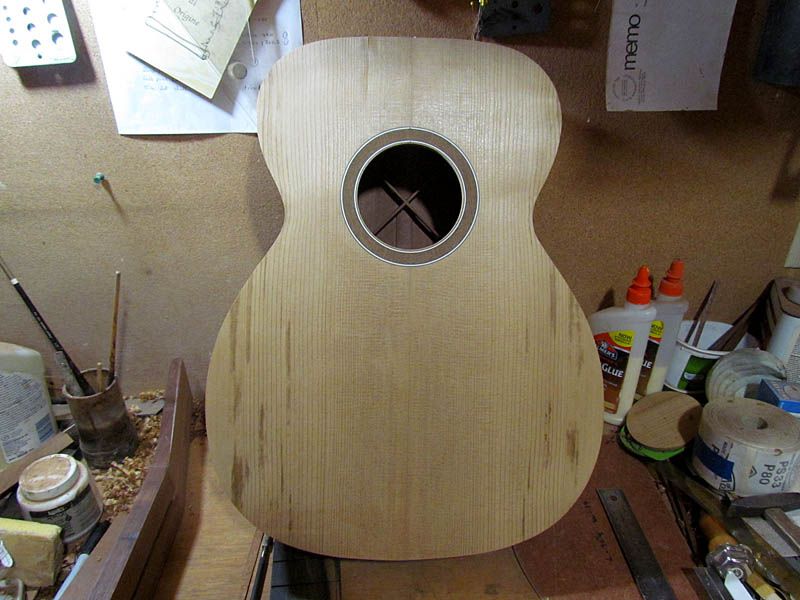
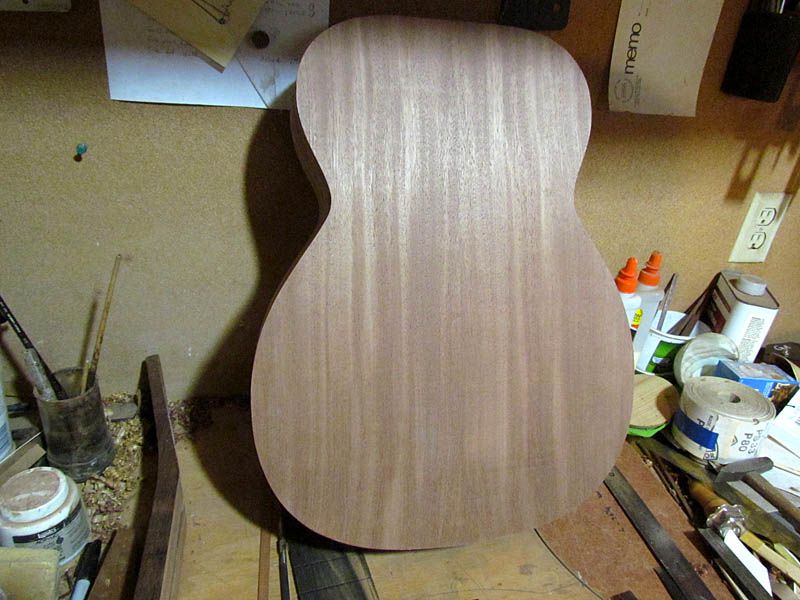
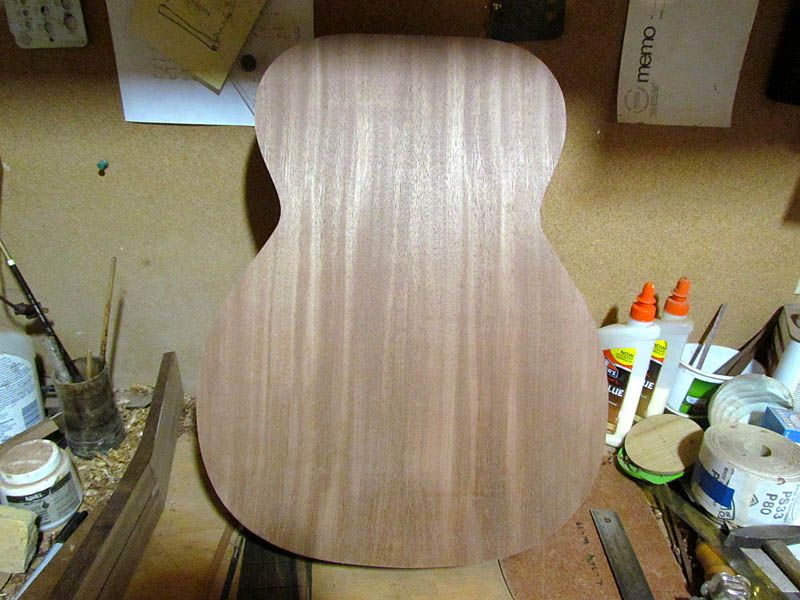
Box all closed, view from the top
Image

And the back
Image

Image

More in the morning and I will add some comments about working with the thermally modified wood. Thanks for looking.

G
Re: Documenting my first total thermally modified build

Posted: Mon Oct 19, 2015 12:52 am
by Dennis Leahy
It's striking how humble looking the outside is and how dazzling the interior with those 2 cool bracing patterns.

Awesome work, Grant.

D

Re: Documenting my first total thermally modified build

Posted: Mon Oct 19, 2015 6:27 am
by whitespruce
Dennis Leahy wrote:It's striking how humble looking the outside is and how dazzling the interior with those 2 cool bracing patterns.

Awesome work, Grant.

D
Thanks for the comment. That will change a bit with the binding. There will be a bark purfling line around the top. That, and a figured ebony fingerboard and peghead should dress it up a bit.

G

Re: Documenting my first total thermally modified build

Posted: Mon Oct 19, 2015 11:36 am
by Dennis Leahy
whitespruce wrote:
Dennis Leahy wrote:It's striking how humble looking the outside is and how dazzling the interior with those 2 cool bracing patterns.

Awesome work, Grant.

D
Thanks for the comment. That will change a bit with the binding. There will be a bark purfling line around the top. That, and a figured ebony fingerboard and peghead should dress it up a bit.

G
Oh, I have no doubt whatsoever that the guitar exterior will be handsome/beautiful - it just doesn't hint at what's going on inside the box.

Re: Documenting my first total thermally modified build

Posted: Mon Oct 19, 2015 12:01 pm
by whitespruce
Dennis Leahy wrote:
whitespruce wrote:
Dennis Leahy wrote:It's striking how humble looking the outside is and how dazzling the interior with those 2 cool bracing patterns.

Awesome work, Grant.

D
Thanks for the comment. That will change a bit with the binding. There will be a bark purfling line around the top. That, and a figured ebony fingerboard and peghead should dress it up a bit.

G
Oh, I have no doubt whatsoever that the guitar exterior will be handsome/beautiful - it just doesn't hint at what's going on inside the box.
Maybe I need to put some "viewing ports" in the sides :lol: :lol:

G

Re: Documenting my first total thermally modified build

Posted: Tue Oct 20, 2015 12:58 pm
by whitespruce
One more post to bring this p to date.

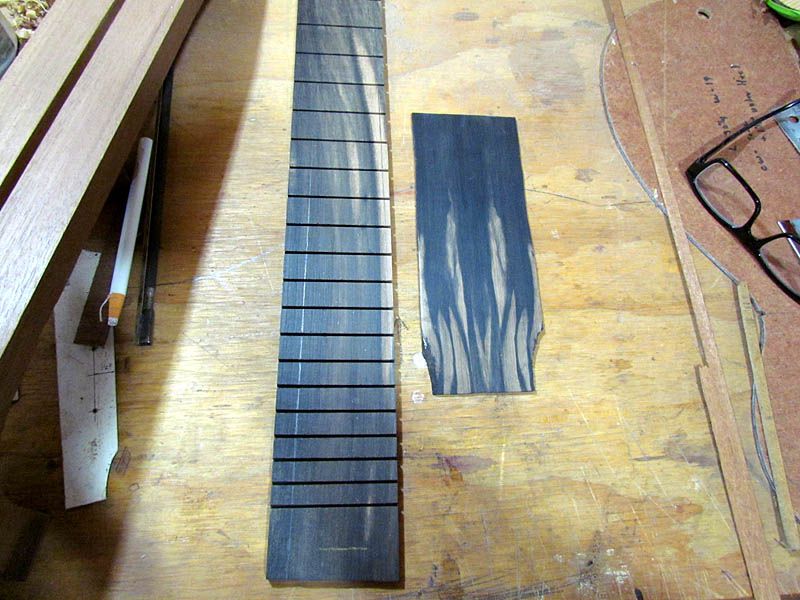
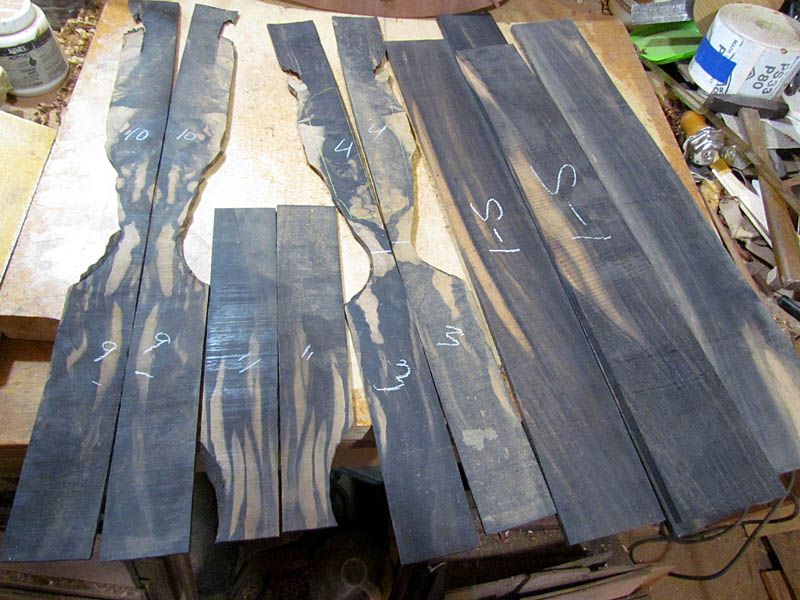
Moving on to the neck, here is what I am picking from for the fingerboard and peghead overlay
Image
The peghead overlays are from a bunch of bookmatched figured ebony

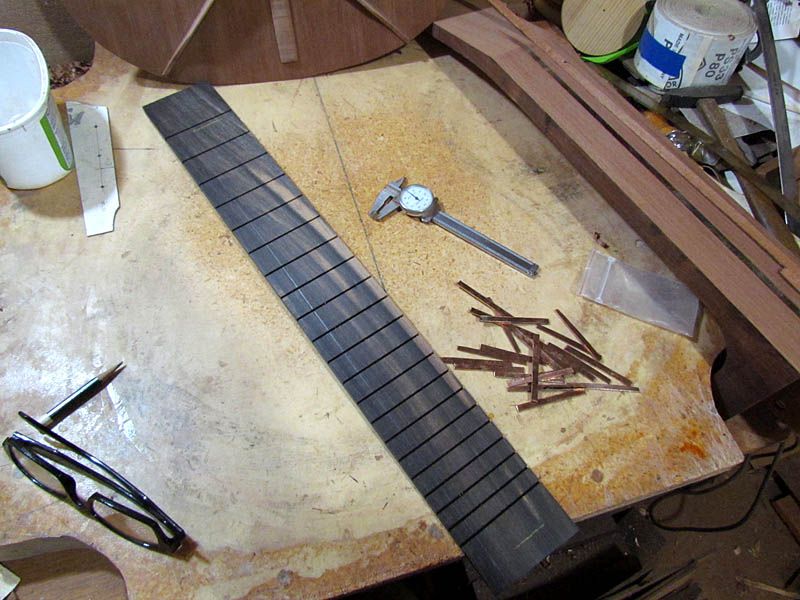
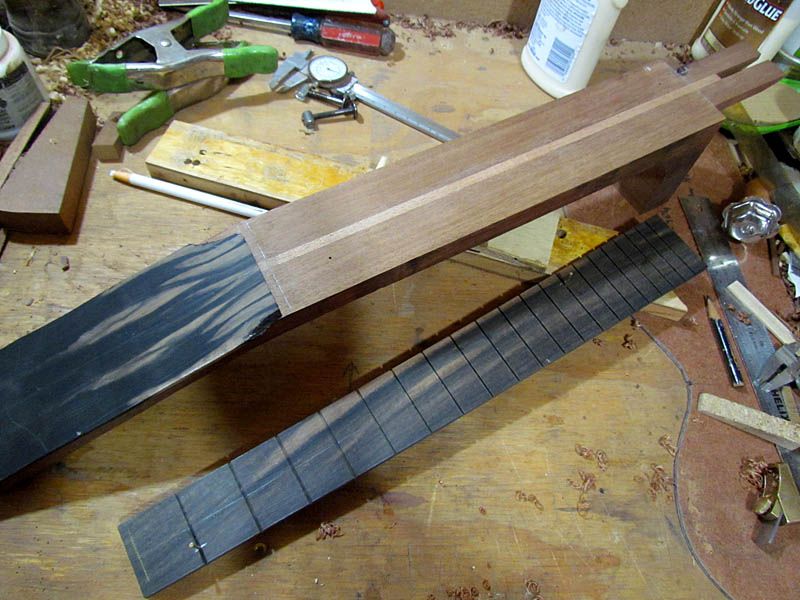
And here is the final fingerboard with fret slots cut
Image
and a bunch of phosphor bronze fret blanks cut

The fingerboard and glued up peghead overlay
Image

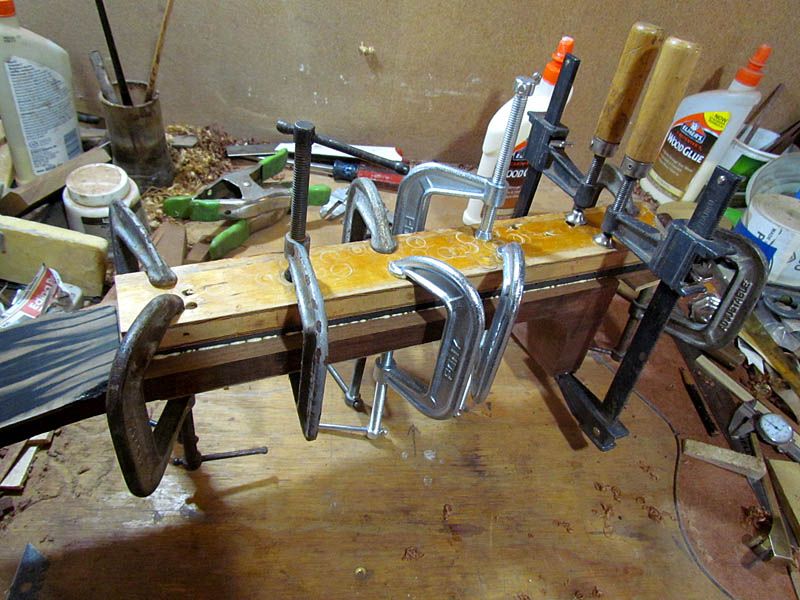
Fingerboard ready to glue
Image

Being glued on
Image
Brass brads used for locating pins

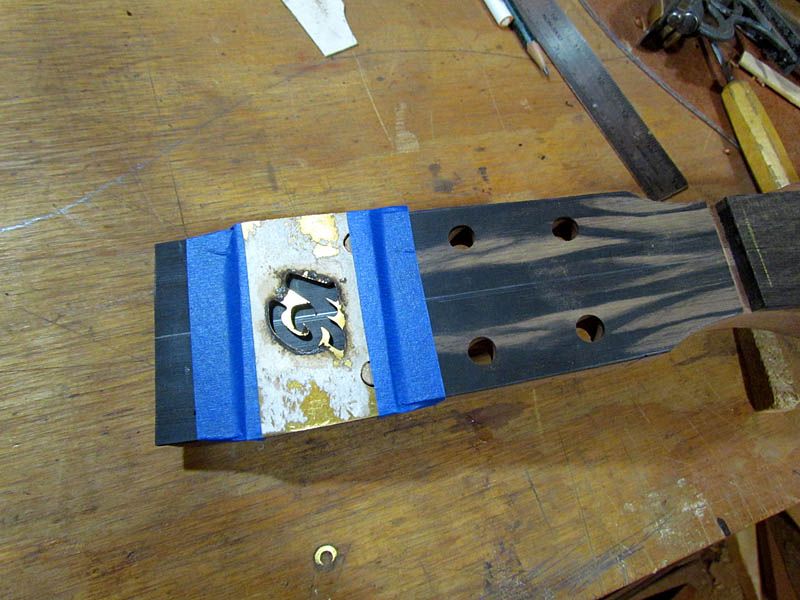
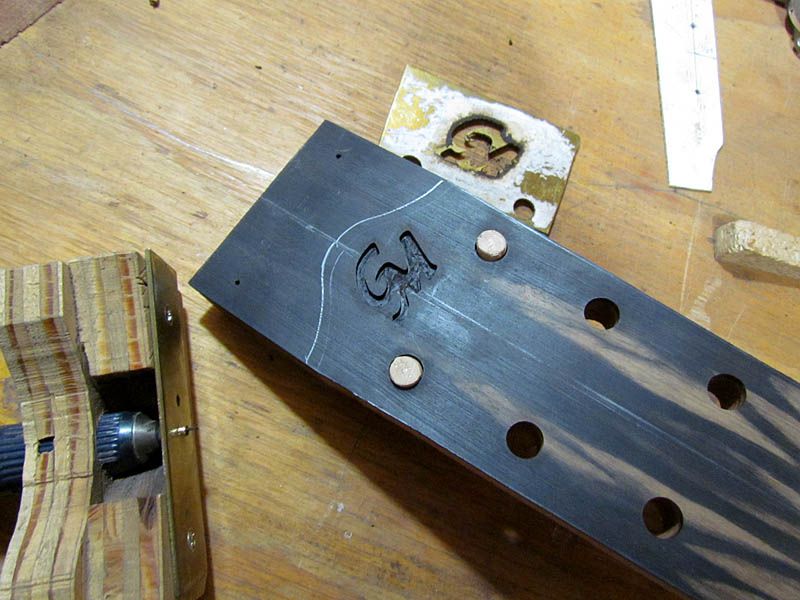
Peghead is rough trimmed to shape and tuner holes drilled. My template for routing the inlay cavity is positioned and ready
Image
I use a couple of dowels in the upper tuner holes to locate the template

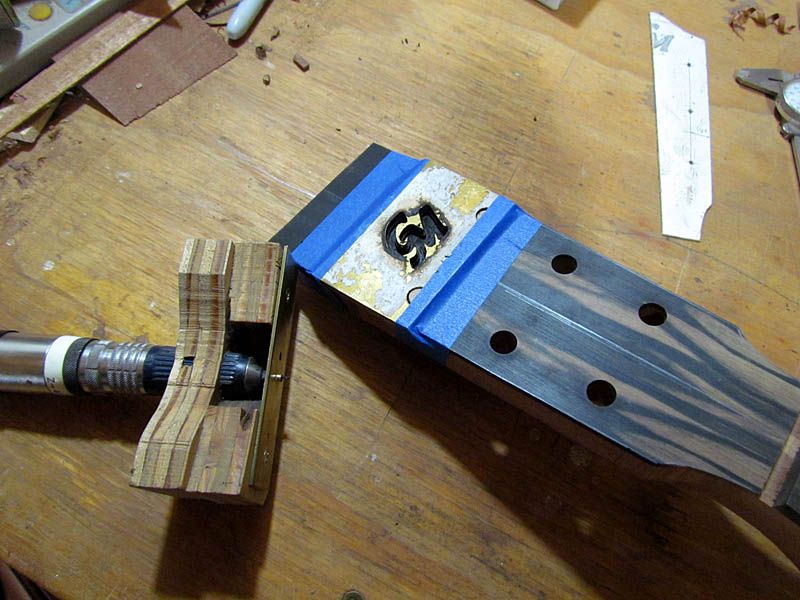
Inlay routed and the tool I use
Image
Nothing fancy, the rotary tool is just a friction fit in the base. I have been using this simple device for years

With the template removed
Image

Stay tuned for more. I have selected koa bindings and end graft.

G

Re: Documenting my first total thermally modified build

Posted: Tue Oct 20, 2015 6:48 pm
by Jim
Grant,

I like it all. Nice to see your selection process and the headplate overlay looks like flames! Nice!

Jim

Re: Documenting my first total thermally modified build

Posted: Tue Oct 20, 2015 7:25 pm
by johnparchem
I really like the fret board head stock veneer combination. I also really like the idea of indexing the logo template to the peg holes and using a small template follower, a simple solution that I would have never thought of after many guitars.