Here are the brace components ready to go. This probably looks familiar. Again, note an uncooked piece for comparison.
![Image](http://img.photobucket.com/albums/v68/whitespruce/tmbox15_zpst7d1ebxk.jpg)
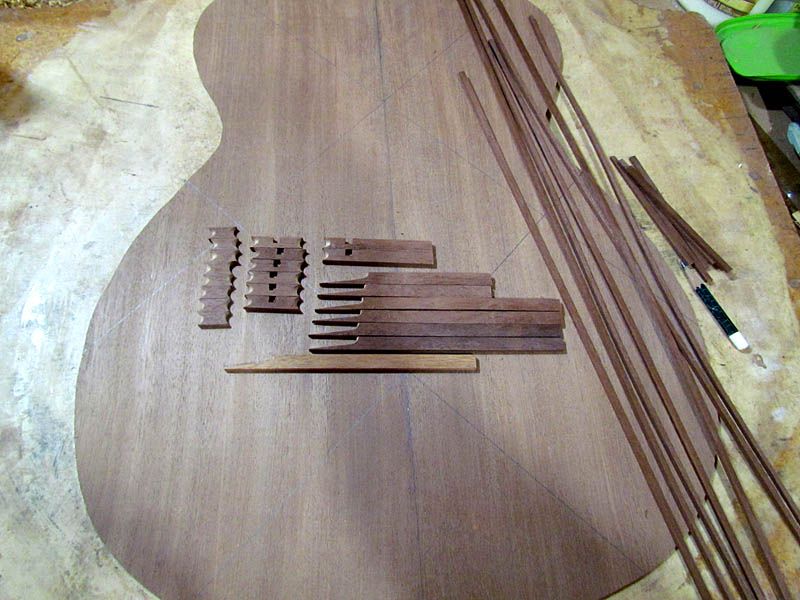
I am finding the thermally modified wood very easy to work with...it cuts and sands easier than unmodified.
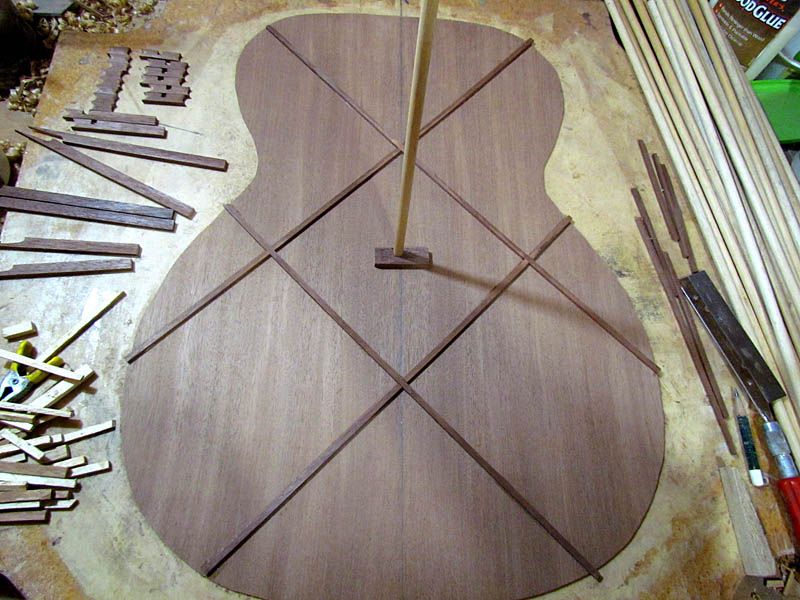
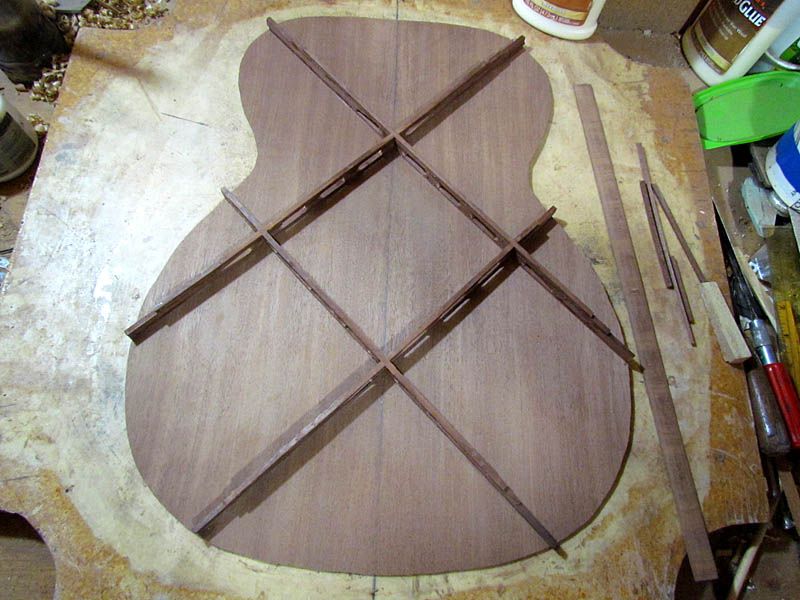
Again, the first layer is comprised of 1/8" thick strips. I laid out my regular 6" square, but am gluing inside the lines for this smaller body
![Image](http://img.photobucket.com/albums/v68/whitespruce/tmbox16_zpspz8w6x5z.jpg)
First layer done
![Image](http://img.photobucket.com/albums/v68/whitespruce/tmbox17_zpsafe0fveg.jpg)
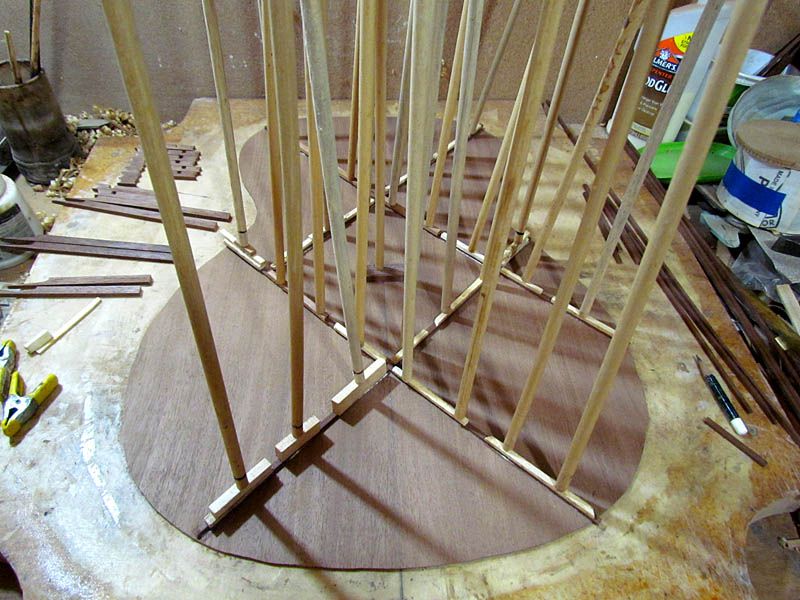
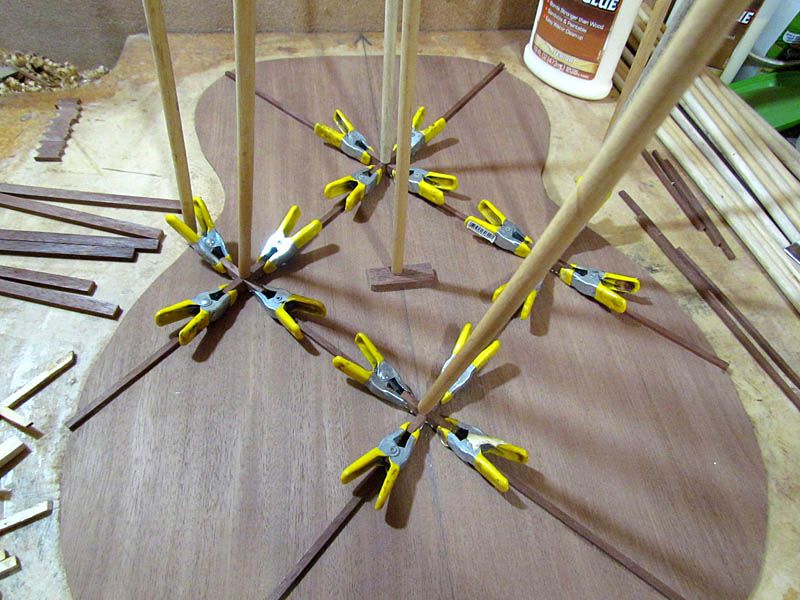
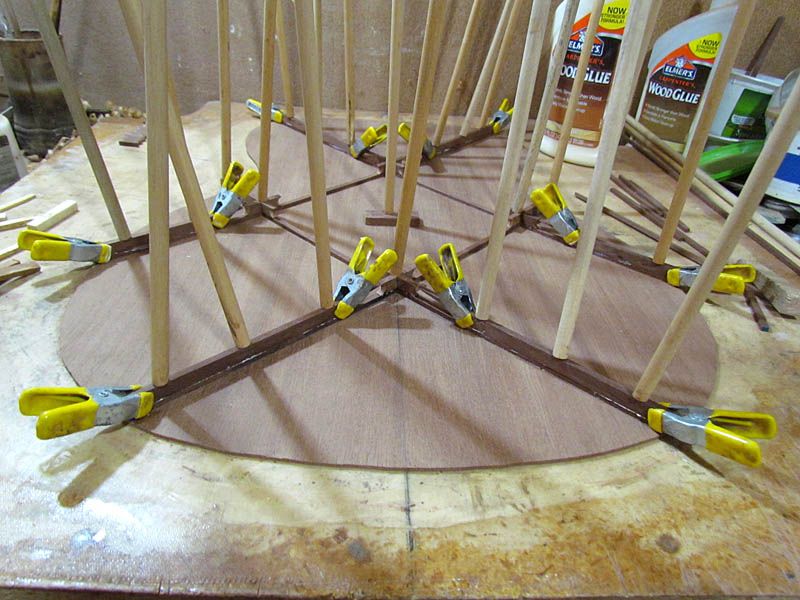
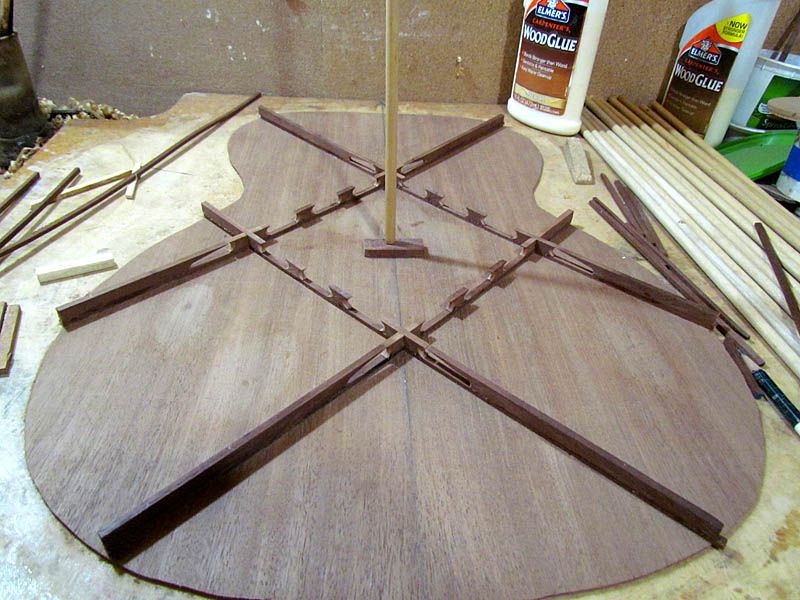
Next, I glue in the center layer of pre-shaped parts, starting with the little X's. I use the small clamps to keep the layers lined up
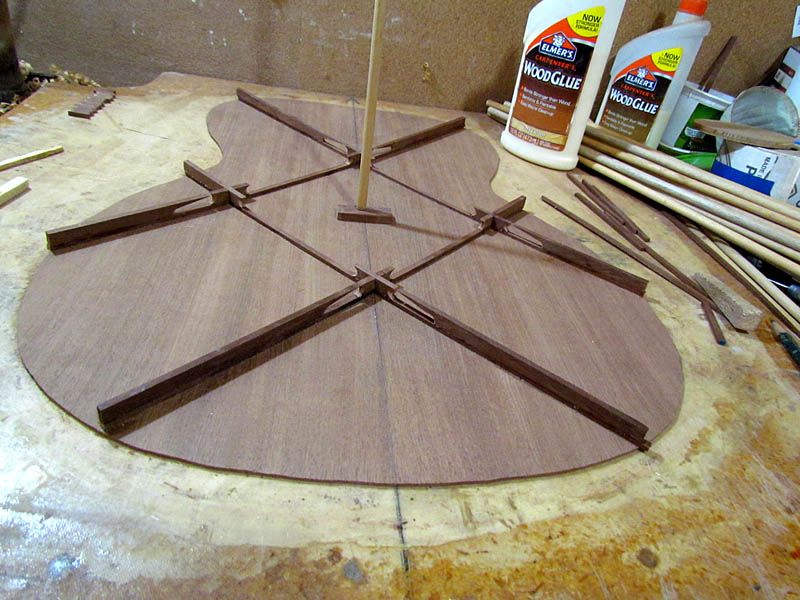
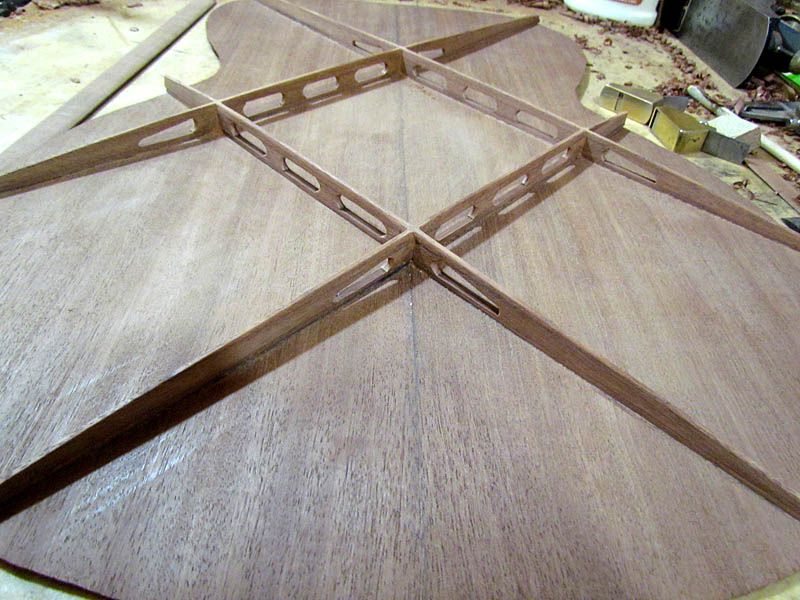
![Image](http://img.photobucket.com/albums/v68/whitespruce/tmbox18_zps2ia7ysjg.jpg)
![Image](http://img.photobucket.com/albums/v68/whitespruce/tmbox19_zpsvylxjunh.jpg)
![Image](http://img.photobucket.com/albums/v68/whitespruce/tmbox20_zpsi9tfswcr.jpg)
![Image](http://img.photobucket.com/albums/v68/whitespruce/tmbox21_zpsy7yyb6vl.jpg)
Center layer done
![Image](http://img.photobucket.com/albums/v68/whitespruce/tmbox22_zps6cdihtxg.jpg)
Then I just need to glue on 2 more 1/8" layers
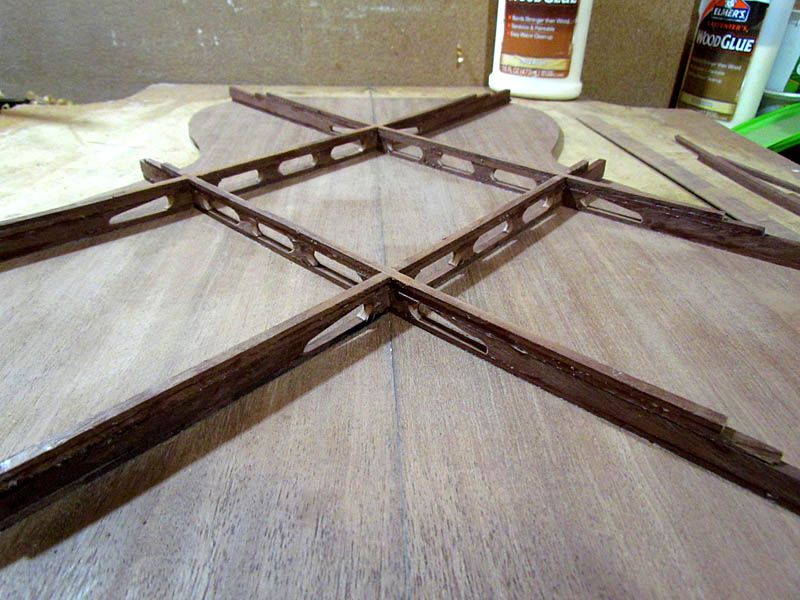
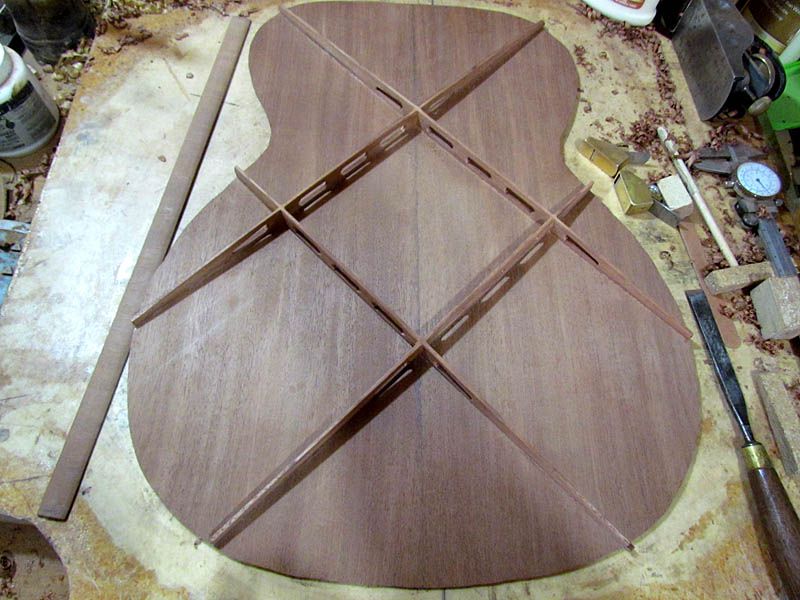
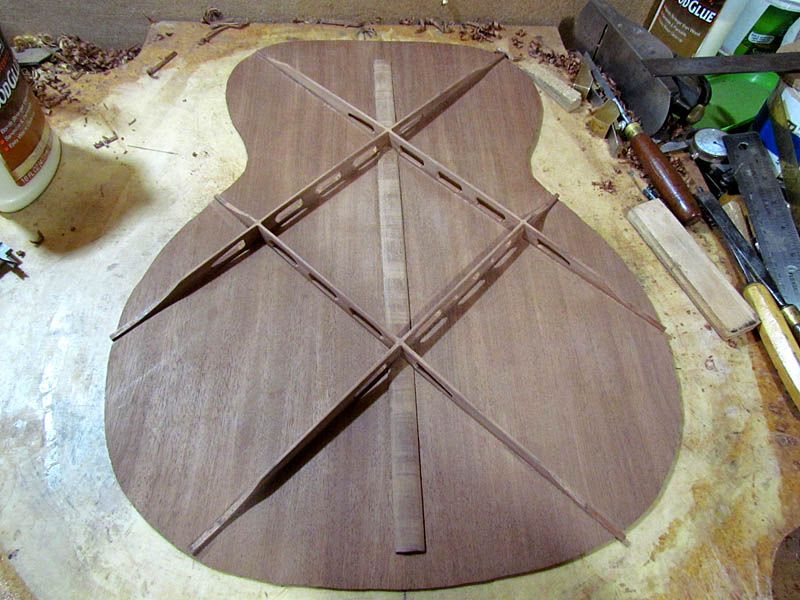
![Image](http://img.photobucket.com/albums/v68/whitespruce/tmbox23_zps1fm16vq4.jpg)
Done
And a low angle view
![Image](http://img.photobucket.com/albums/v68/whitespruce/tmbox24_zpsginrgpao.jpg)
Next, I plane the tops to height
![Image](http://img.photobucket.com/albums/v68/whitespruce/tmbox25_zpsrhjwkzzx.jpg)
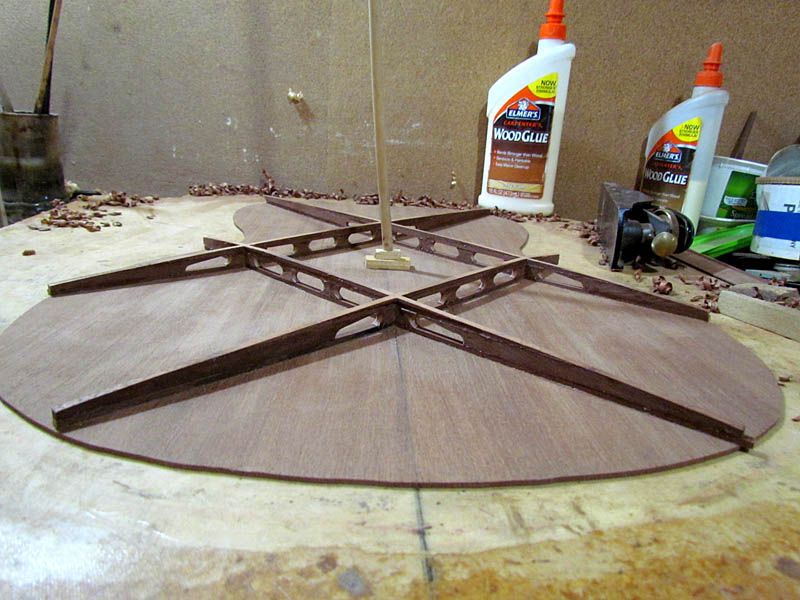
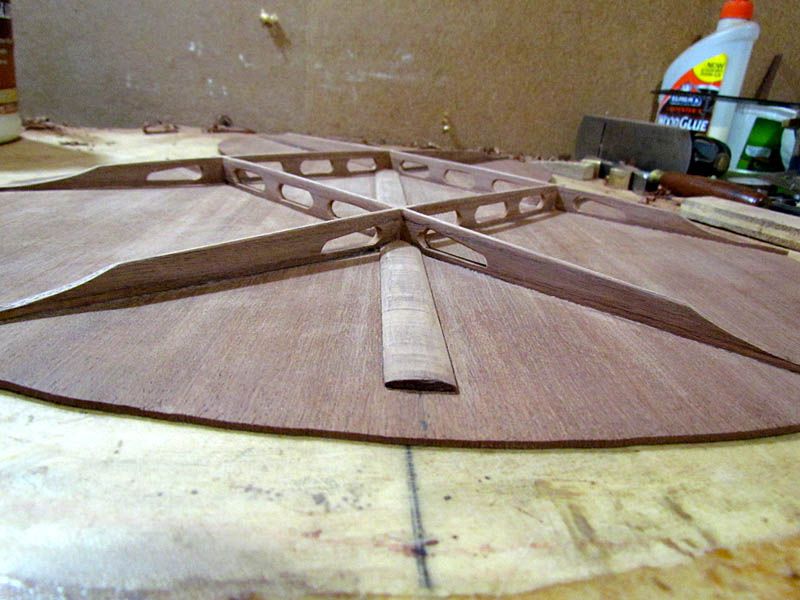
The final step is to carve the brace sides to a nice taper. Here is the first leg done
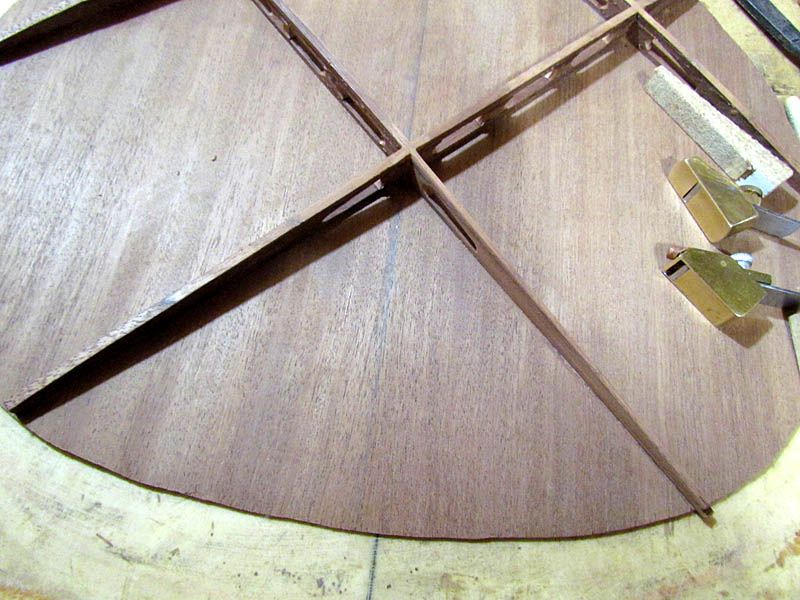
![Image](http://img.photobucket.com/albums/v68/whitespruce/tmbox26_zpsxroythay.jpg)
And all of them
![Image](http://img.photobucket.com/albums/v68/whitespruce/tmbox27_zps01nksblu.jpg)
A low angle view
![Image](http://img.photobucket.com/albums/v68/whitespruce/tmbox28_zpsjlsrok3x.jpg)
Everything sanded, center back strip glued in (offcut from back plates), and brace ends carved
![Image](http://img.photobucket.com/albums/v68/whitespruce/tmbox29_zpssixnmv4b.jpg)
![Image](http://img.photobucket.com/albums/v68/whitespruce/tmbox30_zps6bzx60vc.jpg)
Now I just need to final shape the back linings by sanding on my dish mold and carve the brace pockets
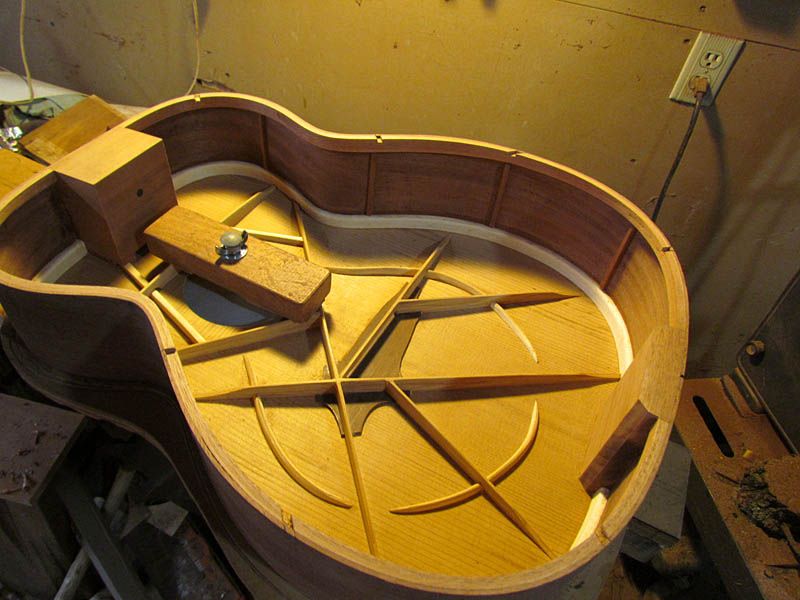
![Image](http://img.photobucket.com/albums/v68/whitespruce/tmbox33_zpsasqbribx.jpg)
Done
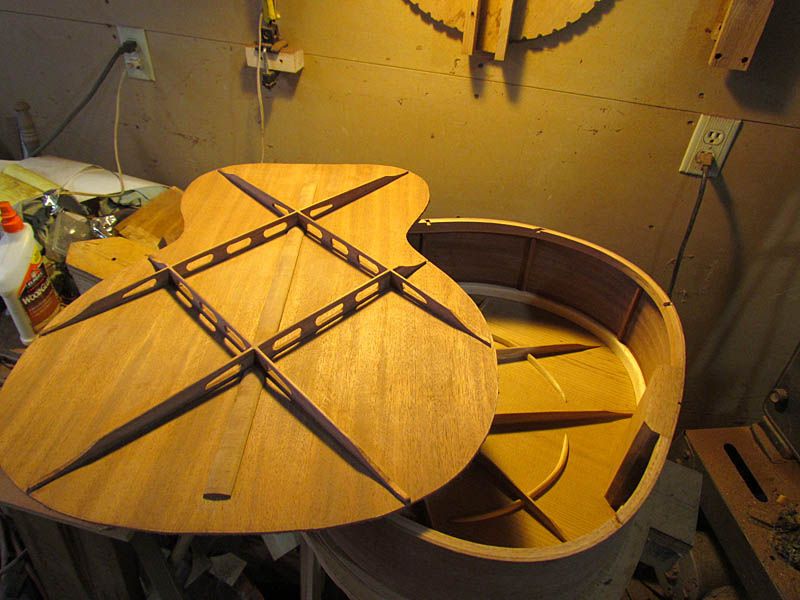
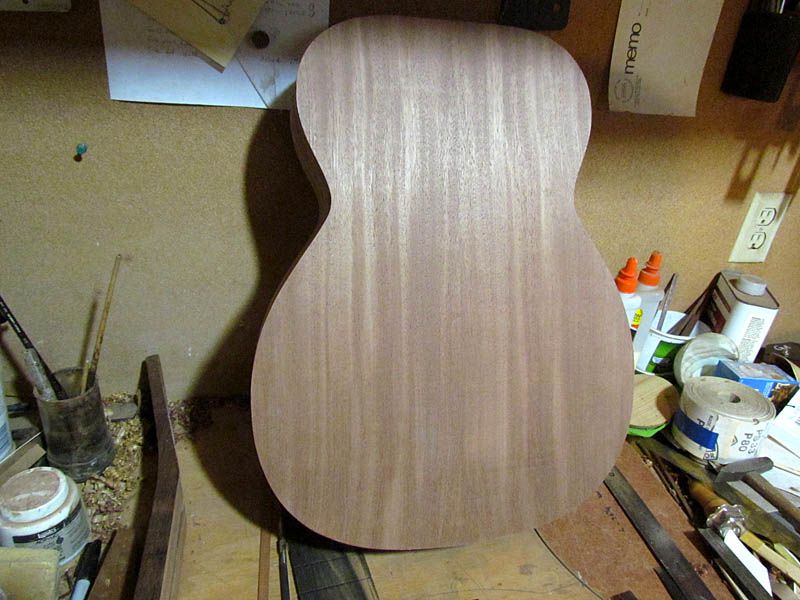
The back ready to glue
![Image](http://img.photobucket.com/albums/v68/whitespruce/tmbox34_zpsevnso9bc.jpg)
Box all closed, view from the top
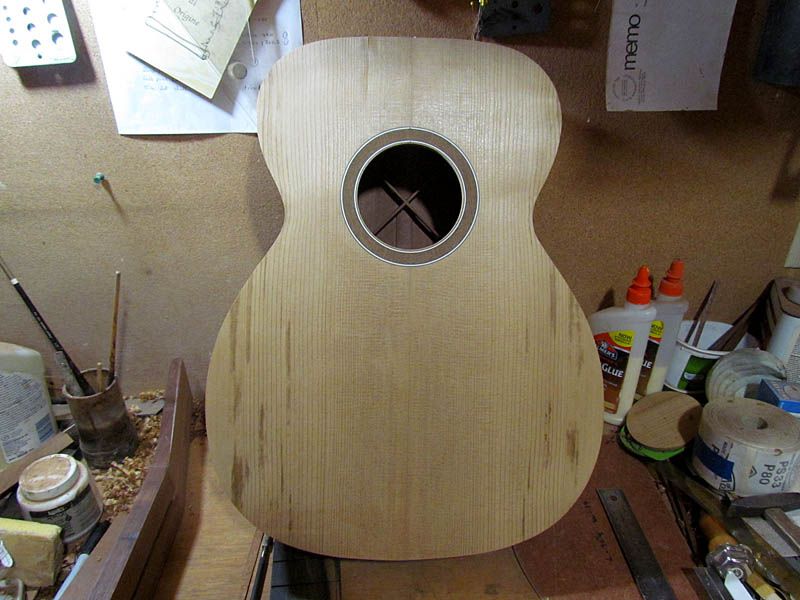
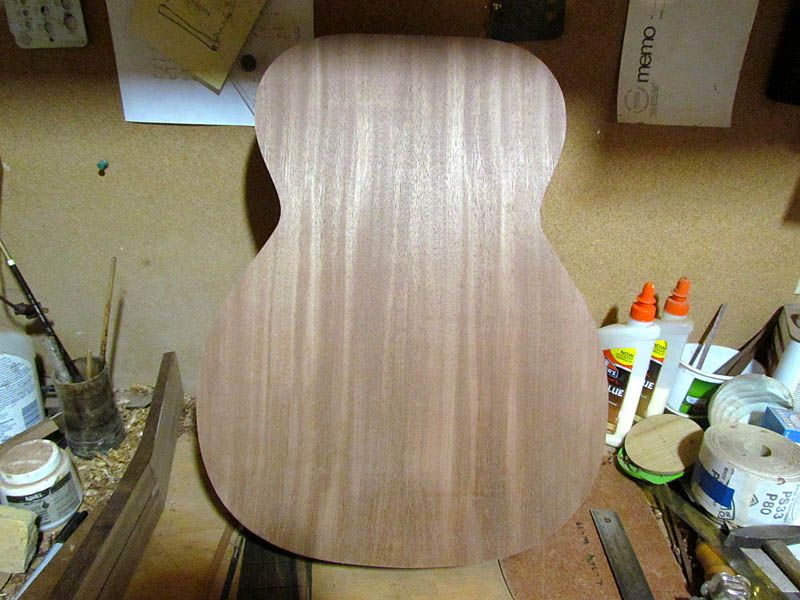
![Image](http://img.photobucket.com/albums/v68/whitespruce/tmbox36_zpsrcj85vh4.jpg)
And the back
![Image](http://img.photobucket.com/albums/v68/whitespruce/tmbox37_zpsz5hffjan.jpg)
![Image](http://img.photobucket.com/albums/v68/whitespruce/tmbox38_zpsy1lbhjjr.jpg)
More in the morning and I will add some comments about working with the thermally modified wood. Thanks for looking.
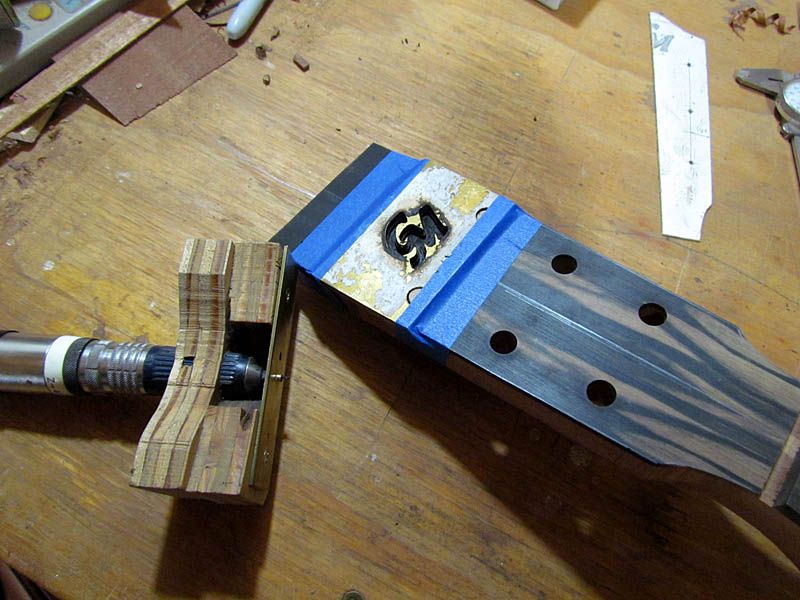
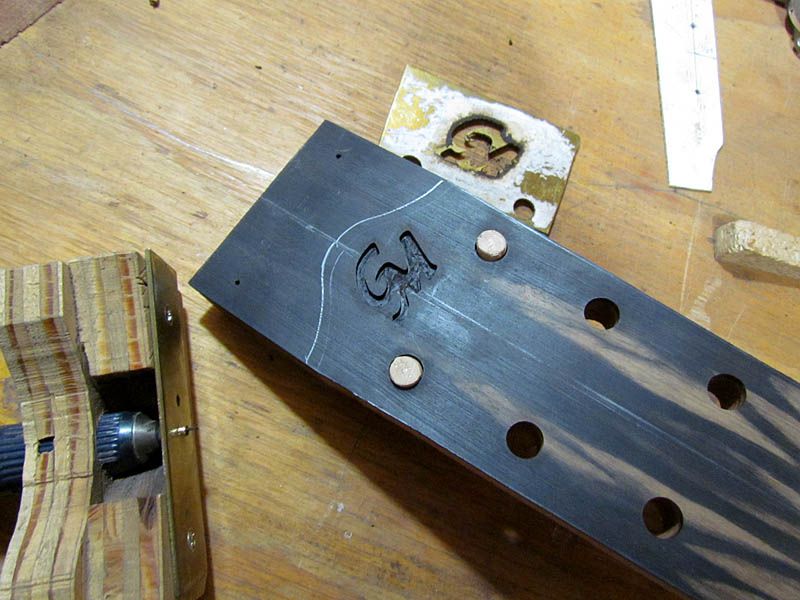
G