Cheers for posting the build Grant
All the best
Dave


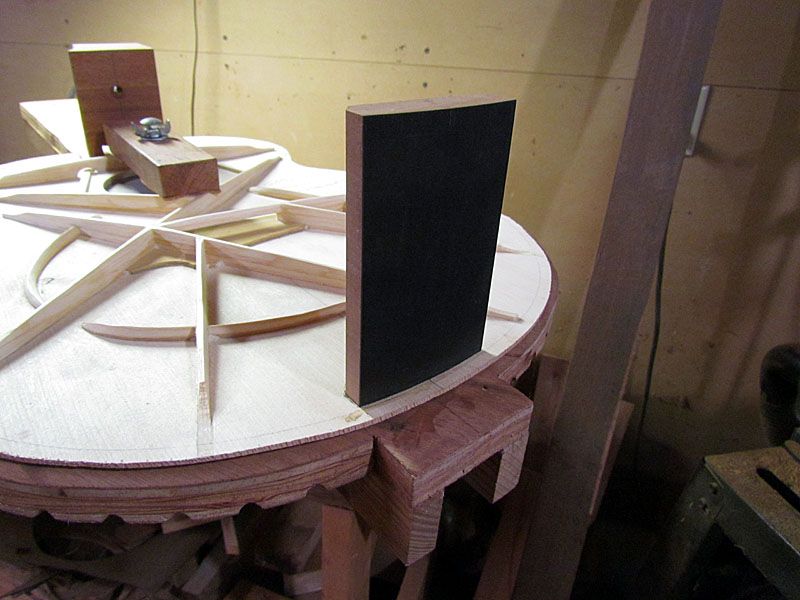

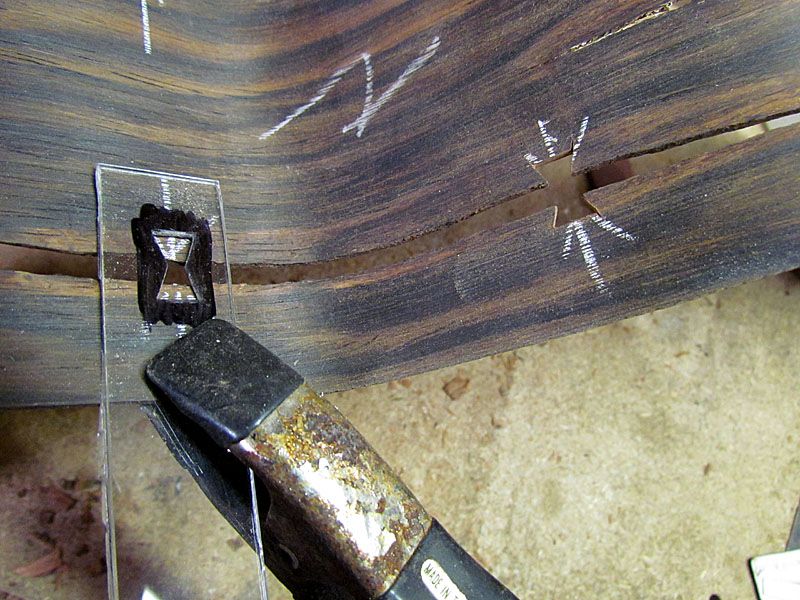
Check. Double-check. Noted. :~)whitespruce wrote:The next step is to dry fit each of the sides and adjust it on the end blocks to where it will best fit the body outline penciled on the inside of the top
{image}
This is the critical step in getting the final size and shape of the body as close as possible to what I have intended
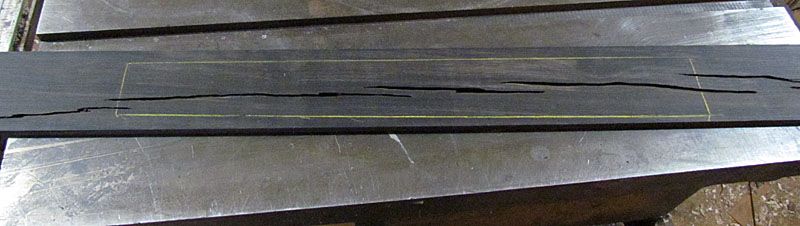
Well now. Fill it with clear epoxy, and it will look black, and will look like a repair rather than a deliberate act of artistry. You can keep it under your hat, but I'll wager a side bet on a fill with light colored (epoxy+wood dust) material - I'll guess a creamy off white or light tan. I have seen wood turners fill cracks with teeny turquoise chips and epoxy, but I don't think you'll do that. Maybe smashed abalone? Maybe Bloodwood dust? Sumac dust? What's your binding? hahahahaha Don't pay any attention to the pesky kid with all the guesses and questions. Make me wait along with everyone else!whitespruce wrote:Meanwhile, jumping ahead a bit, I searched my ebony pile for a chunk of the quality that I will need for the fingerboard on this guitar....just any old ebony will not do.
Here is what I selected
Scarey, eh?Well, I will let you think on that a bit. I know exactly what I intend to do with this, but will keep it under my hat until the time comes

G