Page 3 of 22
Re: Ron Steiger
Posted: Mon Sep 22, 2008 2:31 pm
by Eben
I got 'em for ya, buddy!
In photobucket, click on the box underneath the picture you want that reads IMG CODE - When you click in that box, you should get a little yellow pop up that reads 'copied' - Then just go to your post here, put your cursor where you want the pic to show up, and then press the CONTROL and V keys at the same time; that'll paste the IMG code to your post and you're good to go!
E
Re: Ron Steiger
Posted: Mon Sep 22, 2008 2:40 pm
by Ron
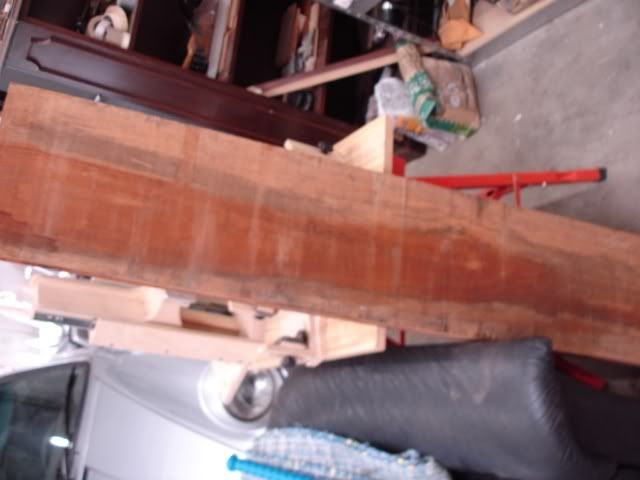
heres the board of mahogany 11 1/2 wide x 5ft long ...big board.
Re: Ron Steiger
Posted: Mon Sep 22, 2008 2:42 pm
by Ron
Thanks eben I got it........cool ...
ok guys here's the back wood and side wood...now I need to resaw the wood...
Re: Ron Steiger
Posted: Mon Sep 22, 2008 3:15 pm
by Eben
My pleasure, buddy!
Bring it, we're diggin' it!

E
Re: Ron Steiger
Posted: Mon Sep 22, 2008 8:07 pm
by Ron
Am going to try somethings different on this build but also stick with what work too.. like cedar bracewood almost like light weight mahogany wood.
I think its western red credar , I might be wrong

but I like the weight of the wood and it stiff ness then the use of spruce ...for the harps.
am also going to change the way the harp arm and head plate angles, also going to change the head block so it all flows throw the neck.
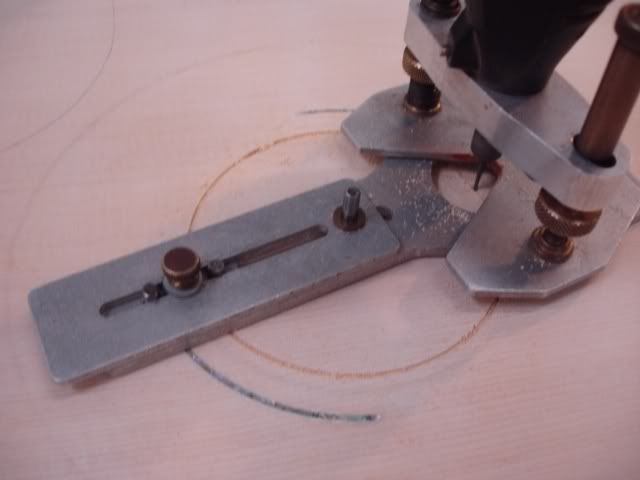
that being said ...I get close-up of the top ..notice the lines (glue joints) off sets the sound hole about 1/4 -1/2 inch...but the end block is butt on..the line.
also got photos of a 1900 dryer copy brace patten ,which I show you guys for the first time ,I work with that patten to lay out for this build.
I also be using and arch disc for the top and back and ill show you guys how I build with almost no form and all will be hand bent over a hot pipe..
again thanks guys ...
Ron
Re: Ron Steiger
Posted: Tue Sep 23, 2008 1:27 pm
by Ron
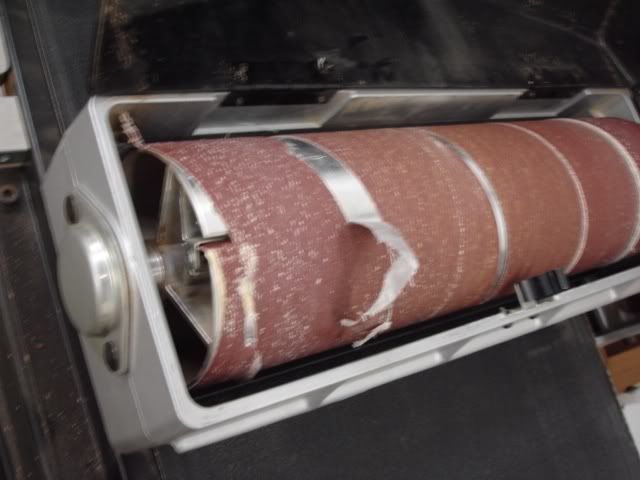
I started off my day running the top in the sander...wow did'nt see that happen...really...its was like a baaammm...I know my top got it...and it diid
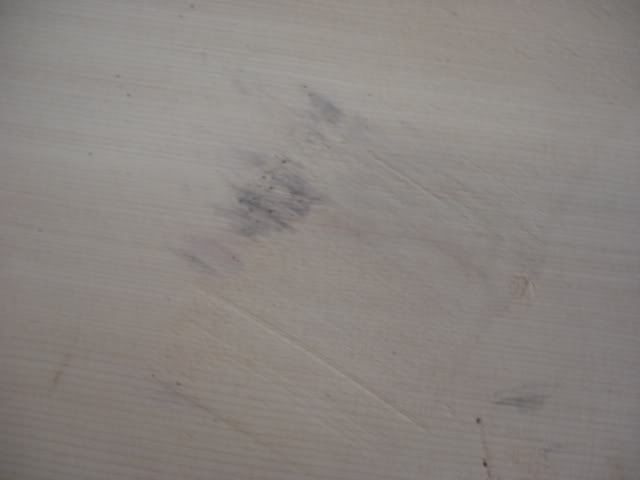
so I replace the sand paper and it did it again...damm I hate when that happens. well I wetted the top with some water to rase the grain and let the top dry..then sanded the top by hand...work on that sander later..

well I did fix the top and back in the seat...

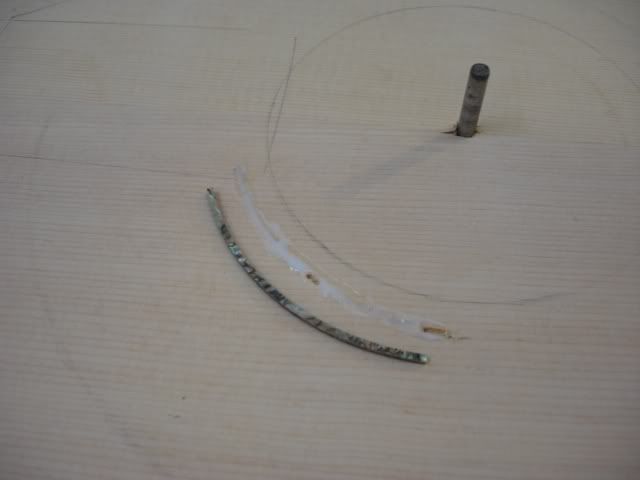
am trying to work with what I have and not send money...hard to do...out of thin wood and i found some inlay mat , so that will work ..
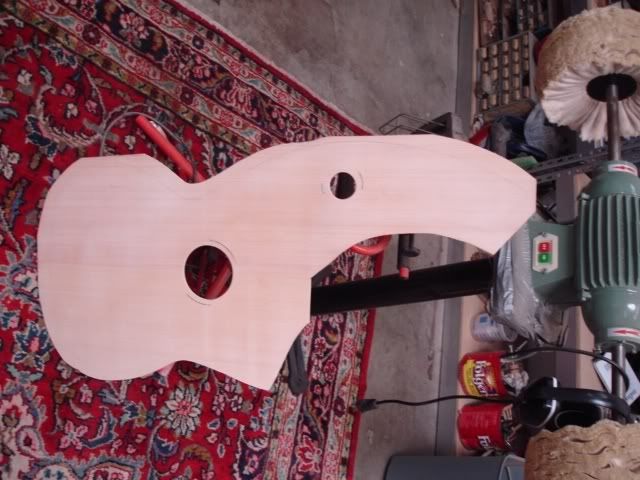
got the hole cut out and the smaller one too..and the top sanded and done.
now for the braceing..
...
Ron ...
Re: Ron Steiger
Posted: Tue Sep 23, 2008 2:35 pm
by D_H_G GUITARS
Just another day at the office eh Ron. I hate when the sandpaper buggers up on ya when ya close to the desired thickness.
This is going to be a great build Ron, I can just feel it bro!
Thxs
Hugh
Re: Ron Steiger
Posted: Tue Sep 23, 2008 3:27 pm
by Ron
Thanks hugh
me too...I went back in the shop and worked on the thickness sander , Yes it was me...I should have check the machine before I fired it up...
there was a loose bolt from the motot to the shaft ...guess I have to order a new rubber and some sandpaper...But it should be fine for the back and sides.
Time to pick my kids up from school....take care ...
ps just to be safe on the safe side...am not using the paper in the thickness sander...its trash...I do have and ex-one..in my tool box....
Ron