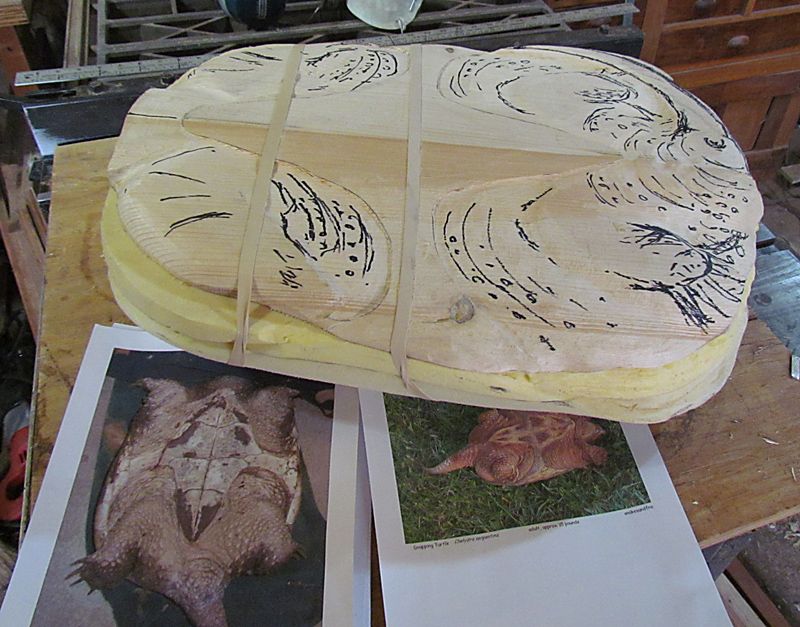
"Snapper" Archtop

Guitars by Grant Goltz of Hackensack, MN
User avatar
whitespruce
Site Admin
Posts: 4367
Joined: Thu Aug 21, 2008 6:53 am
Include Off Topic: Yes
Location: Northern Minnesota, USA

Re: "Snapper" Archtop

Post by whitespruce » Mon Apr 21, 2014 5:52 pm

gilmoreguitars wrote:So...is the sound board the belly of the turtle and the back the outside back shell of the turtle?
You are a crzy dude!
And I love it!!
David
You got it right, David.

Now and then everybody should do something a bit crazy :lol:

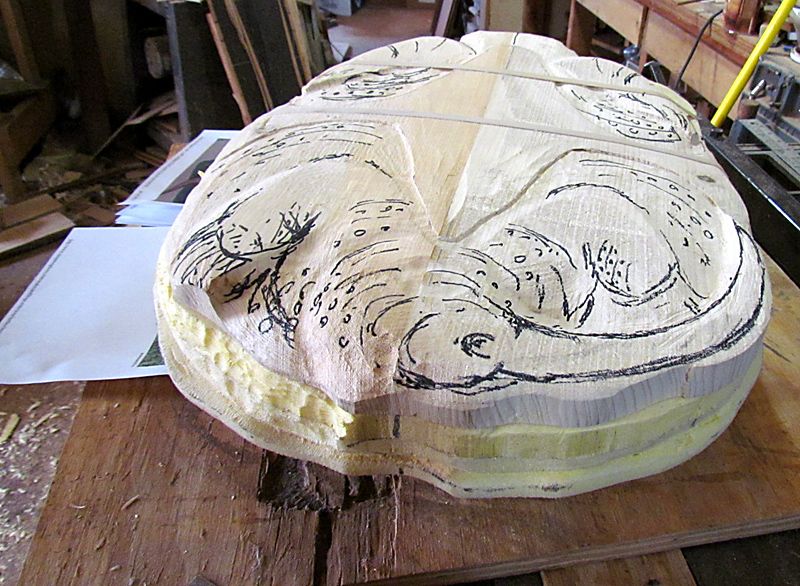
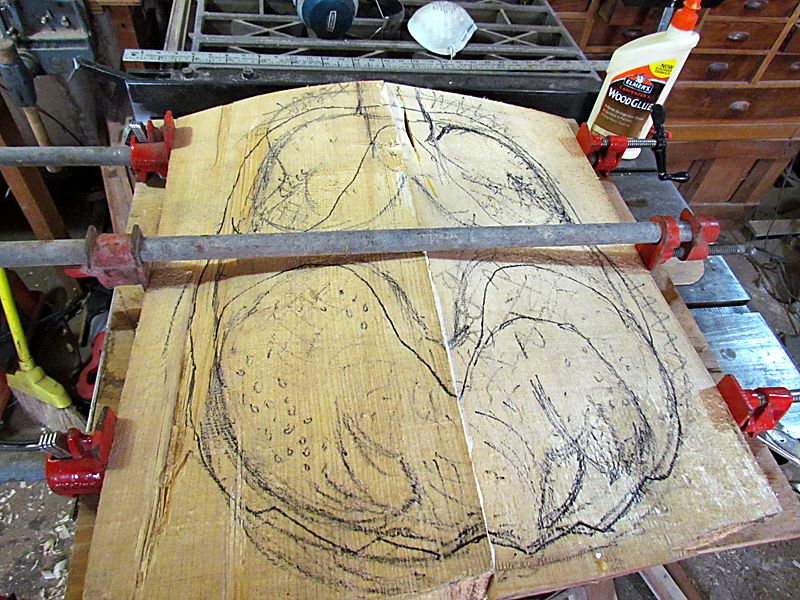
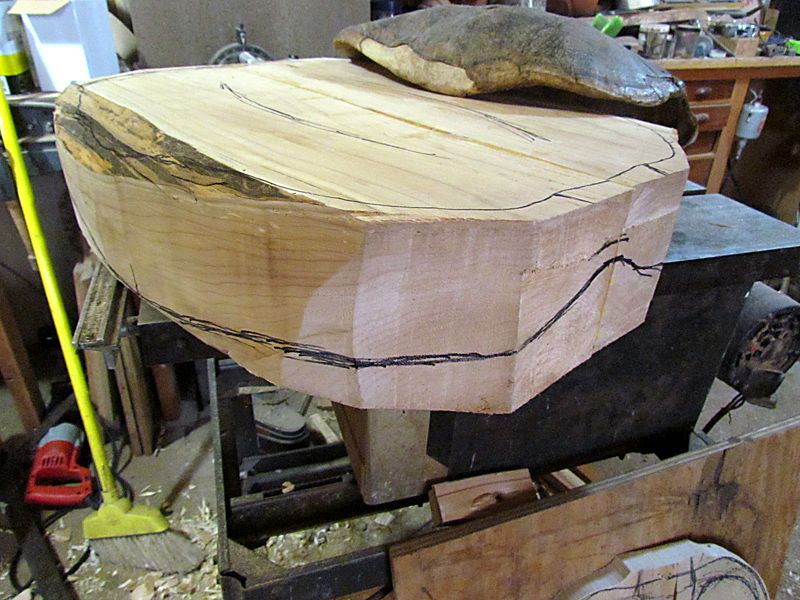
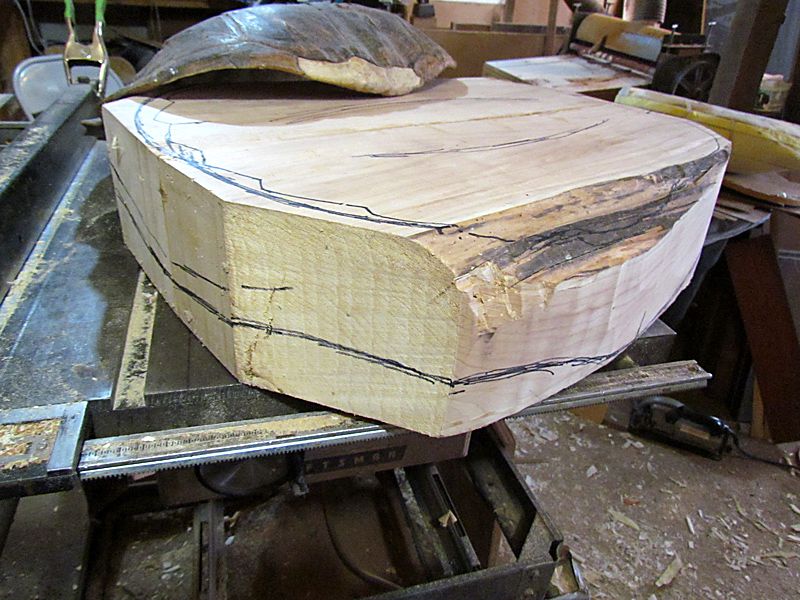
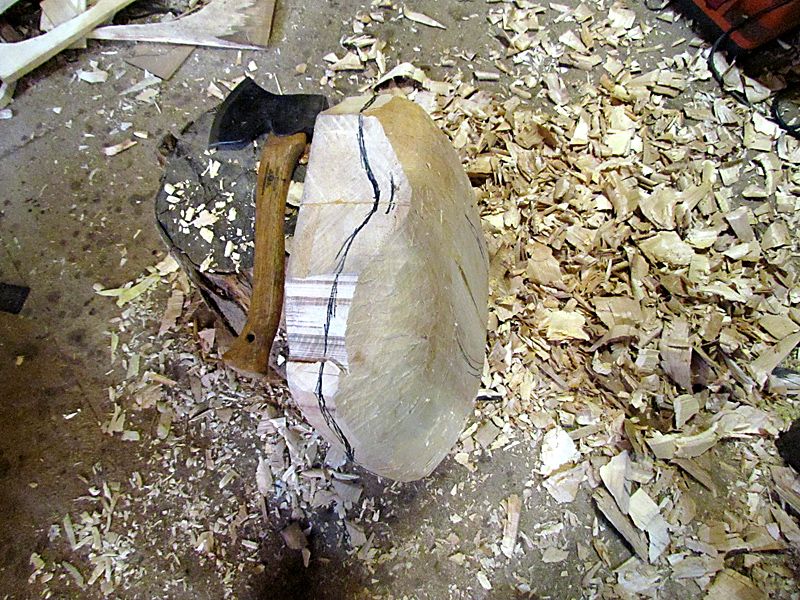
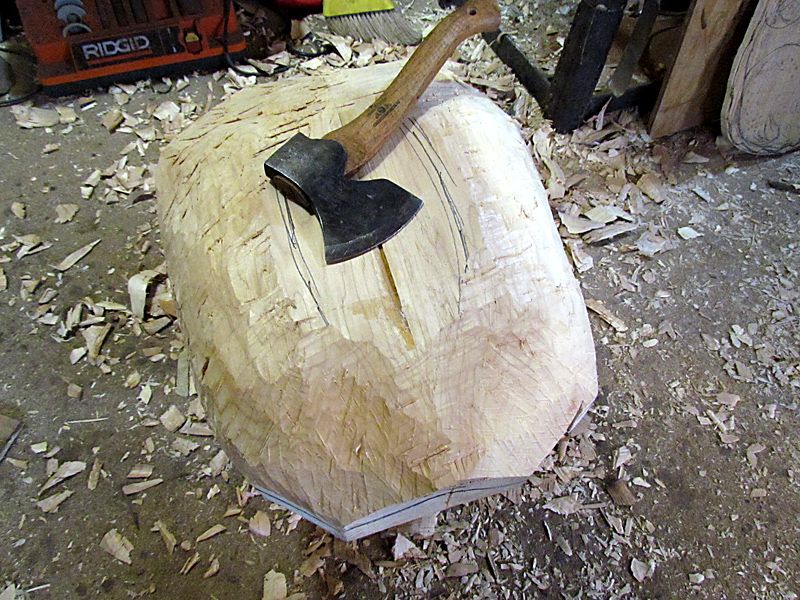
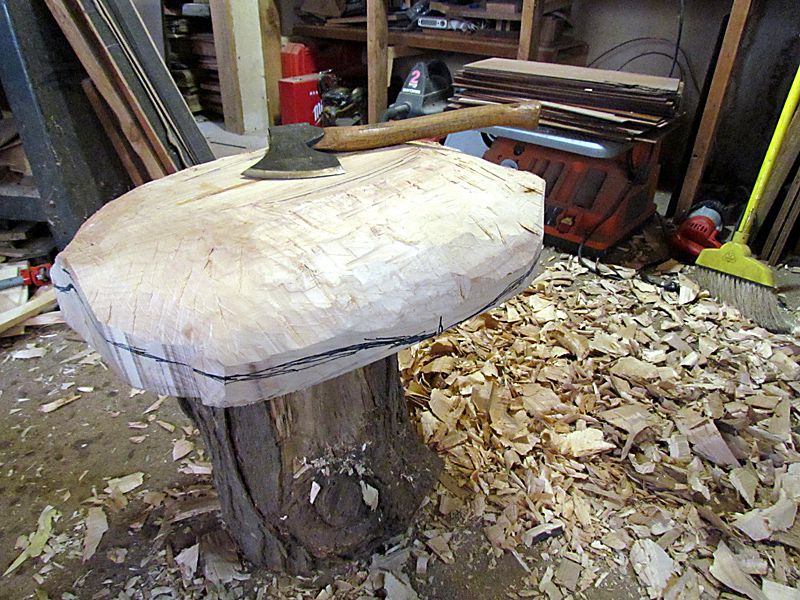
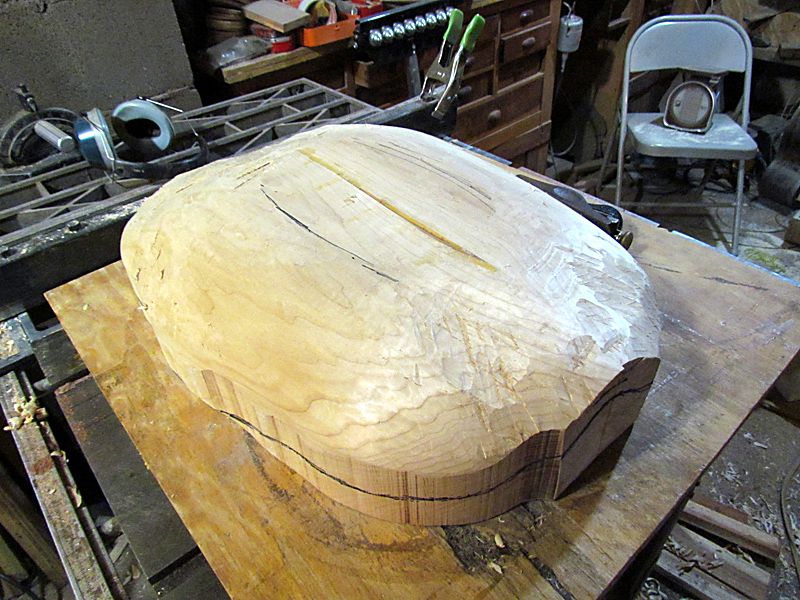
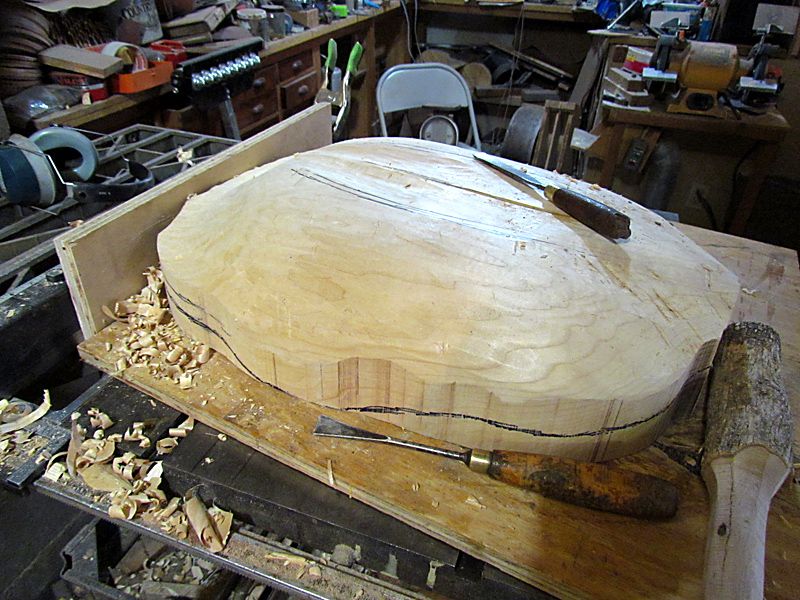
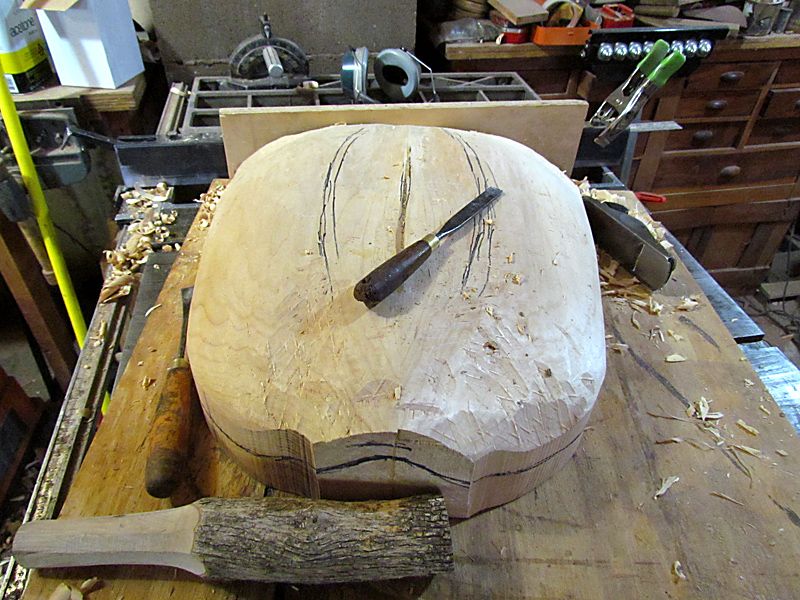
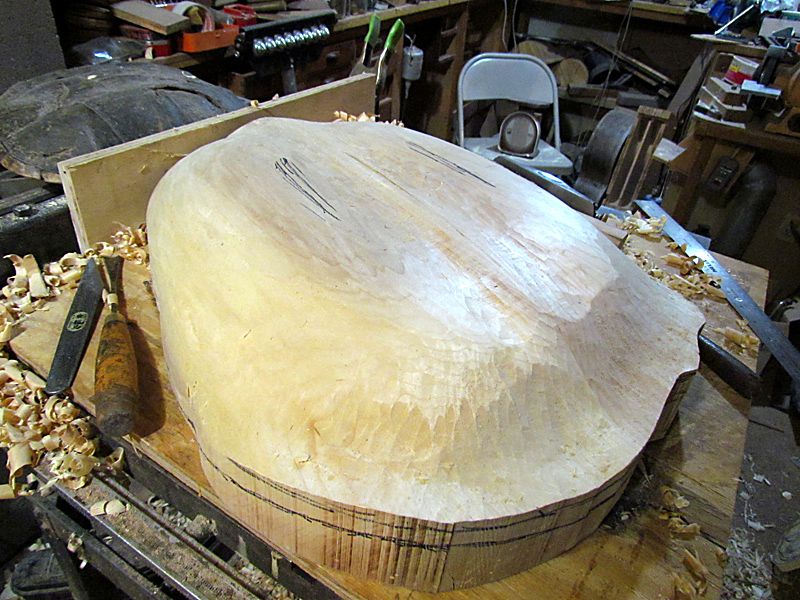
I have carved a bit on the full size "dummy" soundboard. Enough to know that it will work out fine. A half day more of that and I will glue up the real body block. Once I get to that point, my old woodcarving chops will kick in and things should happen fairly fast.

G

User avatar
whitespruce
Site Admin
Posts: 4367
Joined: Thu Aug 21, 2008 6:53 am
Include Off Topic: Yes
Location: Northern Minnesota, USA

Re: "Snapper" Archtop

Post by whitespruce » Tue Apr 22, 2014 4:52 pm

Well, I keep busy resawing and packing wood, but this thing is always calling and I find my spare moments....well, I just can't stay away from it :oops:

So here is the full size foam and wood mock-up. Still kinda rough, but I have the shapes and problems worked out, so I am actually good to go to the real thing.
Image

This shot from the tail end (real tail, in this case) shows a bit more form and you can see on the left that there will be a natural arm bevel
Image

So, that big block of basswood for the body looked a little rough after having sat at the bottom of an outside wood stack for 30 years, but after cutting about 3 inches off the end, the wood is sound with only a small center check that will not be a problem
Image

So, I cleaned it up and cut to rough size and glued up the 5" thick body block
Image

And here is the real white spruce top plate glued up
Image

More, later (and it will probably be fairly soon) :roll:

User avatar
whitespruce
Site Admin
Posts: 4367
Joined: Thu Aug 21, 2008 6:53 am
Include Off Topic: Yes
Location: Northern Minnesota, USA

Re: "Snapper" Archtop

Post by whitespruce » Wed Apr 23, 2014 4:22 pm

Well, could not resist taking a couple of hours off sorting and resawing wood.

Trimmed the big body block to about a half inch larger than needed and drew a rough line around the edge representing the approximate lower edge of the shell
Image
Image
This will guide me in roughing off a bunch of the excess wood. The initial block weighs a bit over 24 pounds, so a lot has to go.

For this I use my trusty Gransfors carving hatchet, a really nice tool that a friend gave me
Image
Image
Image
So far only removed about 5 pounds, but the rough form is starting to emerge. Have not done any wood carving for many years and it really feels good to have a reason to be doing it again :D

Thanks for looking,

G

michael
Posts: 595
Joined: Thu Feb 10, 2011 9:28 pm

Re: "Snapper" Archtop

Post by michael » Wed Apr 23, 2014 7:02 pm

let the chips fly Grant, really interesting to watch how it's made!
Mike

User avatar
timo
Posts: 420
Joined: Mon Mar 28, 2011 6:57 pm

Re: "Snapper" Archtop

Post by timo » Wed Apr 23, 2014 7:05 pm

Just the term "carving hatchet" gets me going! Looking great, Grant.

Tim

User avatar
WaddyT
Moderator
Posts: 2018
Joined: Sat Aug 23, 2008 6:29 pm
Include Off Topic: Yes
Location: Charlotte NC
Contact:

Re: "Snapper" Archtop

Post by WaddyT » Thu Apr 24, 2014 7:17 pm

Never let it be said that Grant doesn't take on big projects! This is amazing, Grant!

User avatar
whitespruce
Site Admin
Posts: 4367
Joined: Thu Aug 21, 2008 6:53 am
Include Off Topic: Yes
Location: Northern Minnesota, USA

Re: "Snapper" Archtop

Post by whitespruce » Thu Apr 24, 2014 8:06 pm

First, thanks for the comments :D I really appreciate that.

Well, I took my late afternoon/early evening break and spent another 2 1/2 hours removing another 3 pounds of wood.

First I bandsawed the outline to close to the final line. Went easier with that part thinned down to about half of its original 5" thickness
Image
I had to clamp on an auxillary larger table (piece of particle board) since only the center section is still flat to ride on the bandsaw table and it was off the edge

Next I hand planed off most of the rough surface from the carving hatchet
Image

Then it was time to switch to gouges and a mallet. Worked the back edge down a bit
Image

Then the front
Image

Then some in the center and more refinement along the edges
Image

One more carving session and I should be at a point where I can start some of the shell detail. Then I can temporarily clamp on the top plate and start carving the top and sides. I will get the outside pretty much to finished before I start hollowing everything out.

Stay tuned.

G

User avatar
Dennis Leahy
Dishwasher
Posts: 7082
Joined: Thu Aug 21, 2008 1:59 am
Include Off Topic: Yes
Location: looking for a place to live

Re: "Snapper" Archtop

Post by Dennis Leahy » Thu Apr 24, 2014 9:28 pm

In the last few photos and the description, you mention the "front." Is the "front" that you are talking about the inside of the back (carapace)? Or, really the soundboard?

{smacks self in head} Oh, wait a minute (I thought I had lost the plot), the front of a turtle's shell is where the head is, and the back (edge) is where she lays eggs. OK, I'm back on track.

It's a shame there isn't a video archivist handy to create a video of the entire process!

Dennis
Dennis Leahy

Post Reply