
This is my E3 model. Which is basically a traditional neck trough electric guitar that I put a drop top in on but I don't book match it. I extend the height of the core wood and them book match up to the raised cores. It adds a surfy sort of look to it. But it was my first idea that I came up with then I thought of, "what would I build an electric like if I had the change to design something on my own." So I took a PRS, http://www.prsguitars.com/, a Fender Strat, http://www.fender.com/, and a Jerzy Drozd Bass http://www.jerzydrozdbasses.com/ and overlaid their center lines and found the places where they shared common points, used those as my starting points, and built my shape from there.
I was a huge fan of the Carl Thompson Rainbow basses that Les Claypool played and as MN guy I was a fan of the multi laminated neck that all the builders around here use. Believe it or not I emailed PRS and Jerzy to make sure it was ok to emulate their body shapes. I've got the emails to prove it, and with both companies blessing I forged ahead. My E3 is my response to a Strat-PRS neck through. Neither company builds them, and the metal kids want neck throughs that aren't of the Ibanez/ Schecter variety so why not me.
This is a build I did for a customer who asked me to document every step. It's now a habit. So here's the wing and neck wood 1/4 sapelle, which was not 6-8% humidity!!!

I milled out the neck wood.

And placed the fretboard on it to show perspective.

Note the grain direction. Here's the spalted maple for the cores.
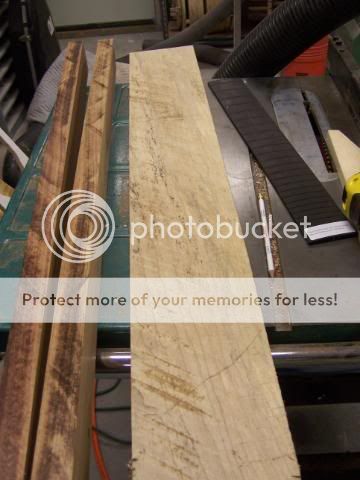
Milled and ready.

Now the detail core wood, its Indian Rosewood, I changed out the Kiiat. I thinned it down to a light veneer; it was too soft with just Kiiat in the center core. Some of these next photo's show the before the split. But you'll see it after it's been upgraded.

Now it's ready to glue. So here's a photo of the final stack before gluing and pre mill.

Here's the gluing process. As you can see I've cut out my top plate insert to a rough depth at this point.


And when I finish gluing it all, I clamp it down tight.

Notice that I have to clamp the core wood on it's own as well, the Blue quick clamps.
I'll break here. I hope splitting these posts will help them load faster.


