Well, I thought I had more old photos, but could not find them, so I will just start with what I have.
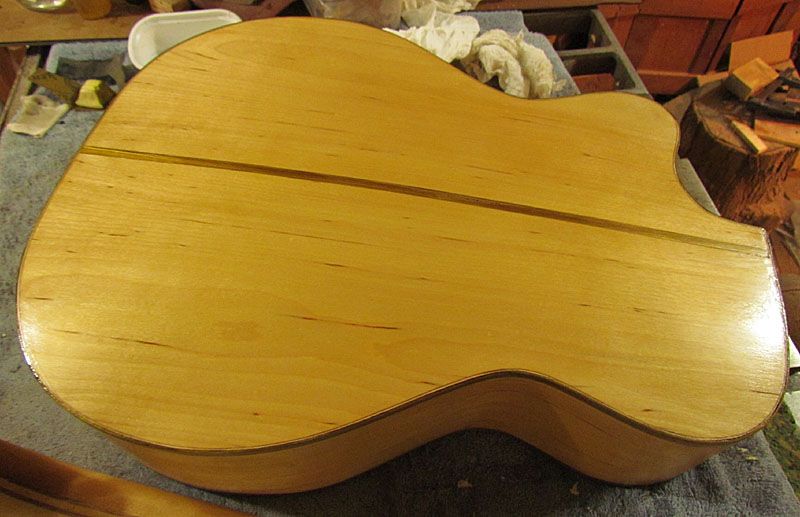
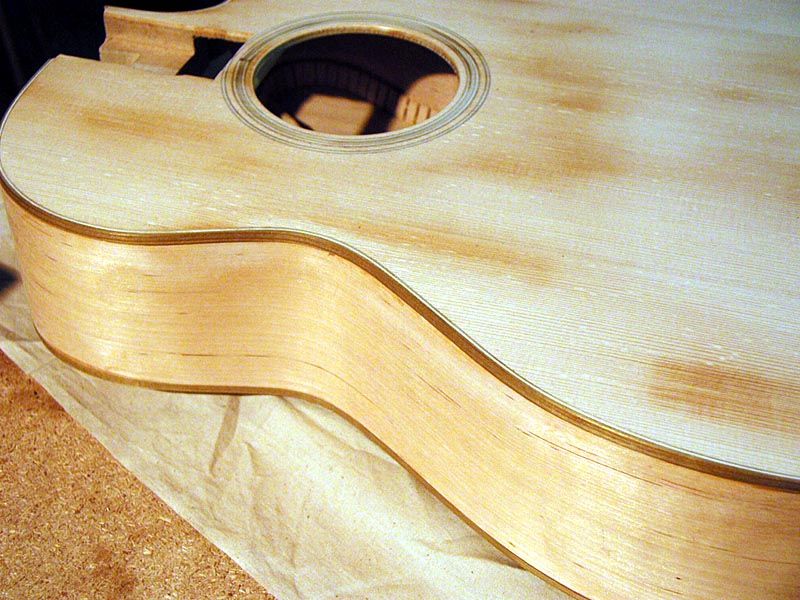
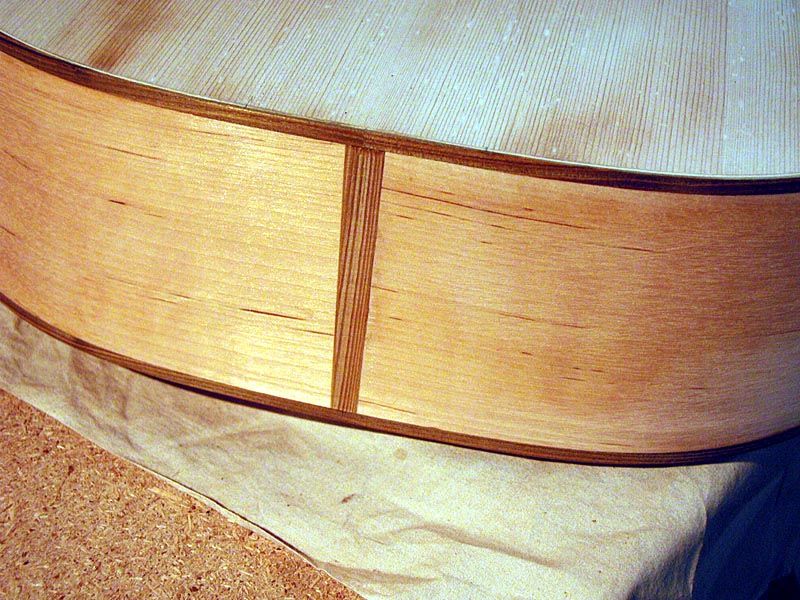
In the "no photo department", I glued the purflings as a separate step, then glued the bindings. Just my basic Elmer's wood glue and blue tape method. Then I leveled the bindings to the top and back and then to the sides. Just used scrapers and sanding. Here are three views of the results:
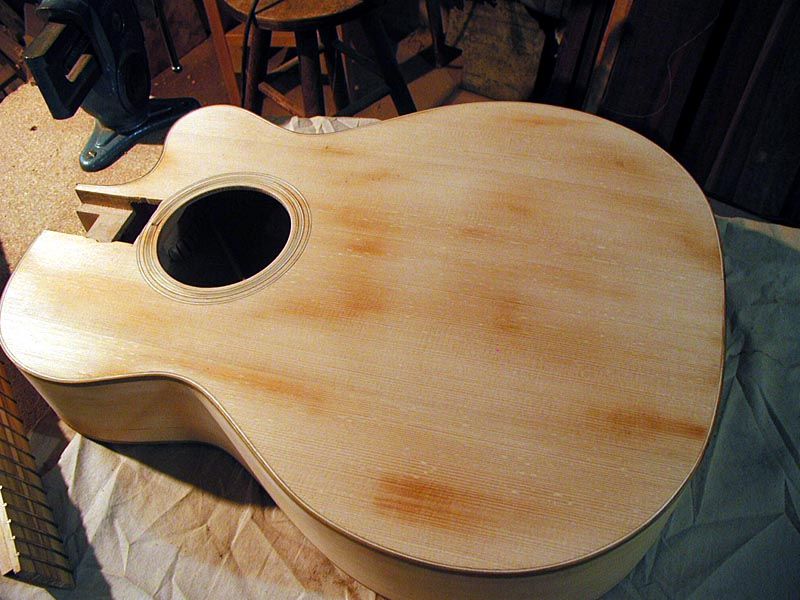
The top looks splotchy because I gave it a coat of shellac and there are spots where it is not totally sanded off yet. BTW, the sumac bindings will flouresce blue-green under a blacklight, hence Dennis' comment

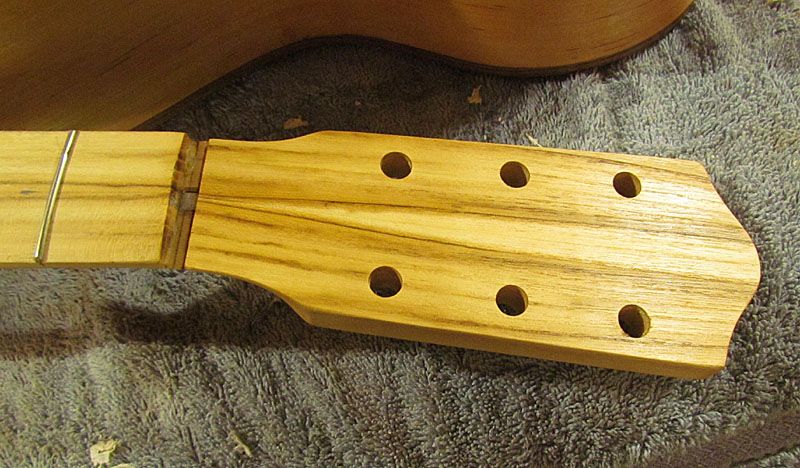
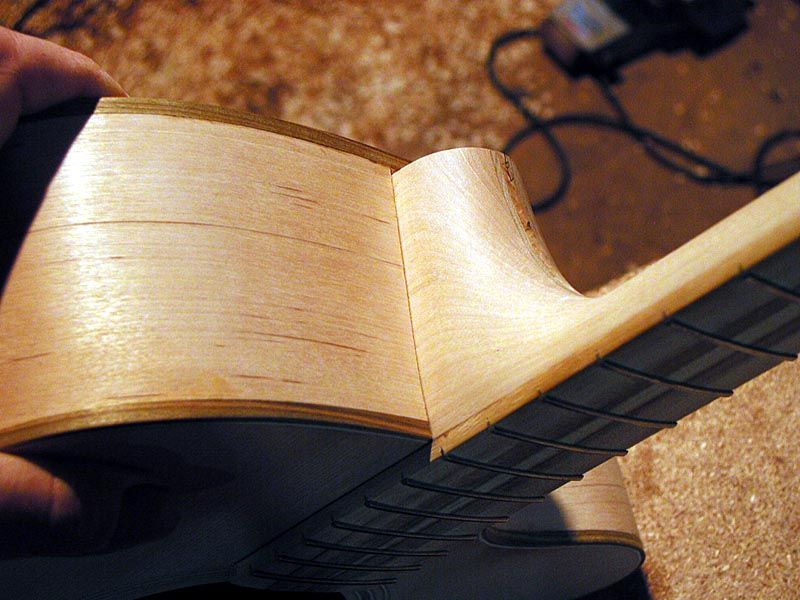
Next step was to final shape the neck heel and sand. Looks like this, now
Still needs a heel cap
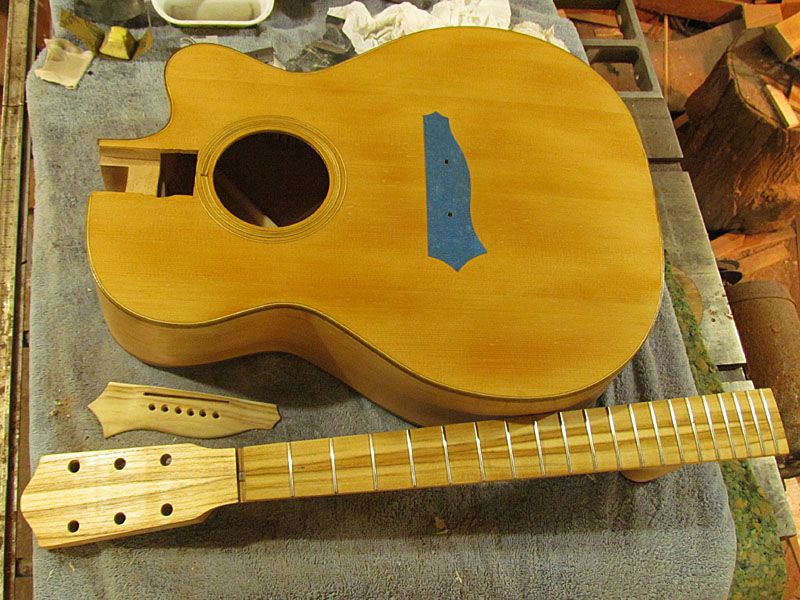
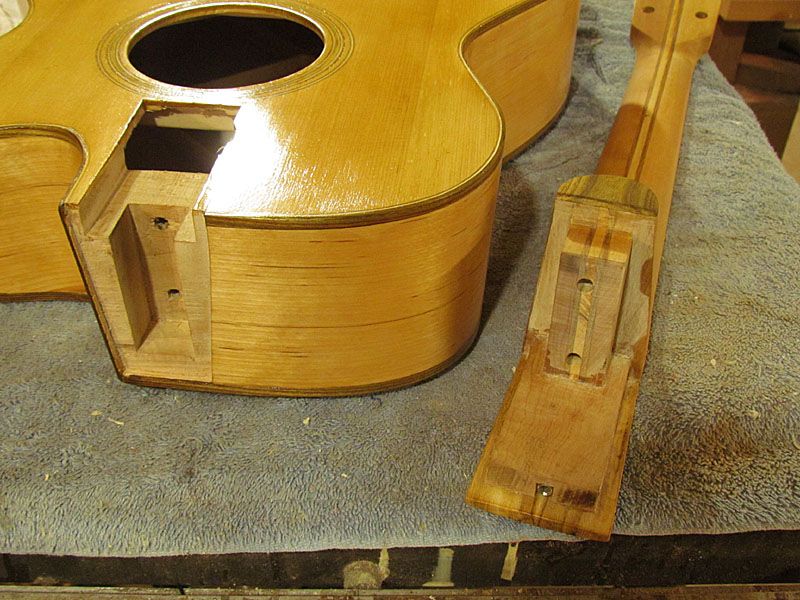
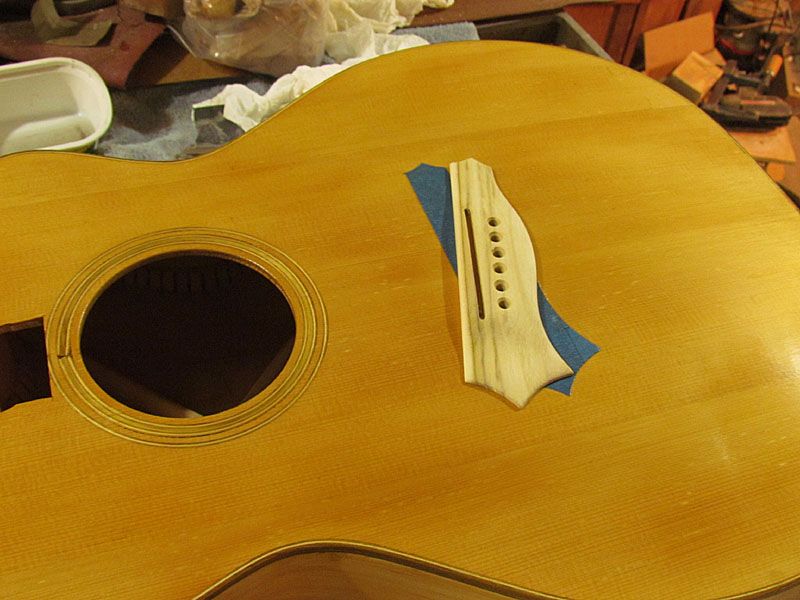
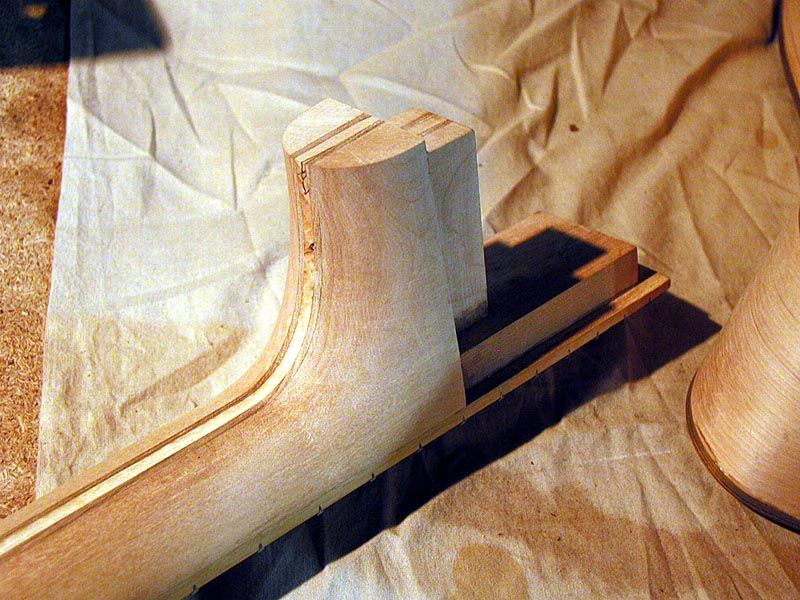
Now, I have started the process of fitting the neck to the body. With my adjustable neck, the neck heel is inlet through the sides, so the first step is to bolt the neck on firmly and scribe the sides following the outline of the heel. For this I just use a utility knife with a new blade. Then I remove the neck and deepen the cuts until they are through the thickness of the sides. Then I just chisel out the side wood inside the cuts. Quite simple, and it looks like this.
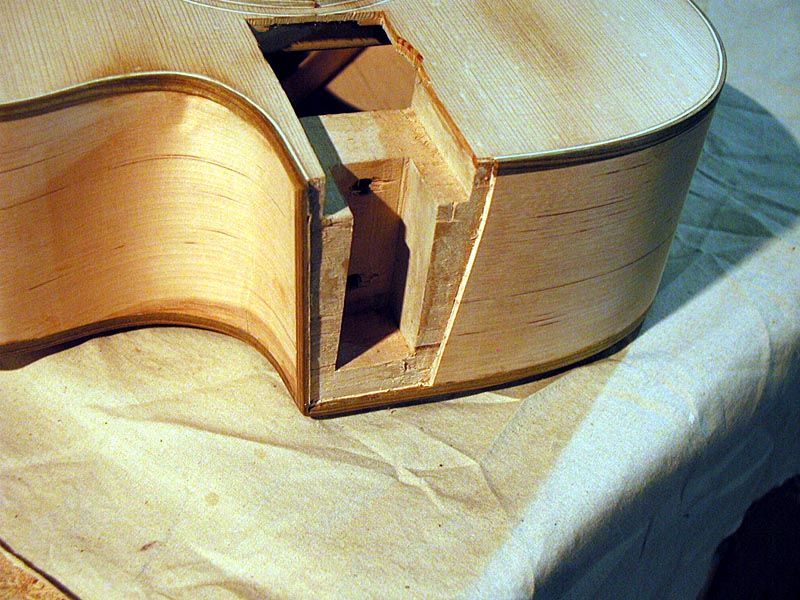
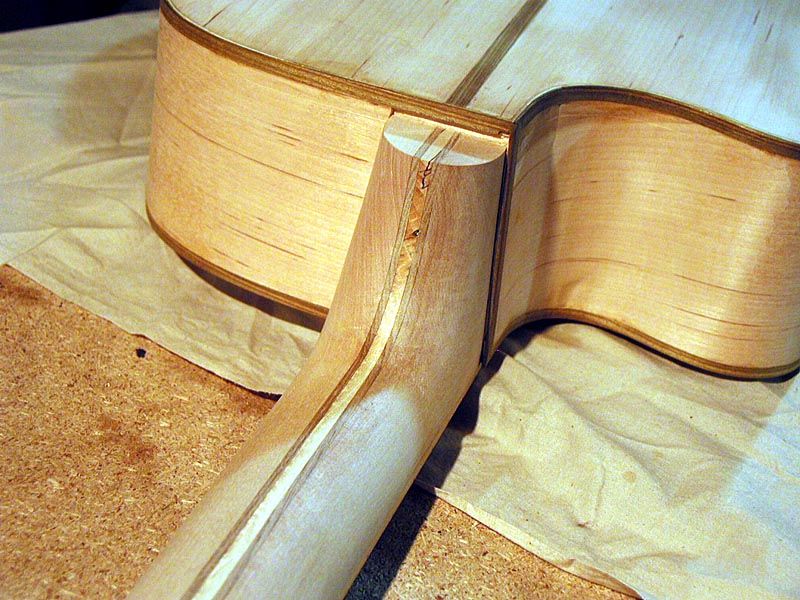
The neck now fits snugly in and looks like this
Next, I have to taper the depth of the bottom of the "pocket" and the lower part of the end of the neck tenon to allow for adjustability. I will show that on the next post.
G