Documenting my 1st thermally modified build, videos added, SOLD
Posted: Sat Sep 19, 2015 4:11 pm
This thread will fully document my first attempt to build a complete guitar from thermally modified wood. Only a few parts, such as fingerboard, bridge, bindings, linings and other minor appointments will be unmodified wood. I will attempt to show enough detail so that any of you should be able to follow and duplicate the process, and will do my best to answer any and all questions that anybody may have.
Since I have not done this before, it will be somewhat of a learning process for me, too, and there may be times when I will need to backtrack and make another attempt at some things. But that is one of the reasons for this thread...so we can all learn.
This will basically use the same woods as are in the thermally modified package in this month's (September) drawing, with the following exceptions: I am not using a sister side set since I am building a small body (OM) guitar, so picked a narrower, but similar side set. I will be using a one-piece rather than scarfed peghead and stacked heel neck. I will be using my own bracing patterns and my adjustable neck joint.
As I noted, this will be an OM size guitar and will have a ribbon stripe African mahogany back and sides and a white spruce top.
Here is the top I will be using
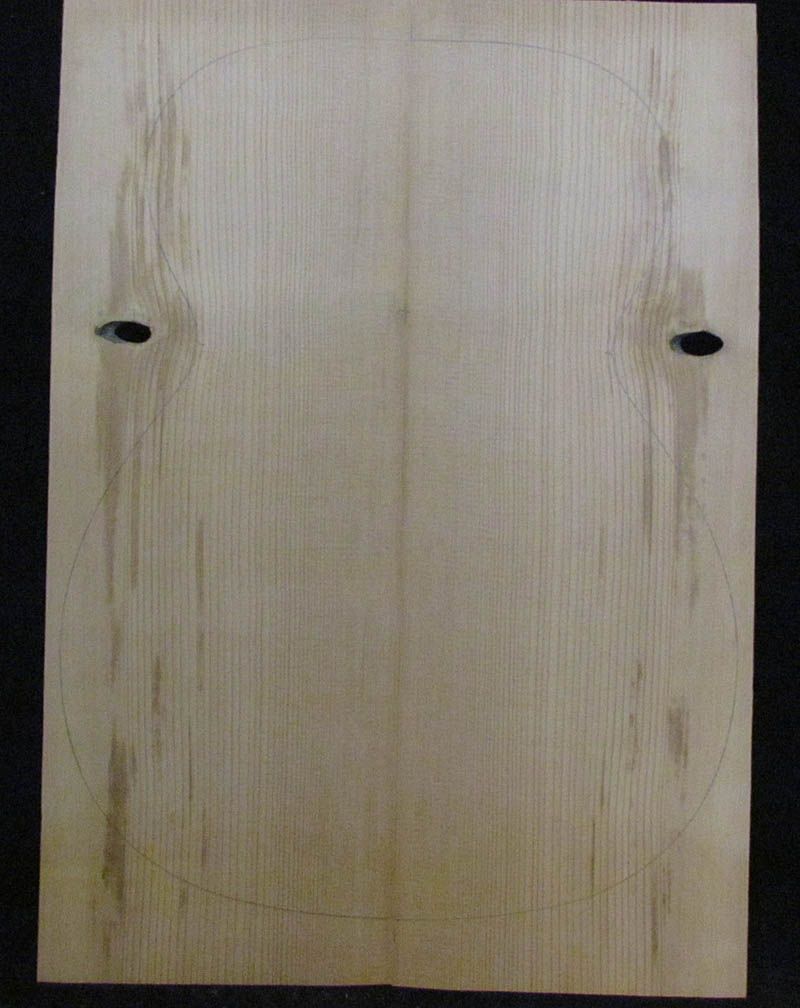
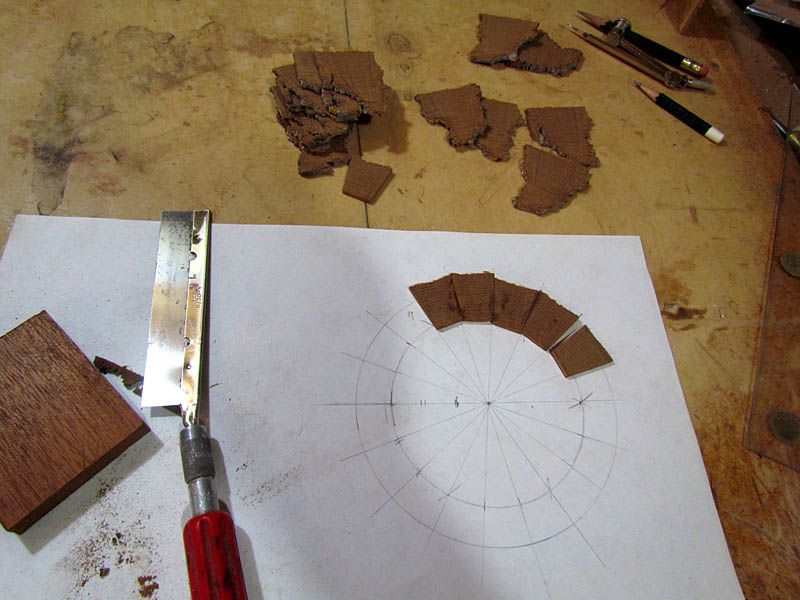
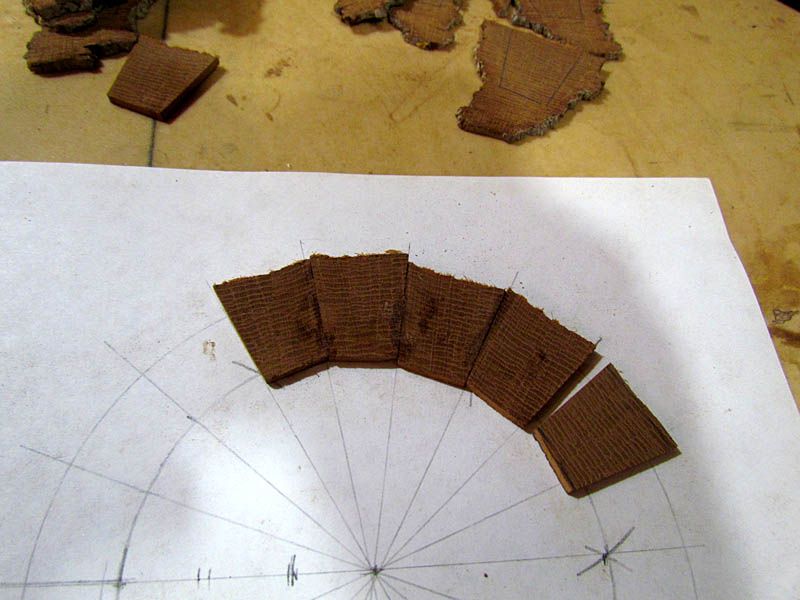
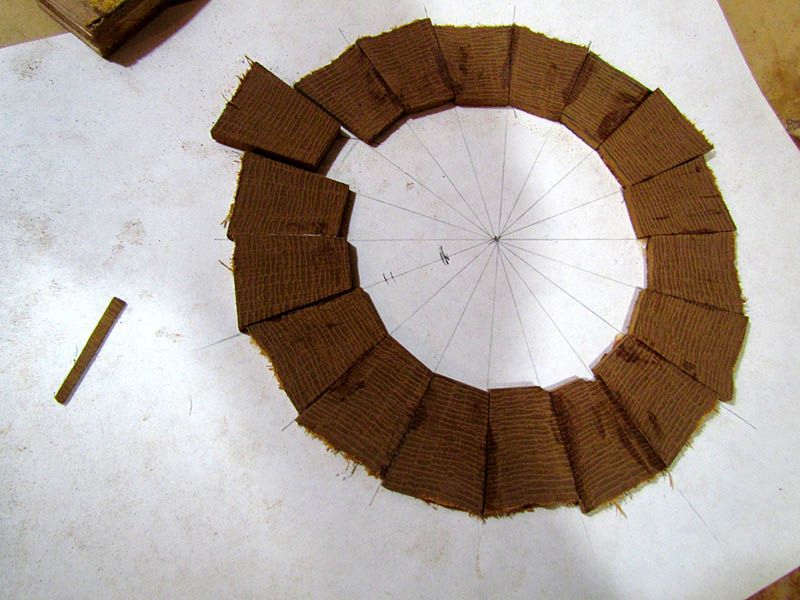
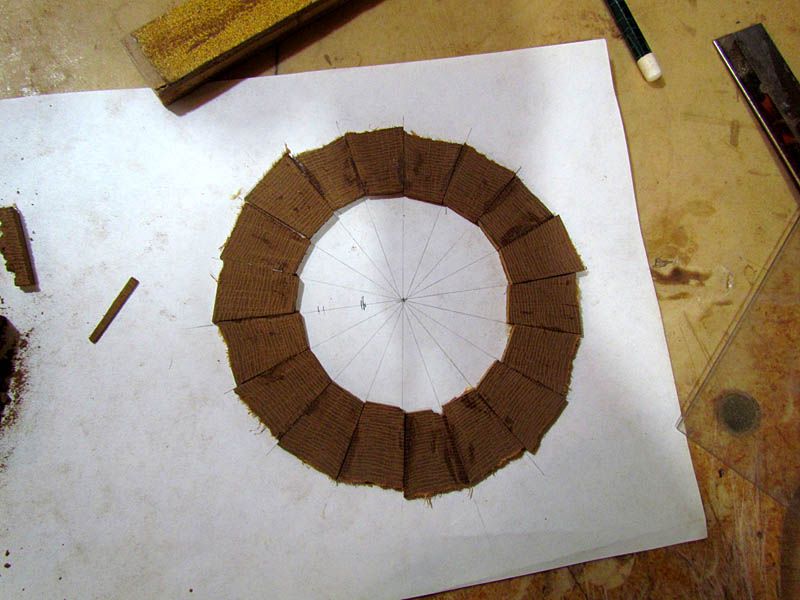
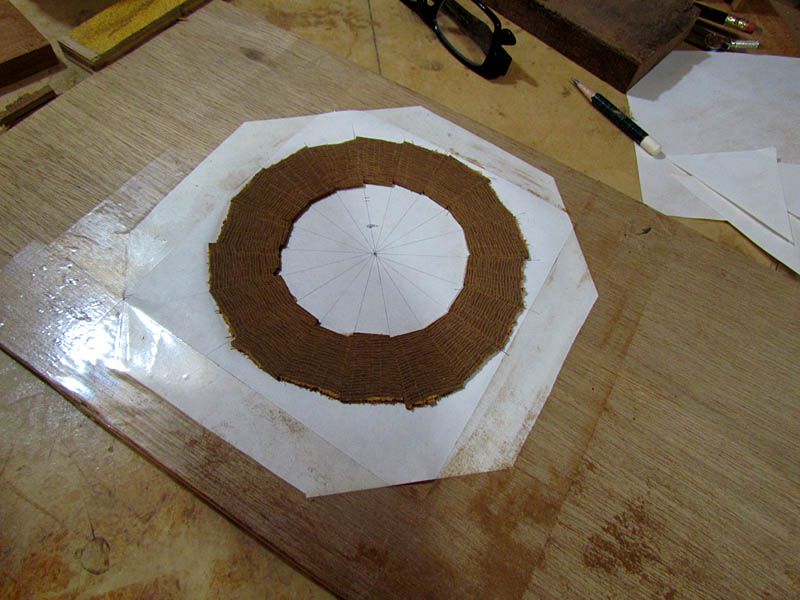
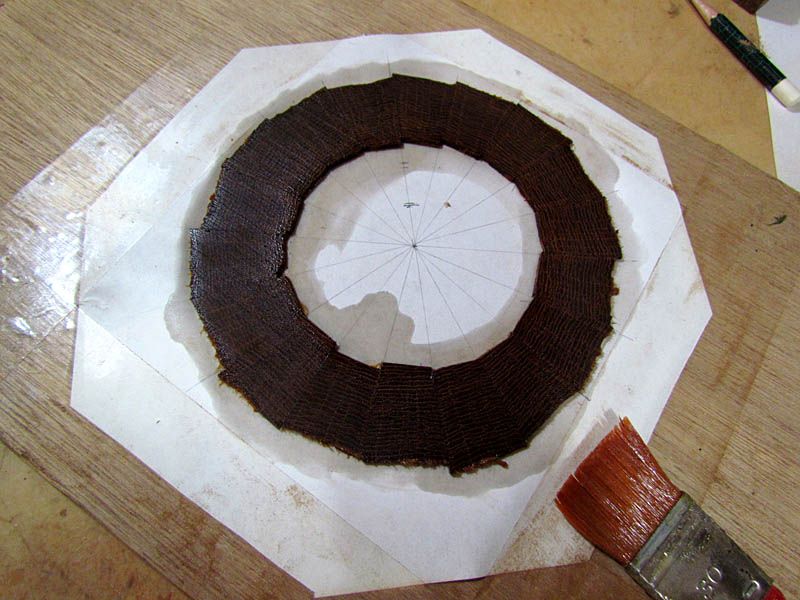
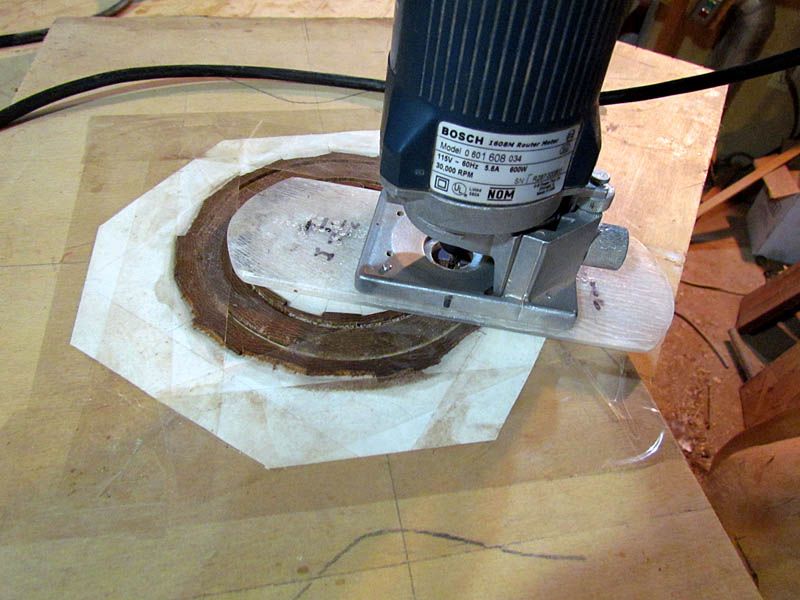
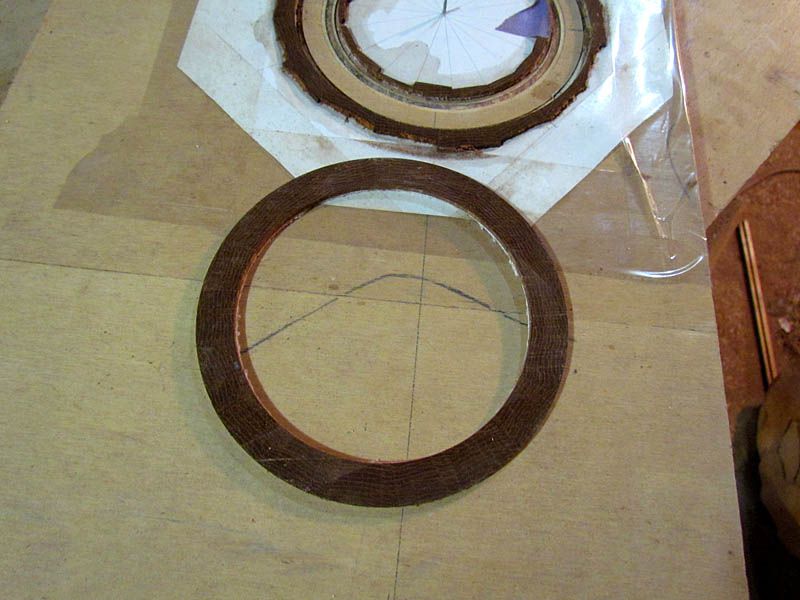
This top has a few sap stains. Handling it reminds me of working with a pane of glass. I will be using a segmented end grain white oak bark rosette.
Here is the neck blank, back plates, and sides
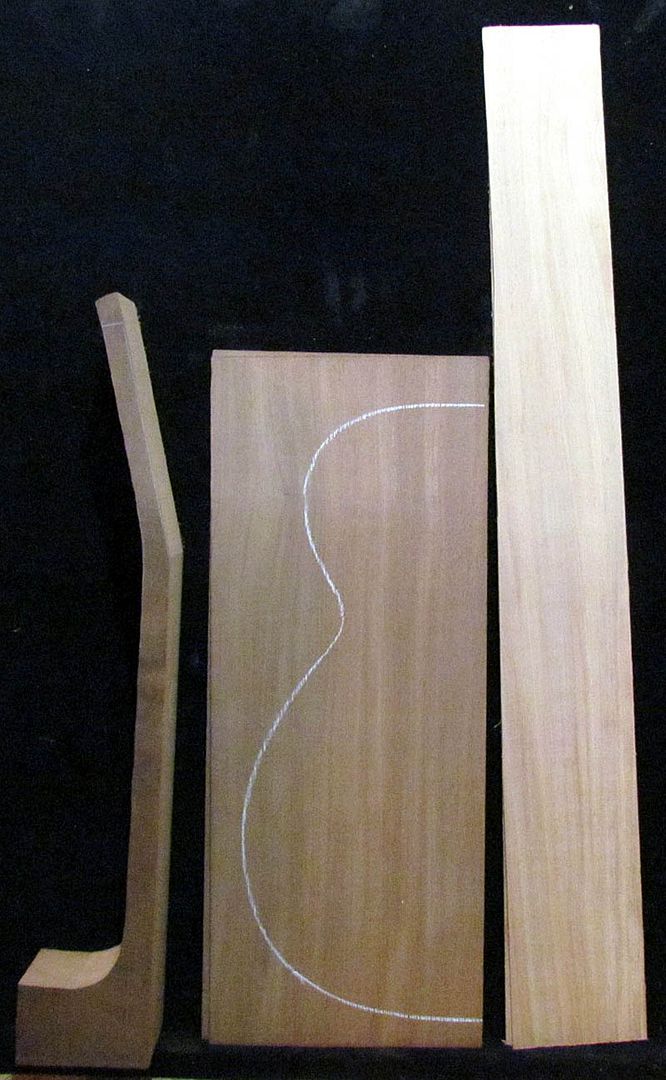
Note that the sides have not been thermally modified. This will be done after bending and I will fully detail and describe the process.
Stay tuned, I hope to be able to keep this build moving. Jump in at any time with questions, comments, and suggestions.
G
Since I have not done this before, it will be somewhat of a learning process for me, too, and there may be times when I will need to backtrack and make another attempt at some things. But that is one of the reasons for this thread...so we can all learn.
This will basically use the same woods as are in the thermally modified package in this month's (September) drawing, with the following exceptions: I am not using a sister side set since I am building a small body (OM) guitar, so picked a narrower, but similar side set. I will be using a one-piece rather than scarfed peghead and stacked heel neck. I will be using my own bracing patterns and my adjustable neck joint.
As I noted, this will be an OM size guitar and will have a ribbon stripe African mahogany back and sides and a white spruce top.
Here is the top I will be using

This top has a few sap stains. Handling it reminds me of working with a pane of glass. I will be using a segmented end grain white oak bark rosette.
Here is the neck blank, back plates, and sides

Note that the sides have not been thermally modified. This will be done after bending and I will fully detail and describe the process.
Stay tuned, I hope to be able to keep this build moving. Jump in at any time with questions, comments, and suggestions.
G
