New commission, Coco jumbo

Guitars by Grant Goltz of Hackensack, MN
Post Reply
User avatar
whitespruce
Site Admin
Posts: 4367
Joined: Thu Aug 21, 2008 6:53 am
Include Off Topic: Yes
Location: Northern Minnesota, USA

New commission, Coco jumbo

Post by whitespruce » Thu Jul 07, 2011 3:00 pm

Well, it all started with the bocote dred that I sold to a guy last Fall. He brought it over this spring for a bit of setup tweaking. When he came to pick it up, he brought a friend who had a 1951 Martin OO-18 that needed a bit of work. So when the guy came today to pick up his Martin, HE brought a friend who wanted to look at my guitars. After trying out three, he asked "could you build me one like this?"

So he came back this afternoon and we picked out the wood (big log coco B&S). Gonna have an abalone rosette ring, evo gold fretwire and gold tuners w/ebony buttons wamara bindings. A few of the other details are going to be finalized as we proceed.

Should be starting this one after the Stringfest :D

So it has been a good day.

G

User avatar
Joe Sustaire
Moderator
Posts: 2640
Joined: Sat Aug 23, 2008 6:41 pm
Include Off Topic: Yes
Location: Talihina, Oklahoma

Re: New commission, Coco jumbo

Post by Joe Sustaire » Thu Jul 07, 2011 6:47 pm

Congratulations Grant!
Nice when word of mouth works.

Joe
"I tell you we are here on earth to fart around, and don't let anyone tell you any different!"
Kurt Vonnegut

Haans
Posts: 217
Joined: Sun Mar 22, 2009 11:28 am

Re: New commission, Coco jumbo

Post by Haans » Thu Jul 07, 2011 6:57 pm

Yup, that's the way it works...
Good show Grant!
Johann D. Brentrup
http://www.brentrup.com" onclick="window.open(this.href);return false;

User avatar
whitespruce
Site Admin
Posts: 4367
Joined: Thu Aug 21, 2008 6:53 am
Include Off Topic: Yes
Location: Northern Minnesota, USA

Re: New commission, Coco jumbo

Post by whitespruce » Sun Oct 02, 2011 8:53 pm

I bent the sides for this one today. Photos are in the "Beng jumbo" thread.

Guess I had better take photos of the rest of this. The top and back are about ready to join and I have cut the curved gold pearl strips for the soundhole rosette.

Moving along.

G

User avatar
whitespruce
Site Admin
Posts: 4367
Joined: Thu Aug 21, 2008 6:53 am
Include Off Topic: Yes
Location: Northern Minnesota, USA

Re: New commission, Coco jumbo

Post by whitespruce » Wed Oct 26, 2011 8:00 pm

A bit of progress on this one. I joined the top , thicknessed it, and cut out the rough shape of the top. Nothing earth-shattering to photo there.

So, now time to do the soundhole rosette. The customer wanted a shell innlay ring around the soundhole. Since the tuners are going to be gold plated and I will be using the gold colored "evo" fretwire, I decided to use gold pearl for the rosette. Since it is not available cut in curved strips, I just bought the slabs and cut the curved pieces myself. There will be a black/ivoroid/black on each side of the pearl, so I routed the channel to fit.

I laid in the b/i/b and pinned it into place. Then I startged slipping in the pearl strips
Image
Image
Nothing complicated, just dry fitting everything into place. Filed the ends of the pearl square and pushed them into place, nice tight fit.

Here is the pearl ring and an outer b/holly/b ring done
Image
And soaked with CA glue

And after a couple of cleanup passes through the thickness sander
Image

Now on to cutting out the soundhole and bracing.

My bracing pattern starts with a crossgrain patch around the soundhole. I glue this in before I cut the soundhole and cut it all at once.

The next parts are the bridge plate and my "curved braces". here they are being glued in
Image

The curved braces will be carved and sanded to a low triangular cross section before the other braces are glued in.

More later, probably next week because I gotta go to the Twin Cities Friday and Saturday for more pottery demos at a Community College and an archaeology meeting.

G

Matthew Jenkins
Posts: 405
Joined: Tue Jan 20, 2009 4:47 am

Re: New commission, Coco jumbo

Post by Matthew Jenkins » Thu Oct 27, 2011 3:44 am

Cool! That Gold pearl with the ivoroid is quite 8-) inspired
Interesting bracing pattern too. I'm looking forwards to watching this one develop.
Mat

User avatar
whitespruce
Site Admin
Posts: 4367
Joined: Thu Aug 21, 2008 6:53 am
Include Off Topic: Yes
Location: Northern Minnesota, USA

Re: New commission, Coco jumbo

Post by whitespruce » Thu Oct 27, 2011 9:10 pm

Well, I wasn't going to do any work in the shop today, but got inspired and changed my mind.

Started out by carving down the curved braces
Image
Image

Then I sanded them
Image
I use a shield cut from aluminum flashing to protect the top next to the brace

Here they are all sanded
Image

For those who have not seen it, here is the bracing pattern that I use
Image
I designed this in 2003 and fairly quickly made two revisions. The version shaded in pink is what I have been using for the past 7 years. Only change since 2004 is that now I build up most of the braces from laminations rather than using solid wood braces.....

....Like this...
Image
The first layer is the same thickness as the bridge plate, simply because it makes it easier where the braces lap over. Subsequent layers are a bit thicker to build up faster.

A few more strips being added
Image
I run alternate layers through where braces cross to lock things together. I will end up with 5 layers before I carve them down.

Here is the back I will be using
Image
This is a straight grained, tight grained, perfectly quartersawn back from the huge logs that I bought about 7 years ago. I probably have over 100 of these sets - old wood that was cut over 25 years ago.

I am trying the laminated linings similar to what Colin uses. Here is a form I made up for gluing the non-cutaway linings.
Image

The next installment WILL be next week because I am heading south first thing in the morning.

G

User avatar
whitespruce
Site Admin
Posts: 4367
Joined: Thu Aug 21, 2008 6:53 am
Include Off Topic: Yes
Location: Northern Minnesota, USA

Re: New commission, Coco jumbo

Post by whitespruce » Fri Nov 04, 2011 8:42 pm

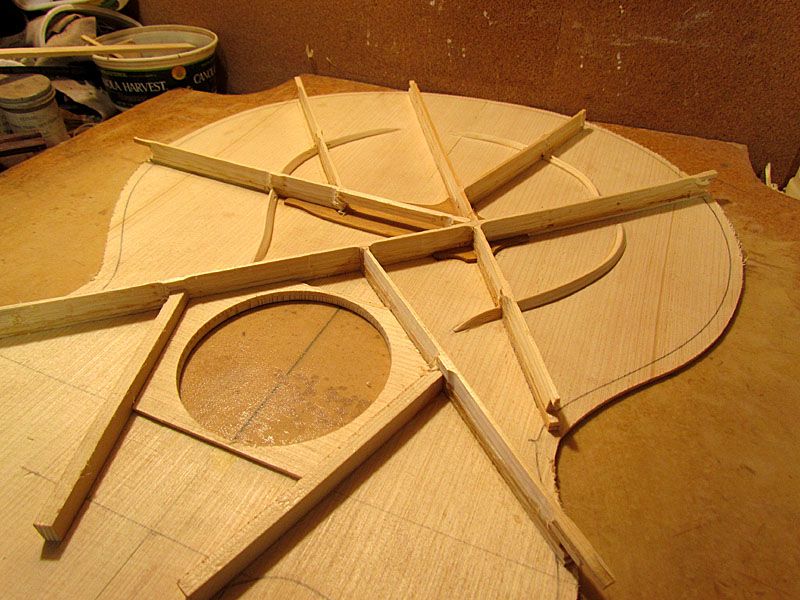
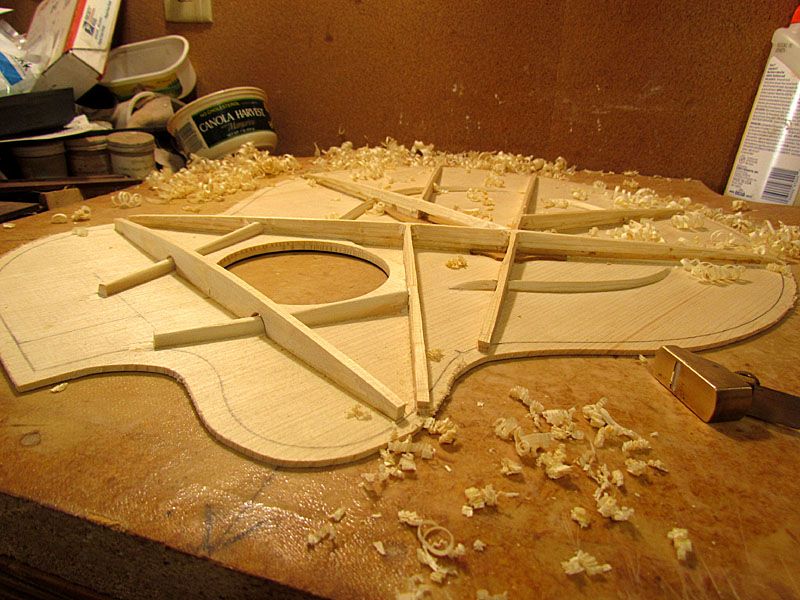
OK, finished up the top bracing.

Here are the rest of the laminations glued in on the braces
Image
Image

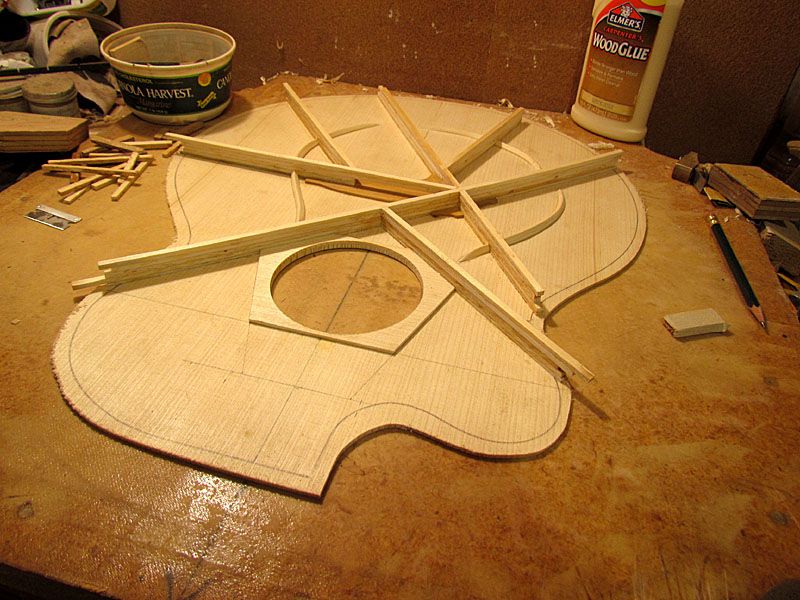
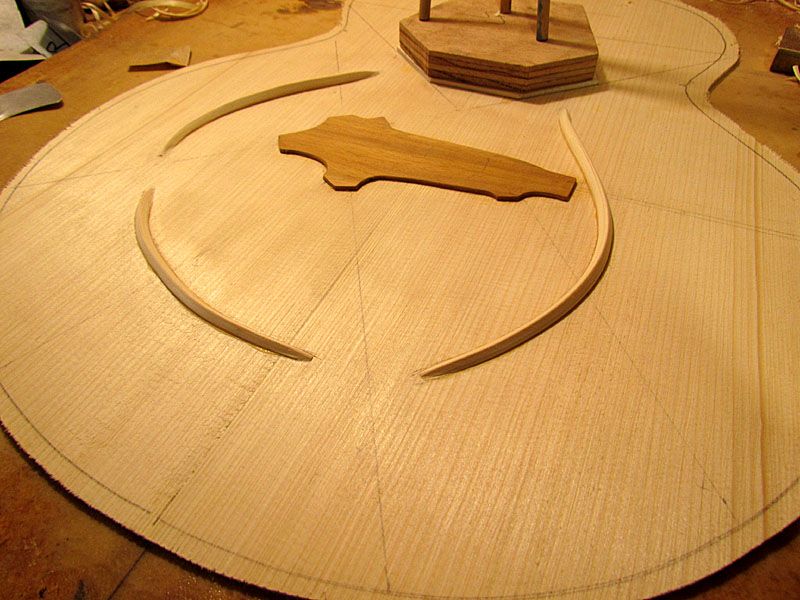
The A-frame upper braces and the upper cross brace are not laminated, but are solid wood

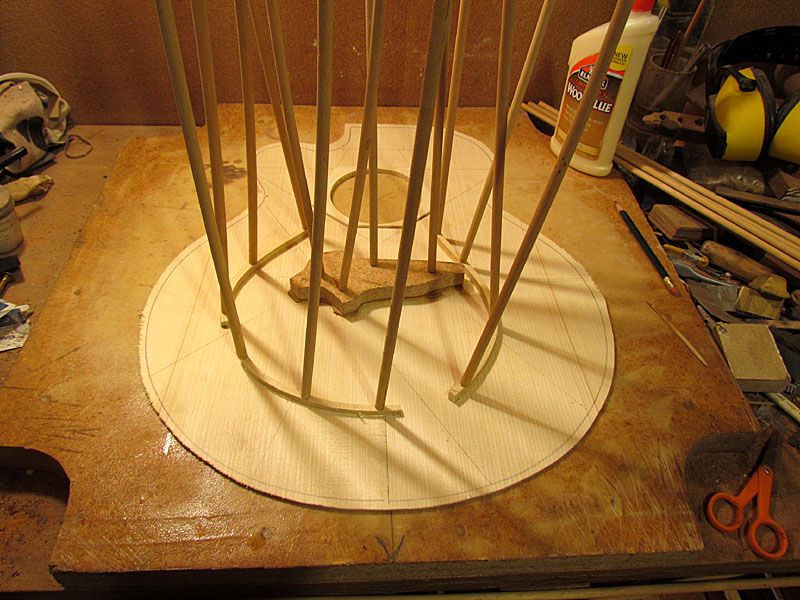
Here are the A-frame braces being glued
Image

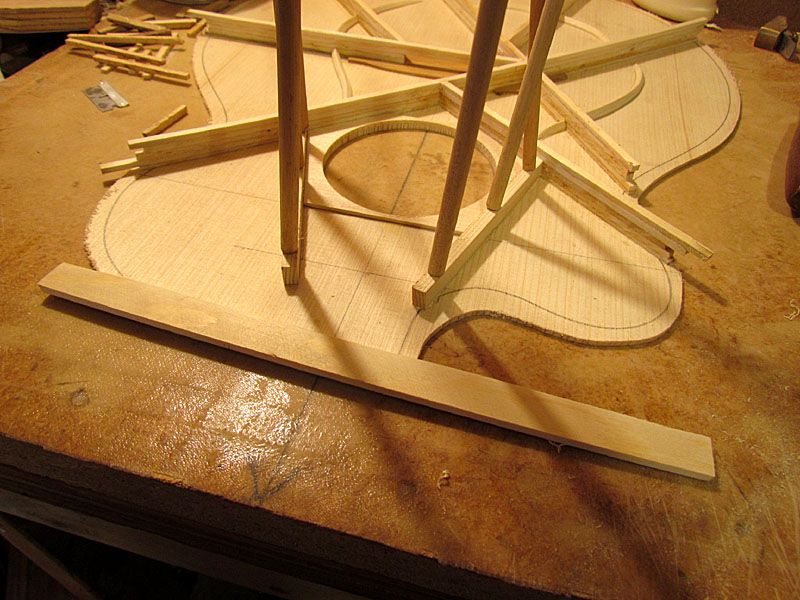
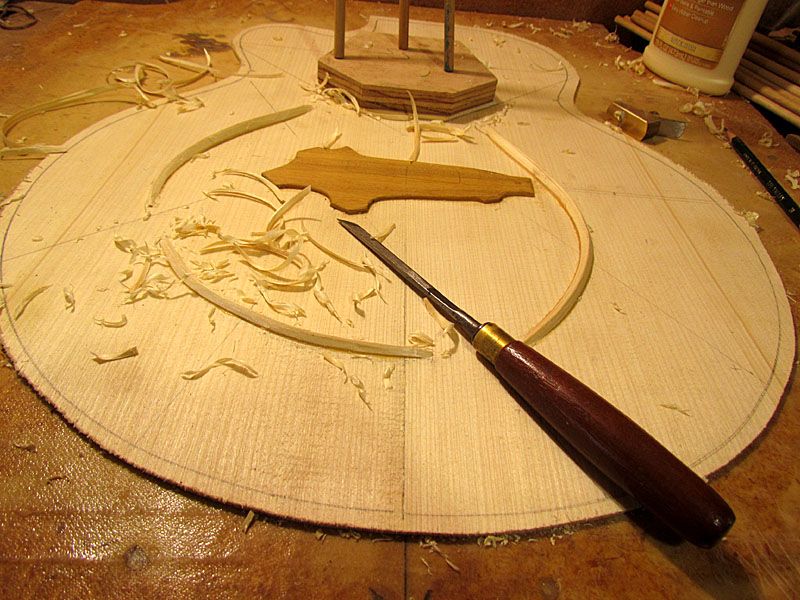
Before I glue the upper cross brace, I need to rough profile the laminated braces. I do this with a shop modified router bit that tapers the sides of the braces
Image
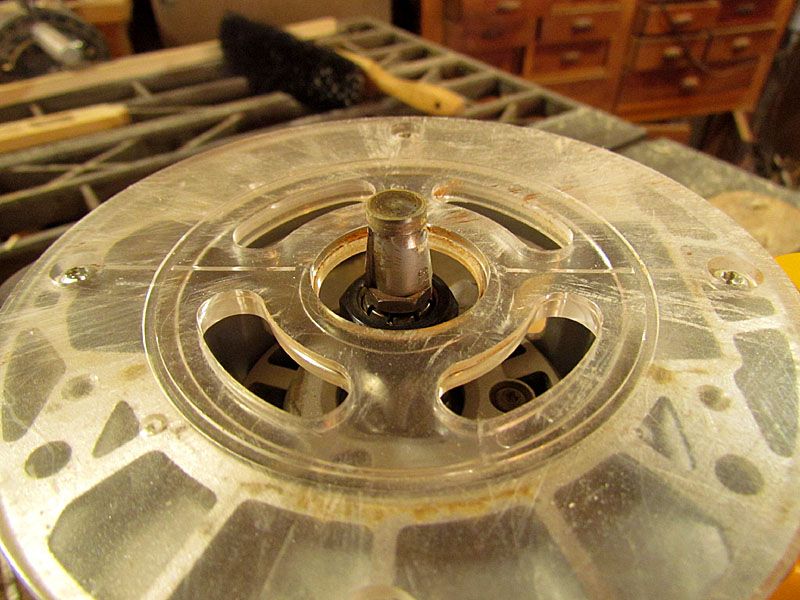
Look closely to see the slightly tapered cutter
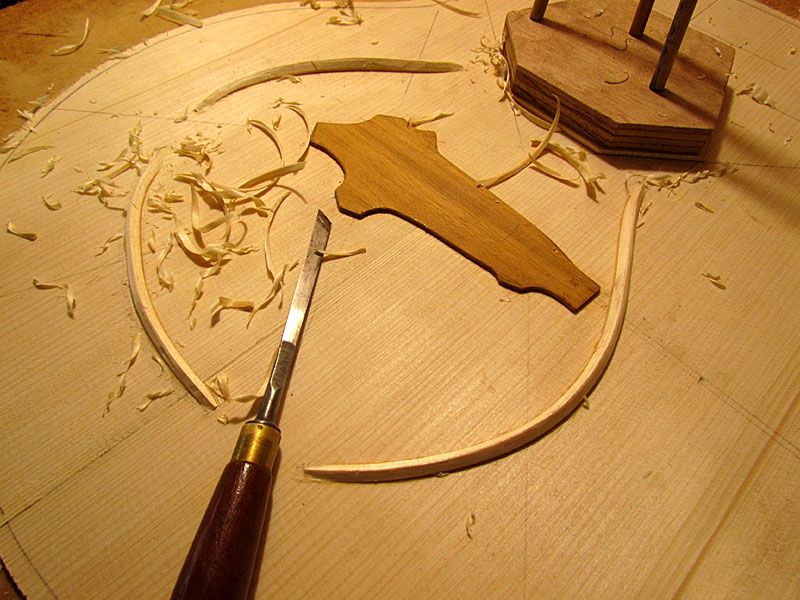
Here is the result
Image
The brace intersections will get cleaned up later by hand

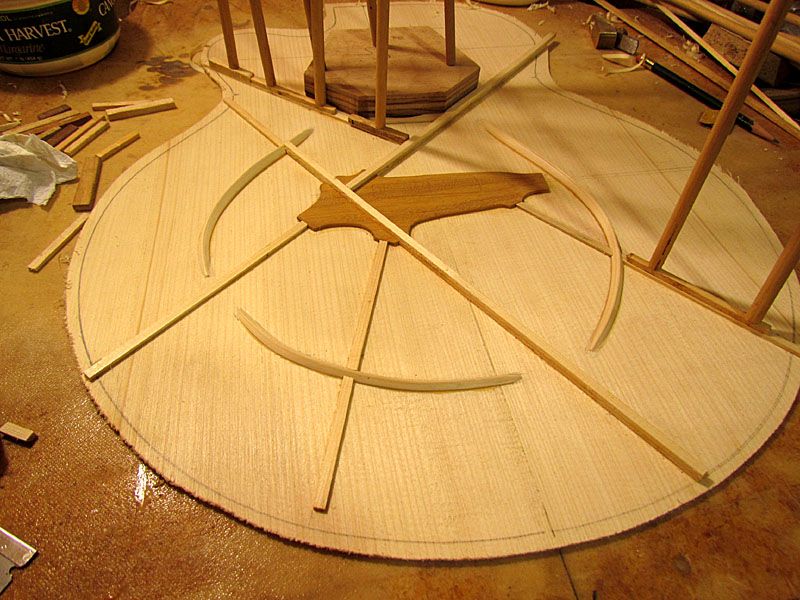
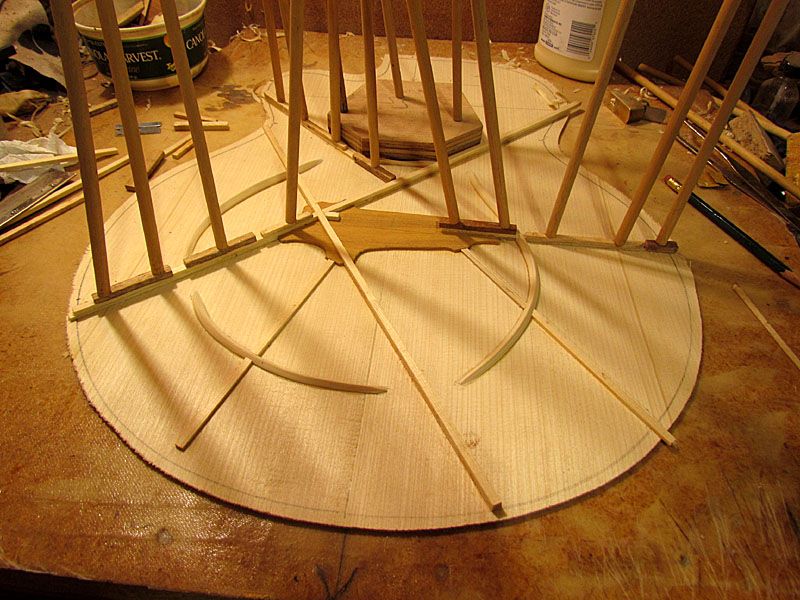
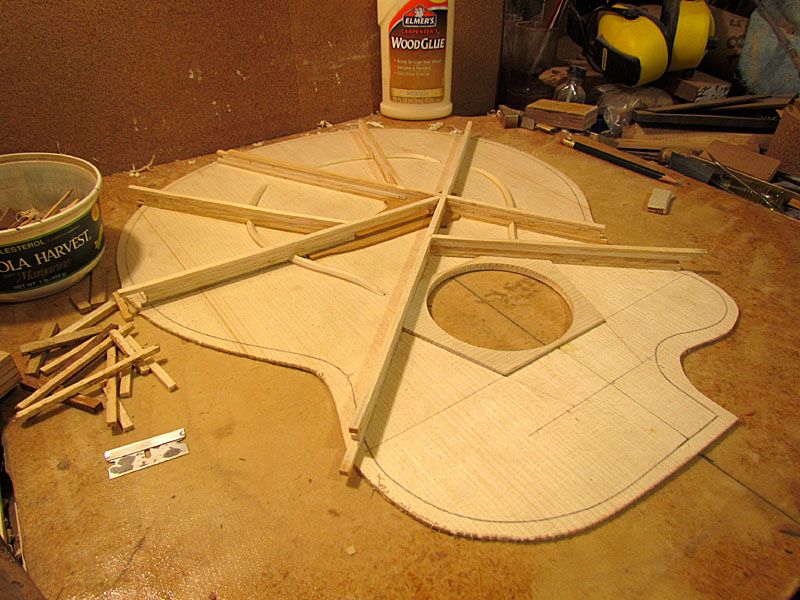
After shaping the A-frame braces, I glue in the upper cross brace
Image
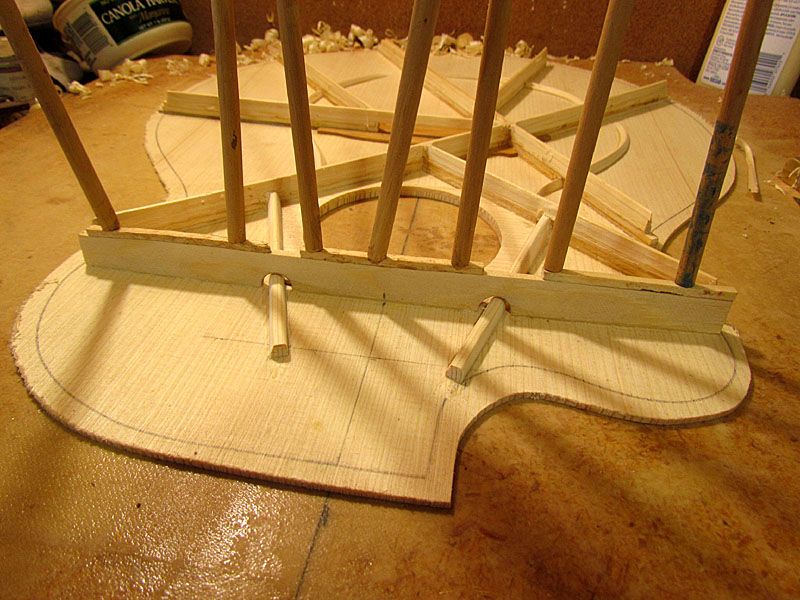
Notice that there are cutouts to let the A-frame braces pass under the upper cross brace

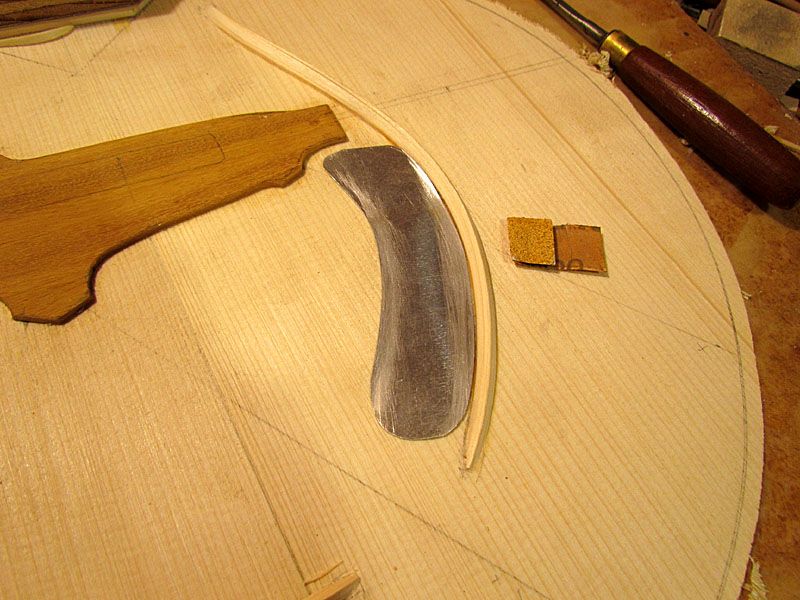
Next I do more brace shaping, sloping the brace heights and cleaning up the intersections
Image
Image

Then it is on to rough sanding and fine tuning until they look like this
Image
Image
Just some fine sanding and a bit of cleanup to go.

I mentioned earlier that I plan to use the laminated linings similar to what Colin does. Here is my version
Image
Image
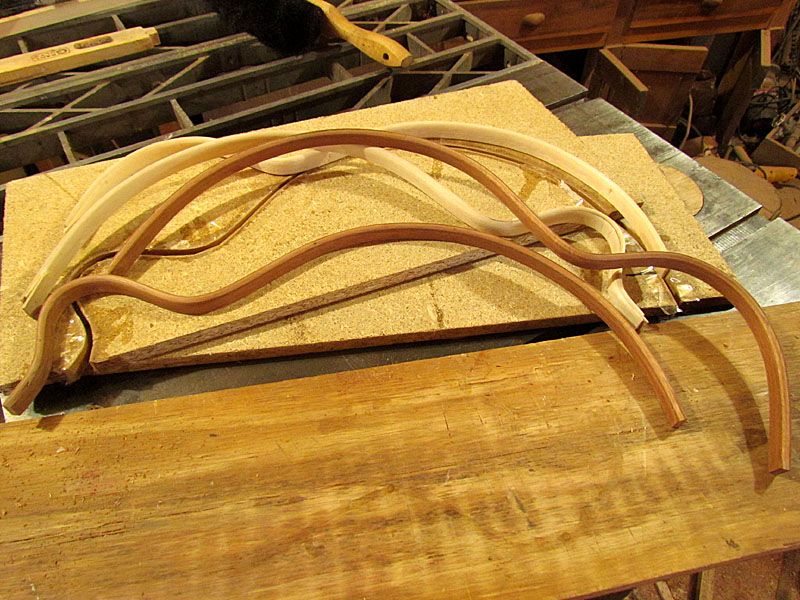
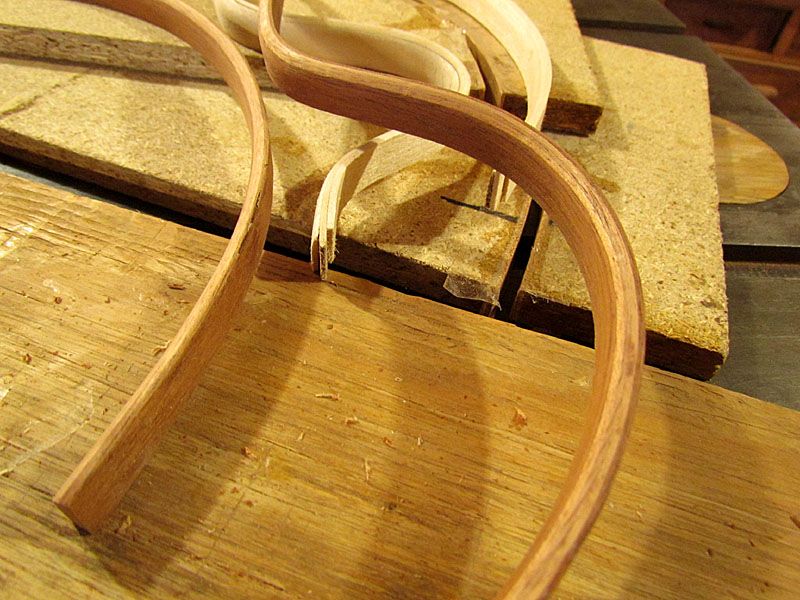
After doing this, I do not intend to go back to the kerfed linings. This is waaaay better and looks better, too.

Thanks for looking in.

G

Post Reply