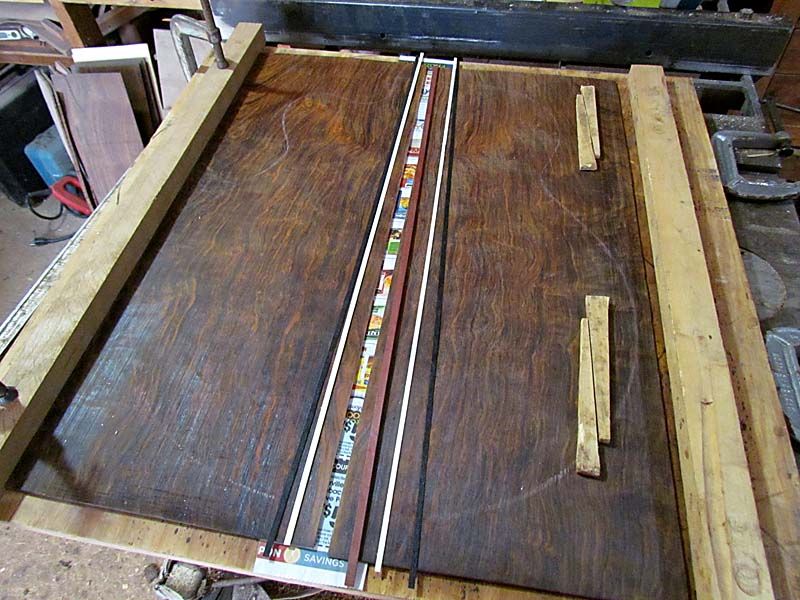
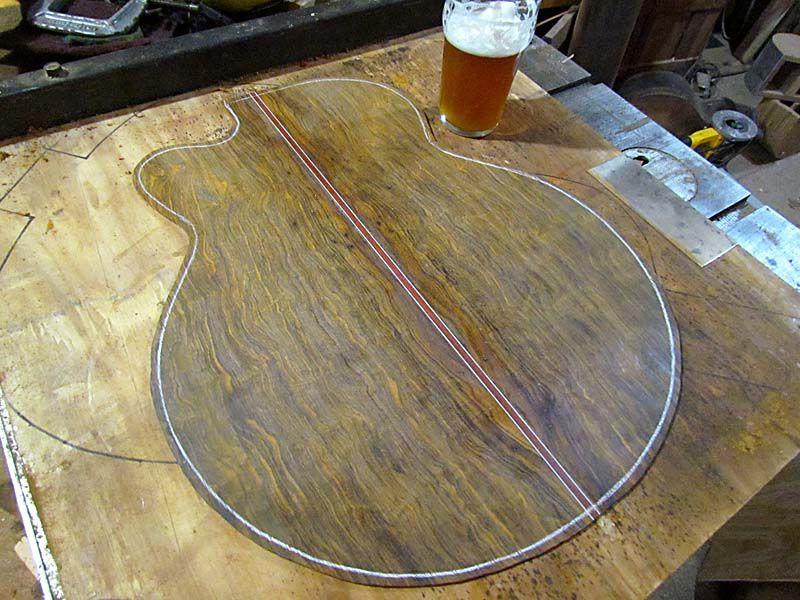
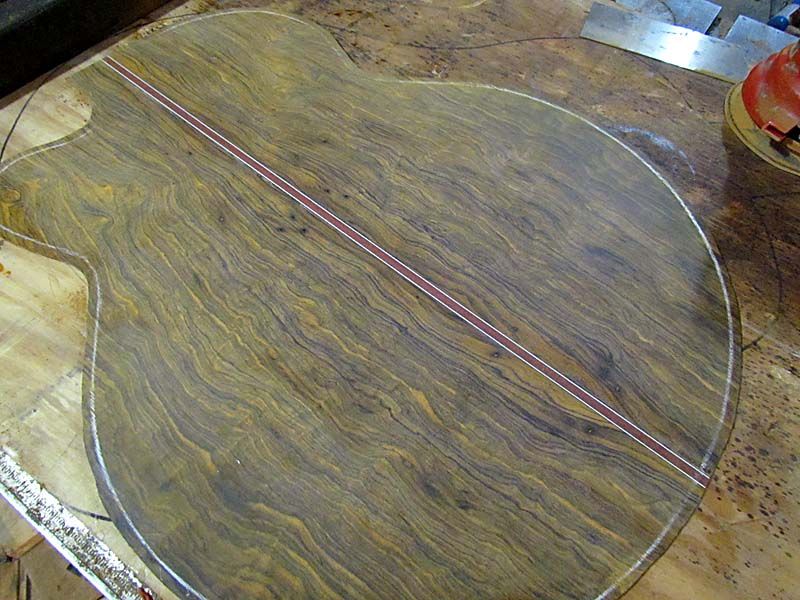
Well, I farted around with this one a bit more. I have posted several builds over the years that show my building technique, but since it has been a while, I will show it again here. I build differently than most in that I don't use a mold. I build "freehand" on a building board. That's how I started and I have not found a reason to change. So my guitars might vary an eighth of an inch or so in size, but they still fit in the case and the music don't care

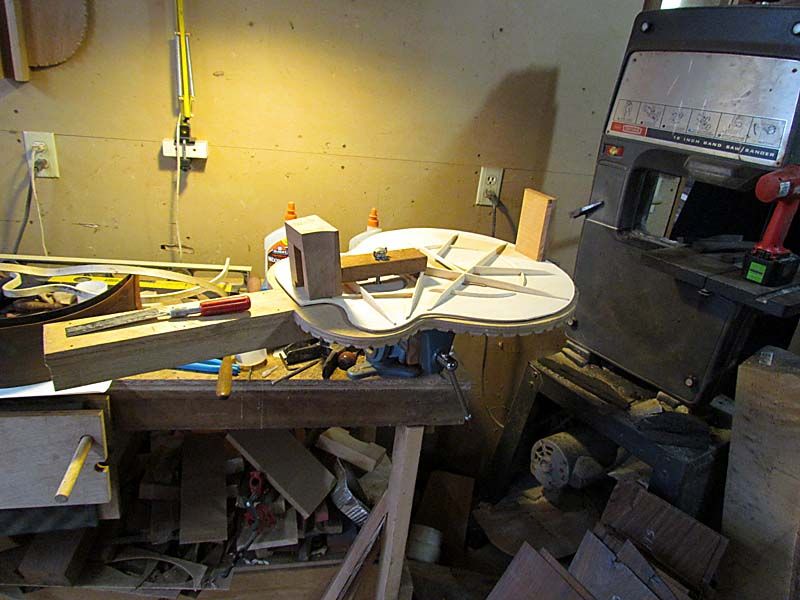
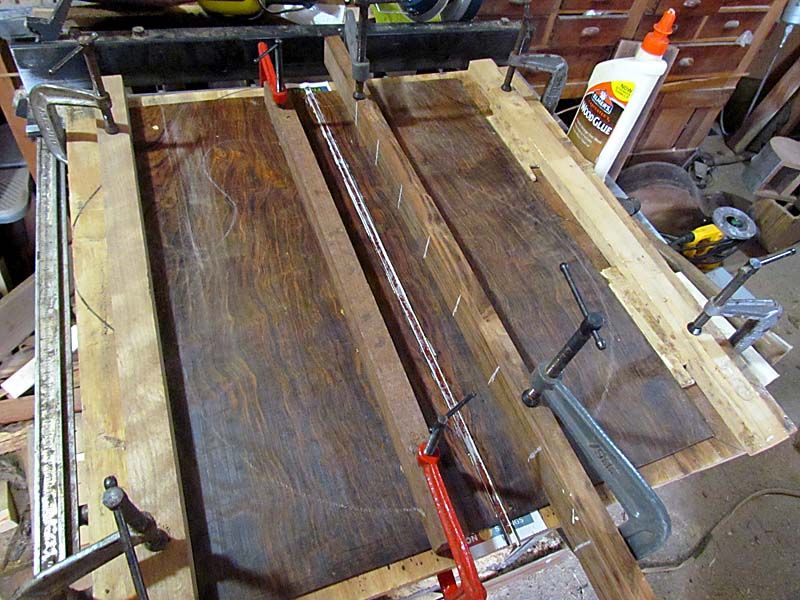
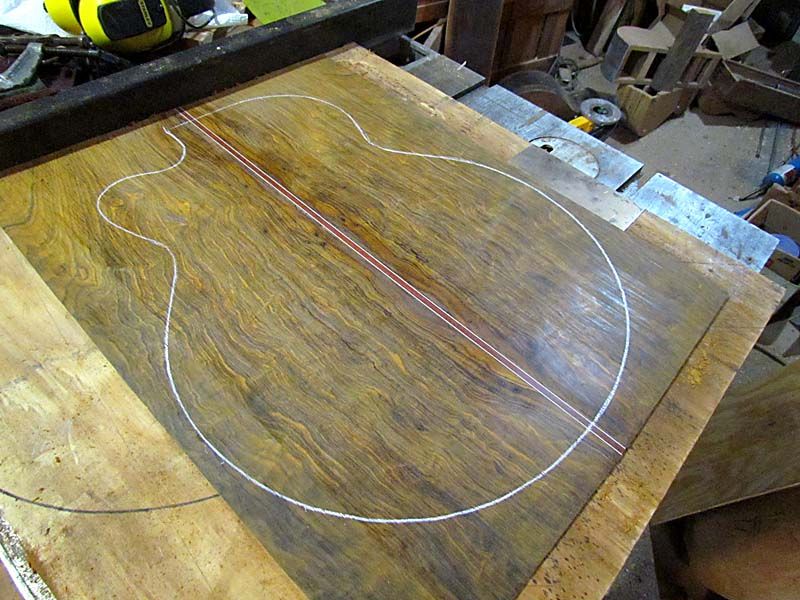
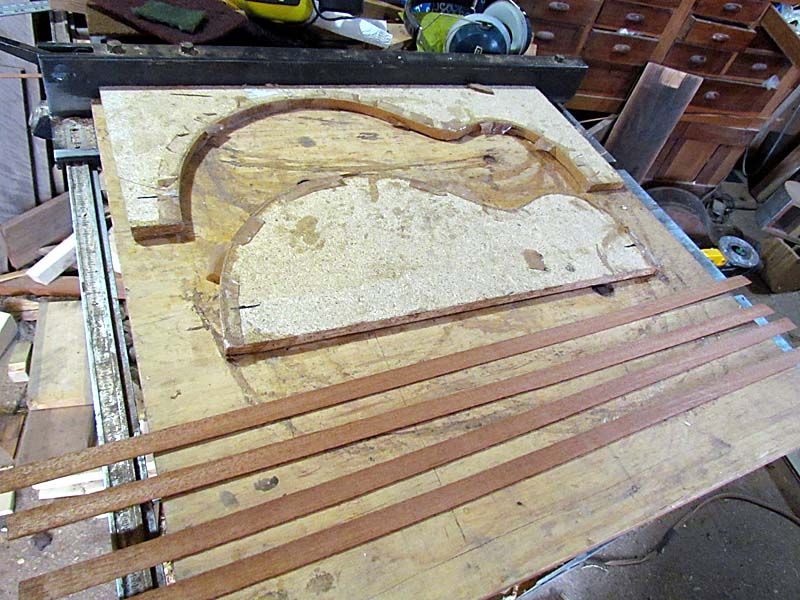
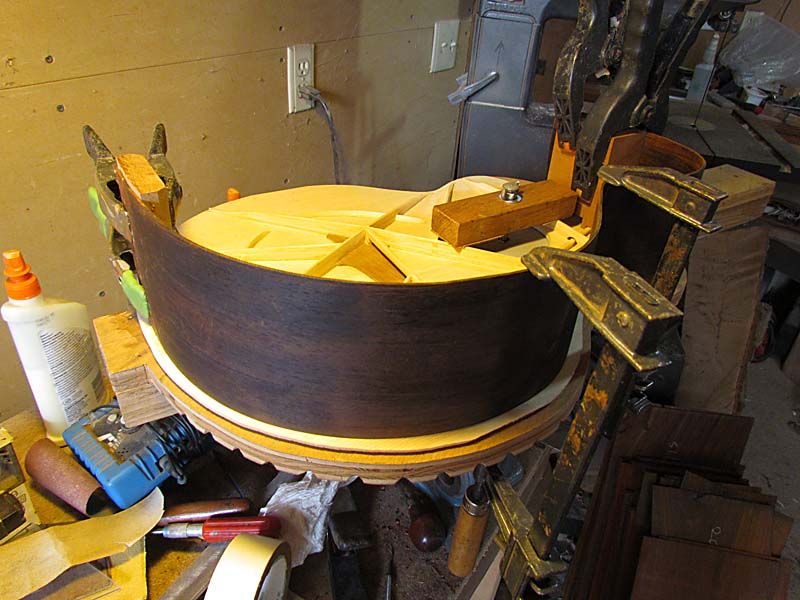
So, I start by clamping the braced top to the building board (see last post). Then I glue the end blocks to the top (I took a photo of this, but forgot to download it). The guitar outline is traced on the inside of the top, so I have that to line up the sides to. So then I temporarily clamp on the first side.
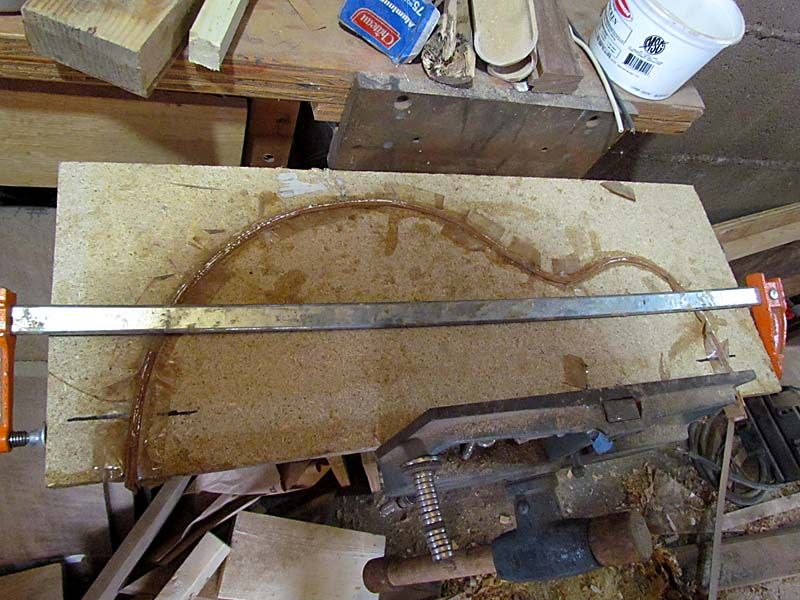
Then I can mark the side length for trimming, and also mark for the ends of the linings
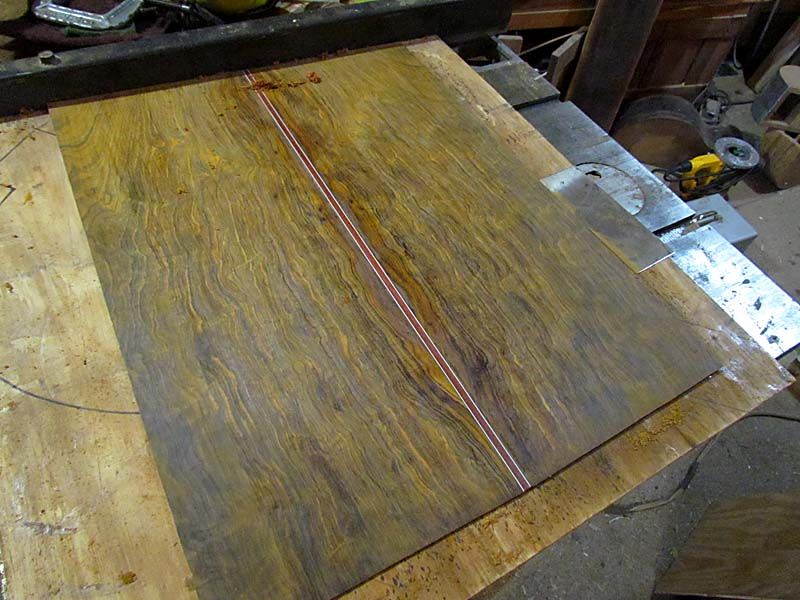
I do the same for the other side
Another view
After I trim the sides to length on the bandsaw, I sand the inside edge where the linings will be glued
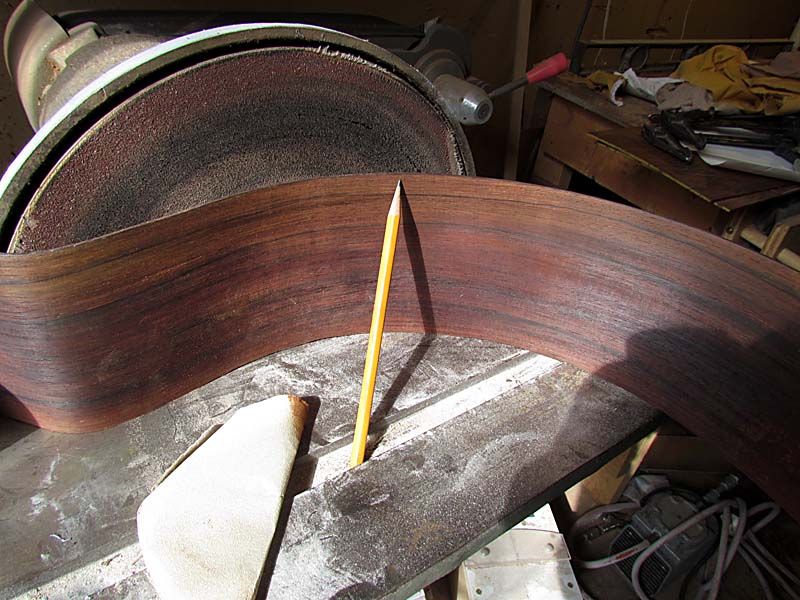
Note: this is just sitting on my disk sander for the photo, I sanded with the piece of sandpaper shown
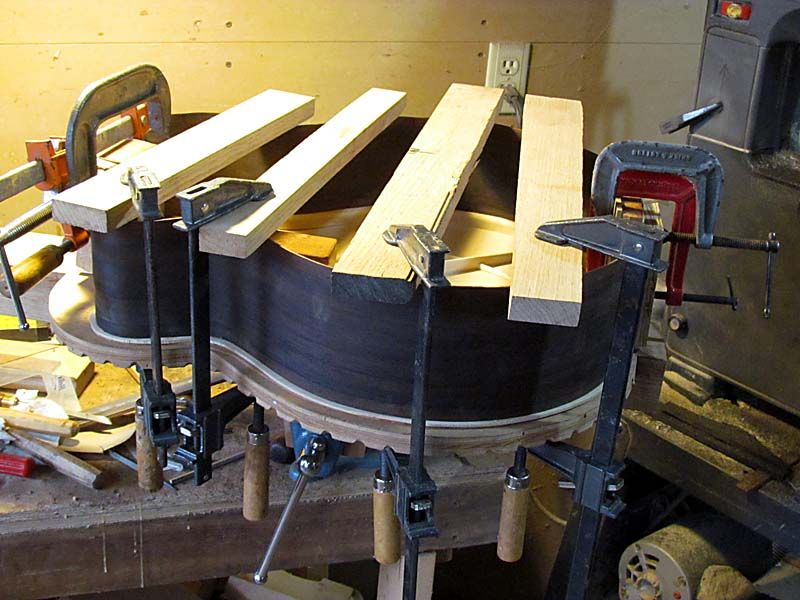
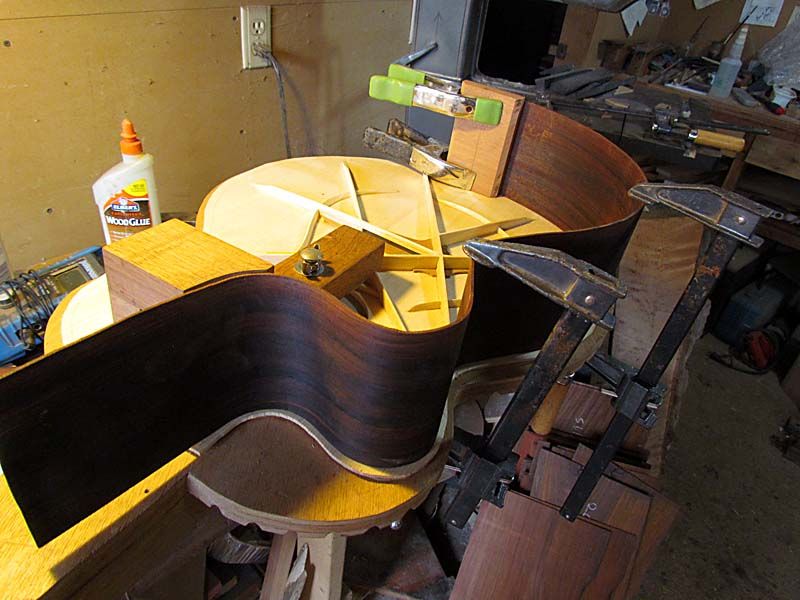
I use the laminated linings, so they are already bent to exact shape. I glue the linings for the top edge of the sides just flush with the side

A note on these "fancy" clamps. I bought these several years ago thinking they would be an improvement on what I had been doing. They came with one rubber band installed and fortunately I bought extras. With one rubber band they were useless....I ended up putting on 3 and they were OK, but I put 4 on some which was about right. In hindsight, I could have done as well with clothespins for a fraction of the price, but I have these, so I use them. Notice the stronger spring clamps where I really need the harder clamping.
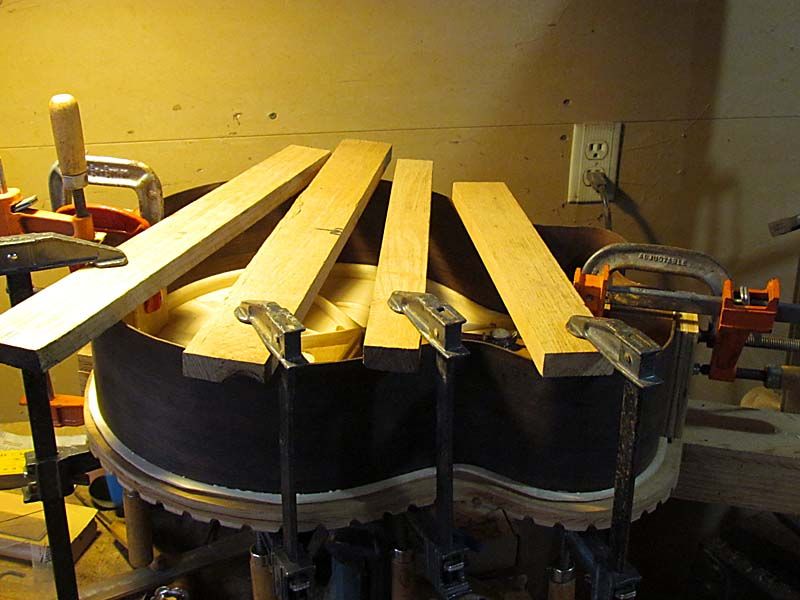
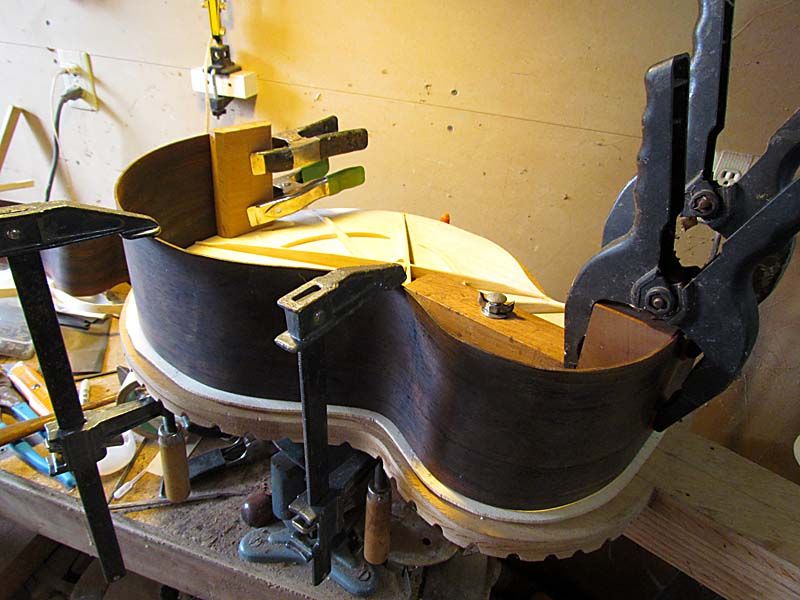
So, here are the sides with the top linings glued.
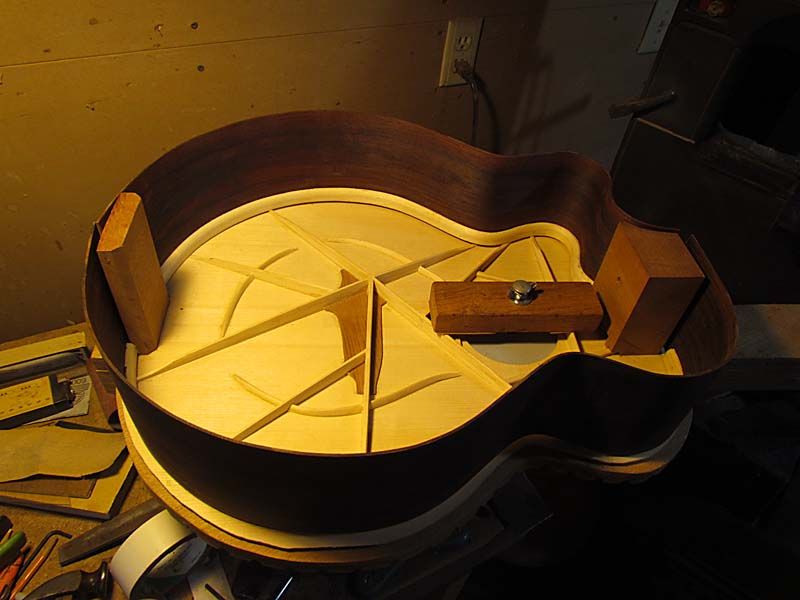
They are just sitting on the top, not glued, but you can see that they are a very close fit.
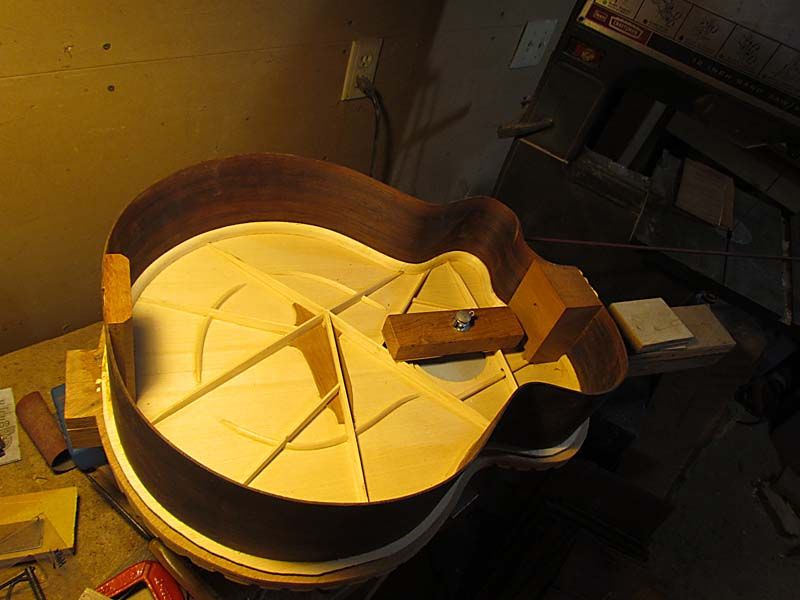
Next, I will notch the linings for the brace ends and then I can glue the sides to the top and to the end blocks. As you can see, this method of construction is a very simple process.
More to follow, stay tuned. Questions and comments welcome,
G