
Bob, I don't mind the occasional step backwards in my quest to go forward.....reminds me that I am human and keeps me humble. I consider that valuable.
Garry, that is about what I am planning to do. And I have a fixture to pre-shape a 16" radius on the top edge of the fret. That still gets filed/sanded down a bit in the process of leveling the frets, but not much. Then they just need to be crowned, but I got my diamond files today, so I am all set.
G
2 new bar fret guits, sound file added
-
whitespruce

- Site Admin
- Posts: 4367
- Joined: Thu Aug 21, 2008 6:53 am
- Include Off Topic: Yes
- Location: Northern Minnesota, USA
-
whitespruce
- Site Admin
- Posts: 4367
- Joined: Thu Aug 21, 2008 6:53 am
- Include Off Topic: Yes
- Location: Northern Minnesota, USA
Re: 2 new bar fret guits
Well, I am ready to start assembling the box. I build on a building board without a mold...just how I have always done it.
I just have things set up here, nothing fit or glued. I will be doing this this week.
Any questions, just yell.
G
I just have things set up here, nothing fit or glued. I will be doing this this week.
Any questions, just yell.
G
-
coopman

- Posts: 843
- Joined: Mon Aug 25, 2008 8:47 am
- Include Off Topic: Yes
- Location: The Fingerlakes NY
- Contact:
Re: 2 new bar fret guits
Very interesting Grant. Stuff like this sets me back for weeks. I'll stick with EVO 'gold' frets as the most adventurous material for me. Reminds me of my little junkyard 1933 all Mahogany 1-17 Martin. It had bar frets and they were pretty cool. Imparted a unique sound ...
John Cooper
"Hard pressed on the right. Center is falling. No possibility to maneuver. Situation excellent. I am attacking." - Gen. Ferdinand
"Hard pressed on the right. Center is falling. No possibility to maneuver. Situation excellent. I am attacking." - Gen. Ferdinand
-
whitespruce
- Site Admin
- Posts: 4367
- Joined: Thu Aug 21, 2008 6:53 am
- Include Off Topic: Yes
- Location: Northern Minnesota, USA
Re: 2 new bar fret guits
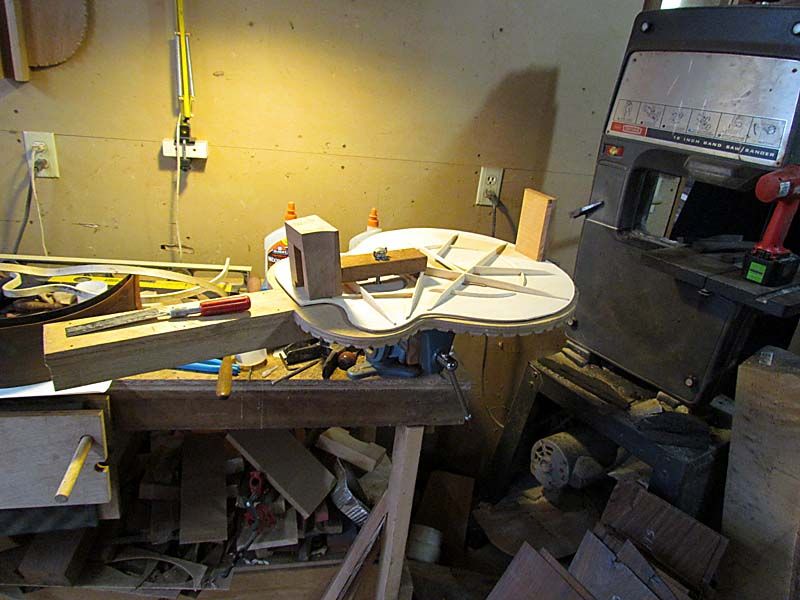
Well, I farted around with this one a bit more. I have posted several builds over the years that show my building technique, but since it has been a while, I will show it again here. I build differently than most in that I don't use a mold. I build "freehand" on a building board. That's how I started and I have not found a reason to change. So my guitars might vary an eighth of an inch or so in size, but they still fit in the case and the music don't care 
So, I start by clamping the braced top to the building board (see last post). Then I glue the end blocks to the top (I took a photo of this, but forgot to download it). The guitar outline is traced on the inside of the top, so I have that to line up the sides to. So then I temporarily clamp on the first side.
Then I can mark the side length for trimming, and also mark for the ends of the linings
I do the same for the other side
Another view
After I trim the sides to length on the bandsaw, I sand the inside edge where the linings will be glued
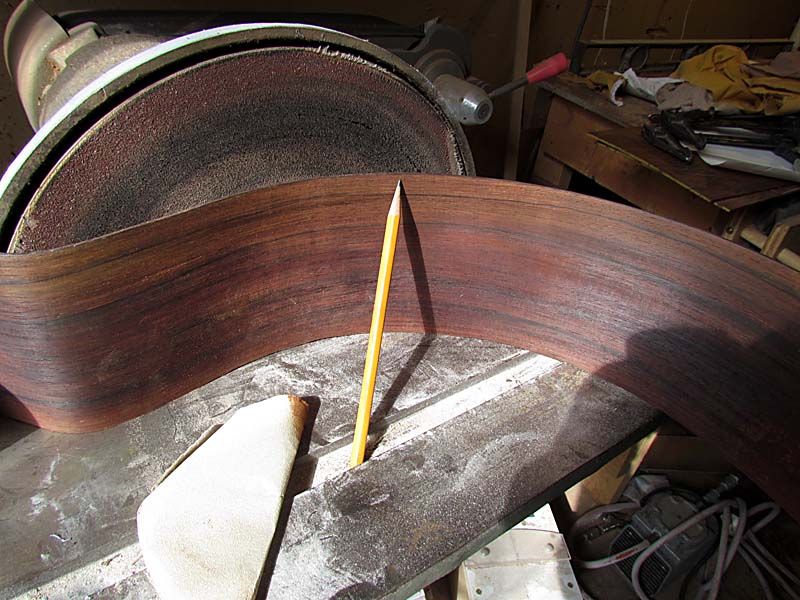
Note: this is just sitting on my disk sander for the photo, I sanded with the piece of sandpaper shown
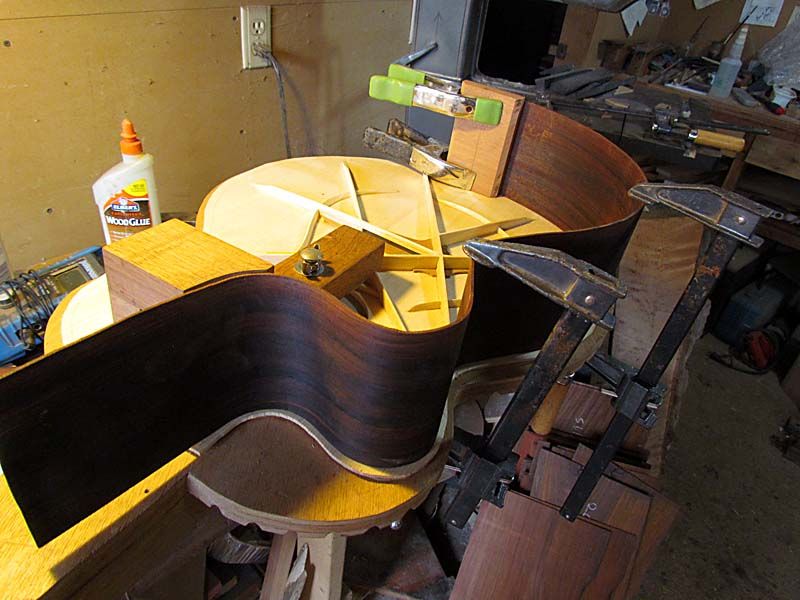
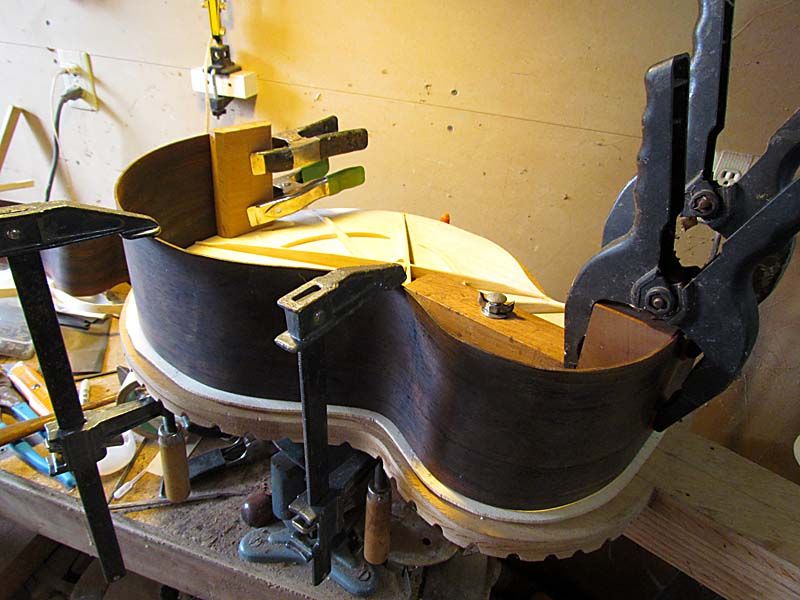
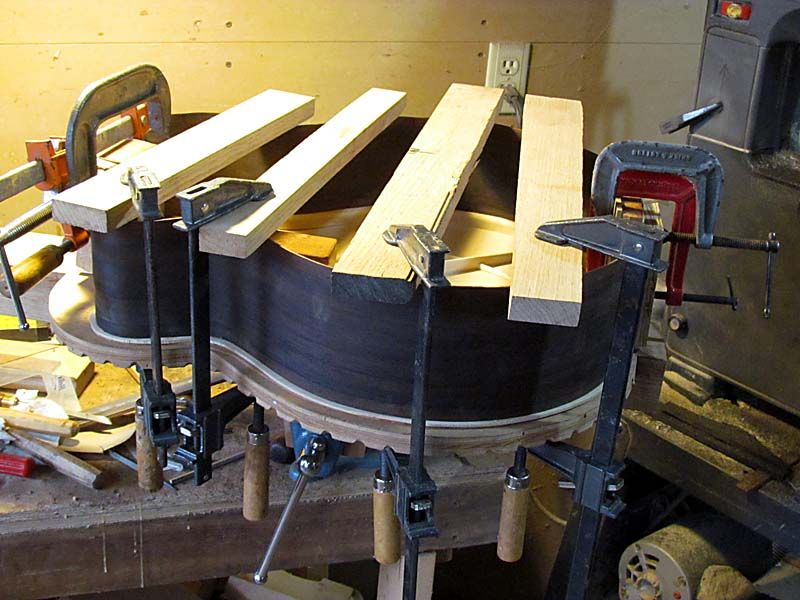
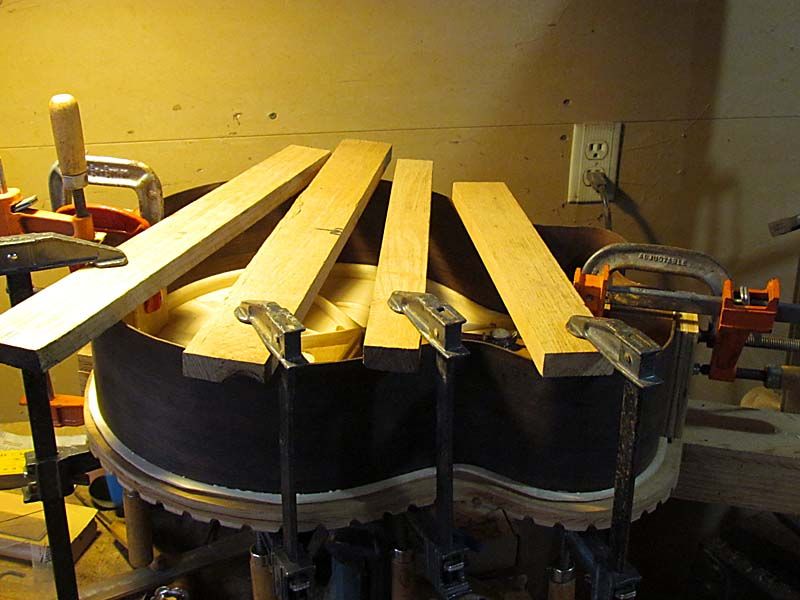
I use the laminated linings, so they are already bent to exact shape. I glue the linings for the top edge of the sides just flush with the side

A note on these "fancy" clamps. I bought these several years ago thinking they would be an improvement on what I had been doing. They came with one rubber band installed and fortunately I bought extras. With one rubber band they were useless....I ended up putting on 3 and they were OK, but I put 4 on some which was about right. In hindsight, I could have done as well with clothespins for a fraction of the price, but I have these, so I use them. Notice the stronger spring clamps where I really need the harder clamping.
So, here are the sides with the top linings glued.
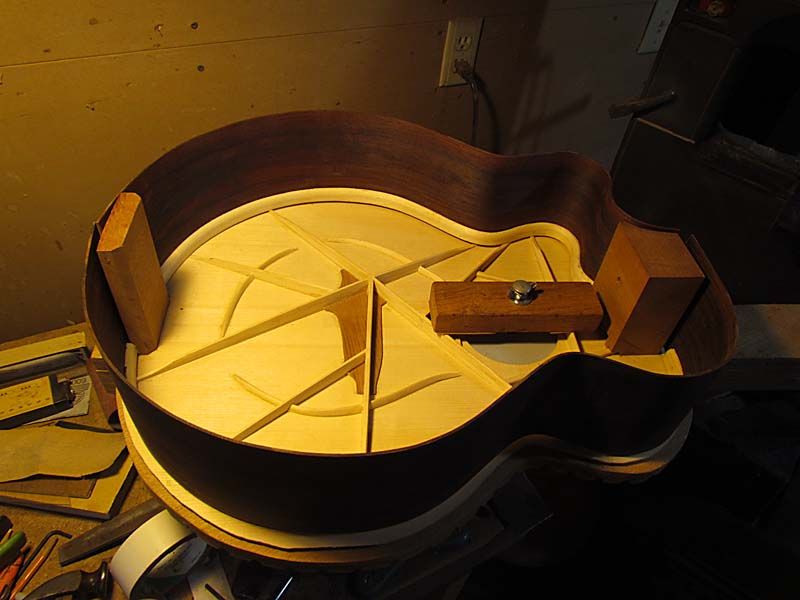
They are just sitting on the top, not glued, but you can see that they are a very close fit.
Next, I will notch the linings for the brace ends and then I can glue the sides to the top and to the end blocks. As you can see, this method of construction is a very simple process.
More to follow, stay tuned. Questions and comments welcome,
G
So, I start by clamping the braced top to the building board (see last post). Then I glue the end blocks to the top (I took a photo of this, but forgot to download it). The guitar outline is traced on the inside of the top, so I have that to line up the sides to. So then I temporarily clamp on the first side.
Then I can mark the side length for trimming, and also mark for the ends of the linings
I do the same for the other side
Another view
After I trim the sides to length on the bandsaw, I sand the inside edge where the linings will be glued
Note: this is just sitting on my disk sander for the photo, I sanded with the piece of sandpaper shown
I use the laminated linings, so they are already bent to exact shape. I glue the linings for the top edge of the sides just flush with the side
A note on these "fancy" clamps. I bought these several years ago thinking they would be an improvement on what I had been doing. They came with one rubber band installed and fortunately I bought extras. With one rubber band they were useless....I ended up putting on 3 and they were OK, but I put 4 on some which was about right. In hindsight, I could have done as well with clothespins for a fraction of the price, but I have these, so I use them. Notice the stronger spring clamps where I really need the harder clamping.
So, here are the sides with the top linings glued.
They are just sitting on the top, not glued, but you can see that they are a very close fit.
Next, I will notch the linings for the brace ends and then I can glue the sides to the top and to the end blocks. As you can see, this method of construction is a very simple process.
More to follow, stay tuned. Questions and comments welcome,
G
Re: 2 new bar fret guits
Grant,
You make it look easy! I learned from Complianos book and I also use a work board. I did make a mold for the last one but I think the jury is still out about whether it is easier or not. I guess it is what you get used to that works.
Mike
You make it look easy! I learned from Complianos book and I also use a work board. I did make a mold for the last one but I think the jury is still out about whether it is easier or not. I guess it is what you get used to that works.
Mike
-
Joe Sustaire

- Moderator
- Posts: 2640
- Joined: Sat Aug 23, 2008 6:41 pm
- Include Off Topic: Yes
- Location: Talihina, Oklahoma
Re: 2 new bar fret guits
Grant, don't you know, that's just not the "right" way to build a guitar!
I mean Martin, Gibson, even Taylor doesn't build 'em that way ...... you must live in Minnesota?
Looking good, nice to see your build method shown again. Although I was a little concerned at first with that pic of sanding the sides before you glued on the solid linings.
I mean Martin, Gibson, even Taylor doesn't build 'em that way ...... you must live in Minnesota?
Looking good, nice to see your build method shown again. Although I was a little concerned at first with that pic of sanding the sides before you glued on the solid linings.
"I tell you we are here on earth to fart around, and don't let anyone tell you any different!"
Kurt Vonnegut
Kurt Vonnegut
-
whitespruce
- Site Admin
- Posts: 4367
- Joined: Thu Aug 21, 2008 6:53 am
- Include Off Topic: Yes
- Location: Northern Minnesota, USA
Re: 2 new bar fret guits
Well, I have the sides glued to the top and end blocks. Need to download/upload some photos so I can show the progress.
I also have the back ready to join, so need to do that and brace it. Also need to make the laminated back linings. Bindings and such will be bloodwood...I love how it goes with coco. So my plan is to try to have one guitar body with two interchangeable necks ready to string up by the end of April. In order to do that, I will need to play hooky on a lot of other things that I should be doing, but please bear with me. I can see the light at the end of the tunnel and I am way too anxious to put off getting there. This has been too long coming.
Stay tuned and any questions are always appreciated.
G
-
whitespruce
- Site Admin
- Posts: 4367
- Joined: Thu Aug 21, 2008 6:53 am
- Include Off Topic: Yes
- Location: Northern Minnesota, USA
Re: 2 new bar fret guits
OK, time to catch up with the photos.
Now, I know that I should be doing other things (packing wood comes to mind), but I have a real need to do some guitar stuff and get a new one strung up, so..... (I will get on the other stuff shortly)
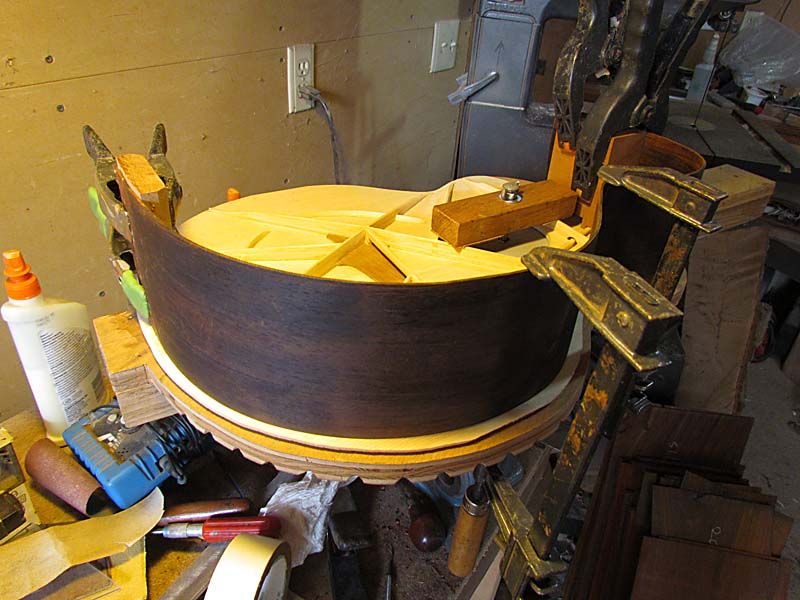
So, I glued the sides on
And it looks like this now
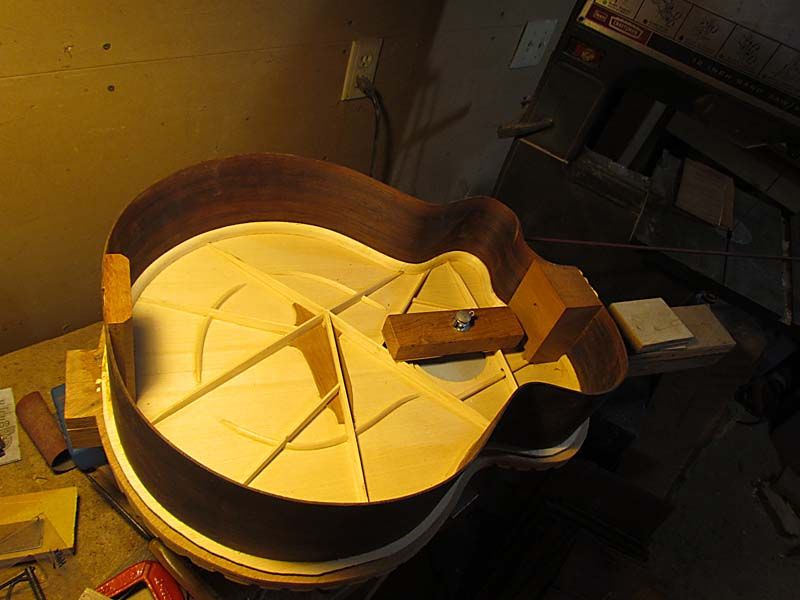
I have done this part of the process so many times that I do it without much thought or anything
So, on to the back
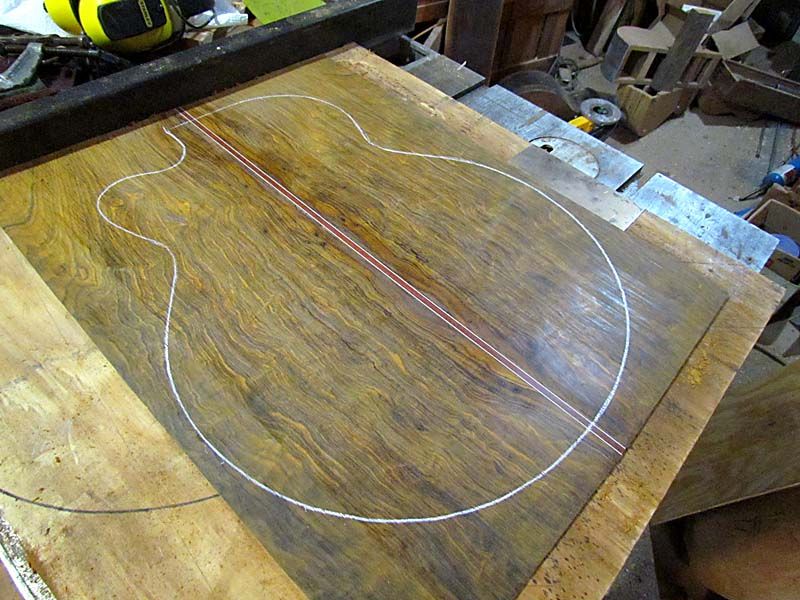
I glue up the plate with a full thickness center strip, so here are the parts
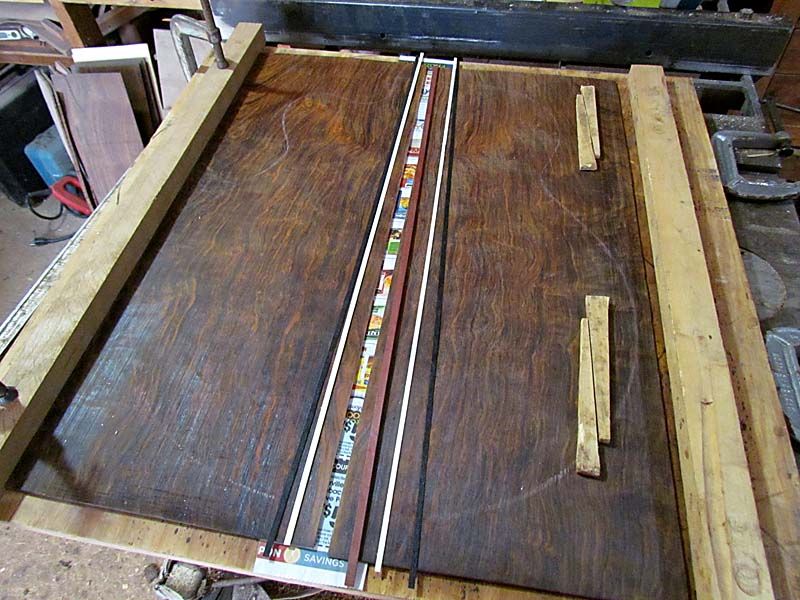
Center bloodwood strip and a pair of black and holly veneer lines
Glued and clamped
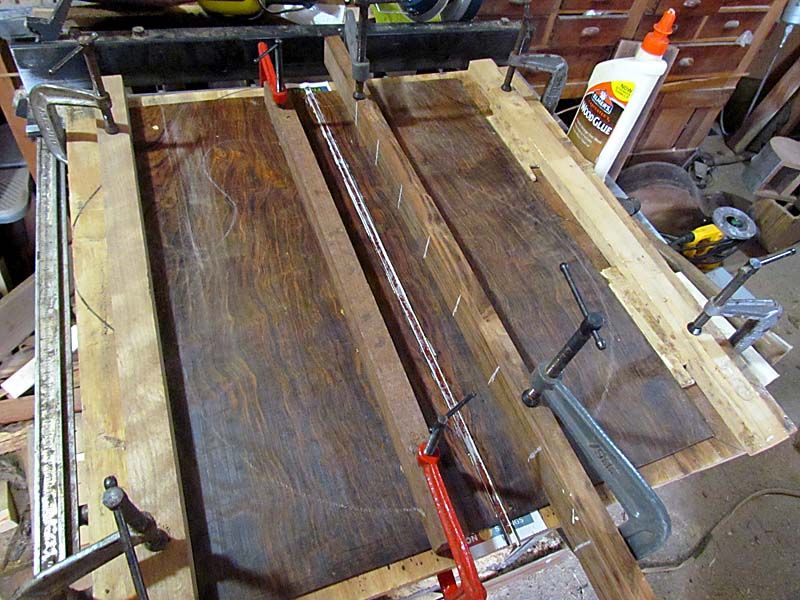
Now, I know that a lot of folks route a slot and inlay the center stripe, and some claim it is better or stronger or something. But I have always done it this way and it works for me, so....
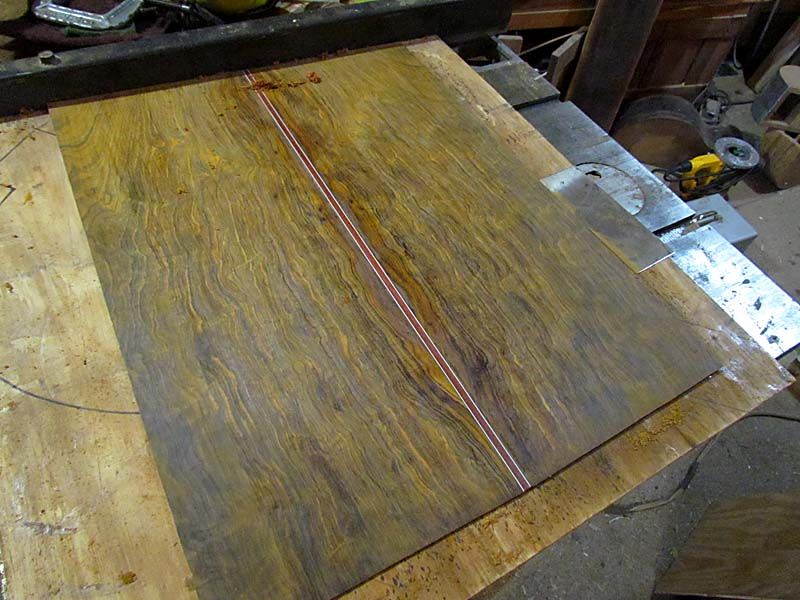
So glued and scraped a bit
And the outline drawn on
And cut out
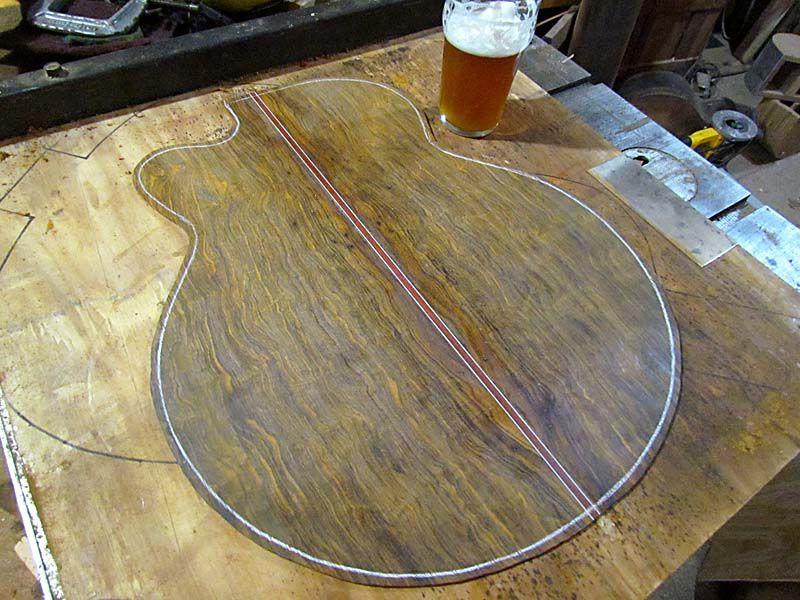
A Bell's Two Hearted Ale really helps
Sanded a bit
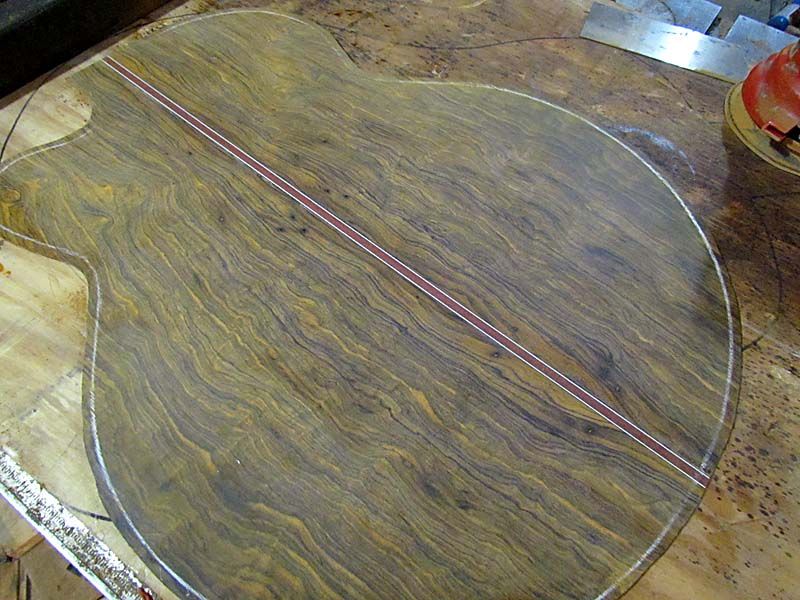
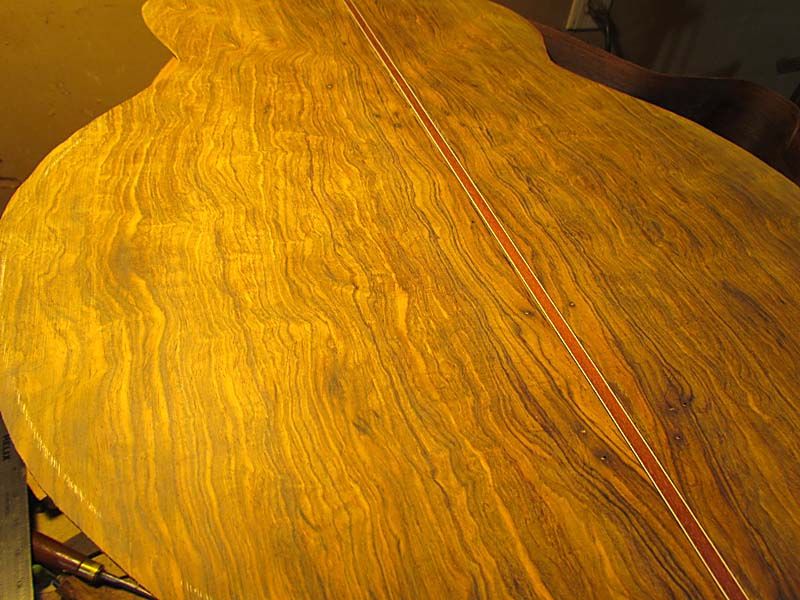
And wet to show the grain
Now, you have probably noticed that this has a few bug holes. They will probably not show much with the finish, but if they do, well, "beauty marks" The grain is to good to pass up
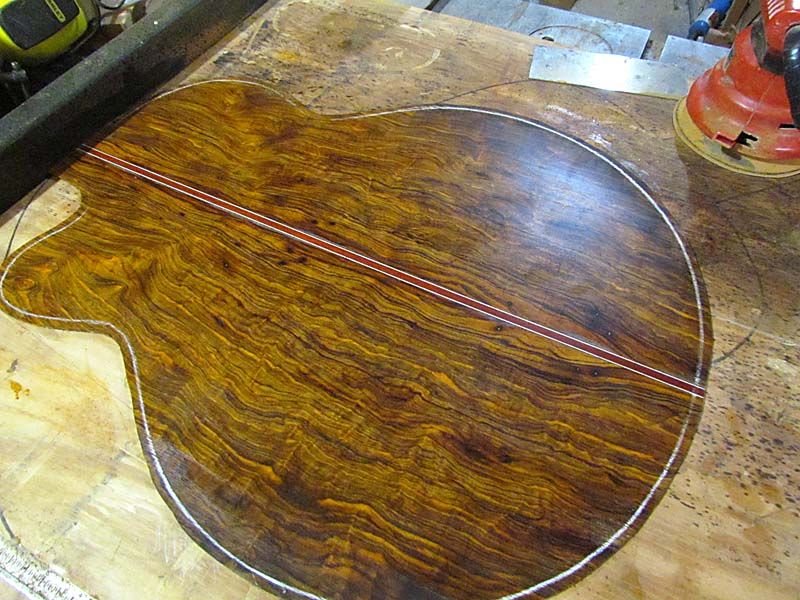
Another view with different lighting.
And the back linings
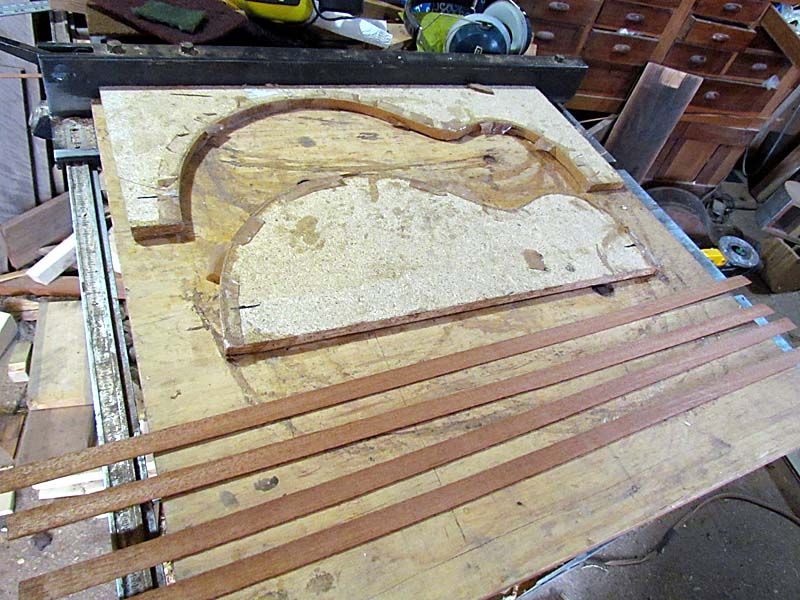
Parts and mold, mahogany veneer strips
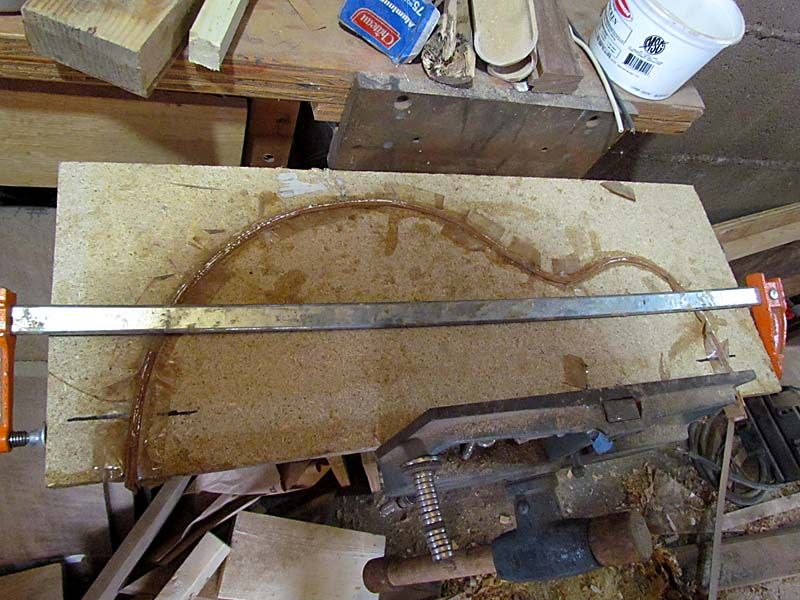
And glued up
So that's where I am at for now. Can start bracing the back and this will be a box before too long.
Stay tuned,
G
Now, I know that I should be doing other things (packing wood comes to mind), but I have a real need to do some guitar stuff and get a new one strung up, so..... (I will get on the other stuff shortly)
So, I glued the sides on
And it looks like this now
I have done this part of the process so many times that I do it without much thought or anything
So, on to the back
I glue up the plate with a full thickness center strip, so here are the parts
Center bloodwood strip and a pair of black and holly veneer lines
Glued and clamped
Now, I know that a lot of folks route a slot and inlay the center stripe, and some claim it is better or stronger or something. But I have always done it this way and it works for me, so....
So glued and scraped a bit
And the outline drawn on
And cut out
A Bell's Two Hearted Ale really helps
Sanded a bit
And wet to show the grain
Now, you have probably noticed that this has a few bug holes. They will probably not show much with the finish, but if they do, well, "beauty marks" The grain is to good to pass up
Another view with different lighting.
And the back linings
Parts and mold, mahogany veneer strips
And glued up
So that's where I am at for now. Can start bracing the back and this will be a box before too long.
Stay tuned,
G