Re: Documenting my first total thermally modified build
Posted: Tue Nov 17, 2015 7:13 pm
Well, I am still plodding along on this one, but don't have any recent photos so I will just share some observations.
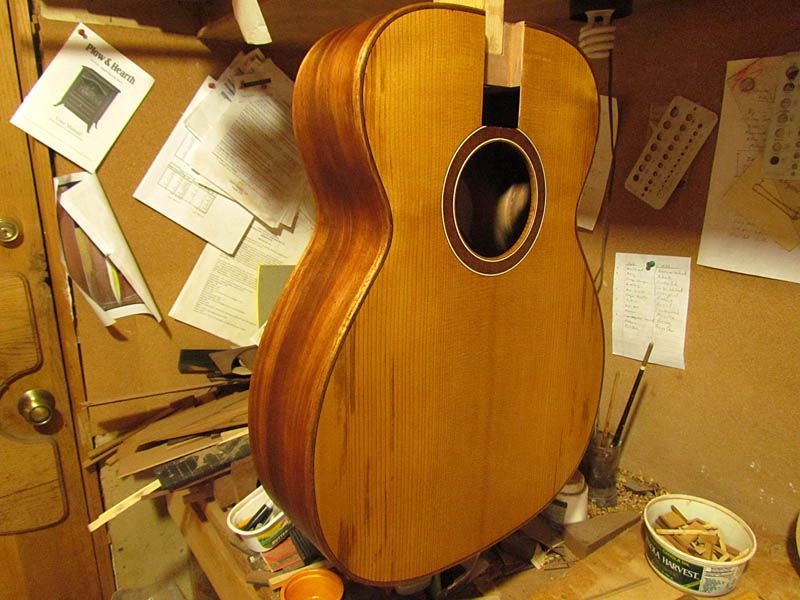
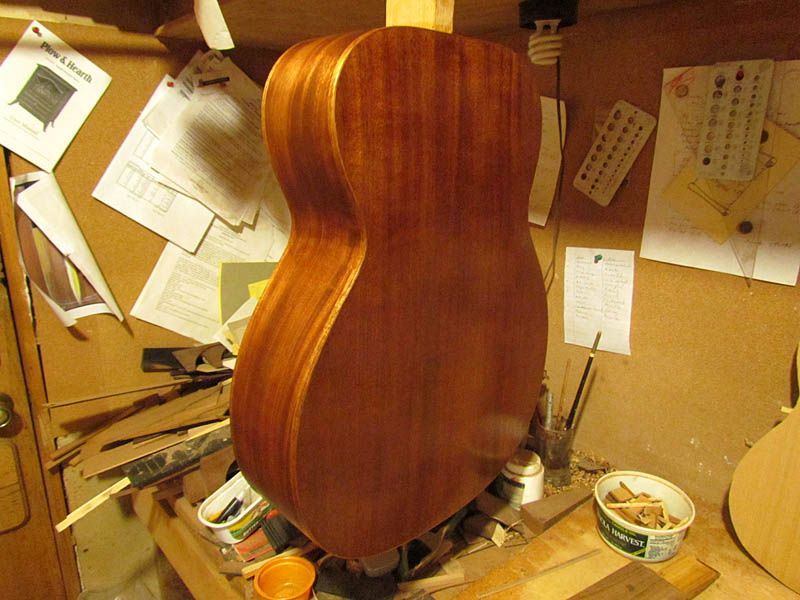
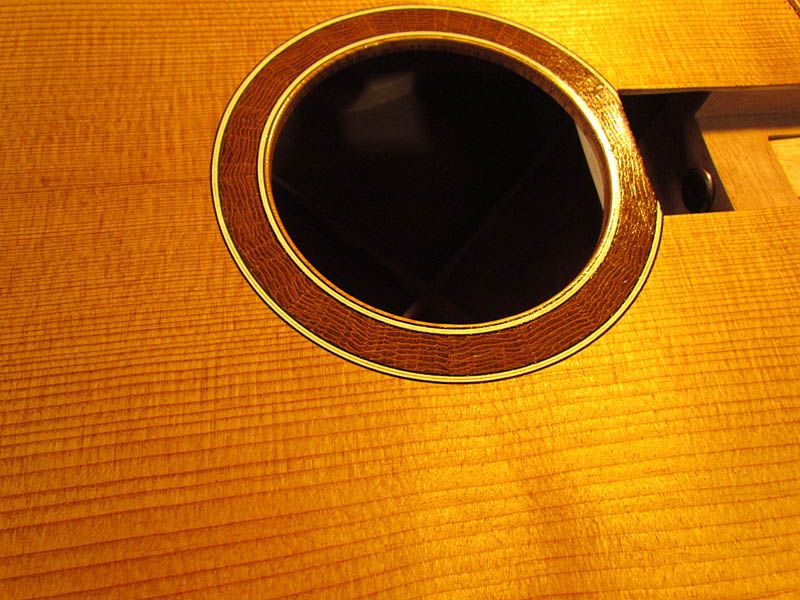
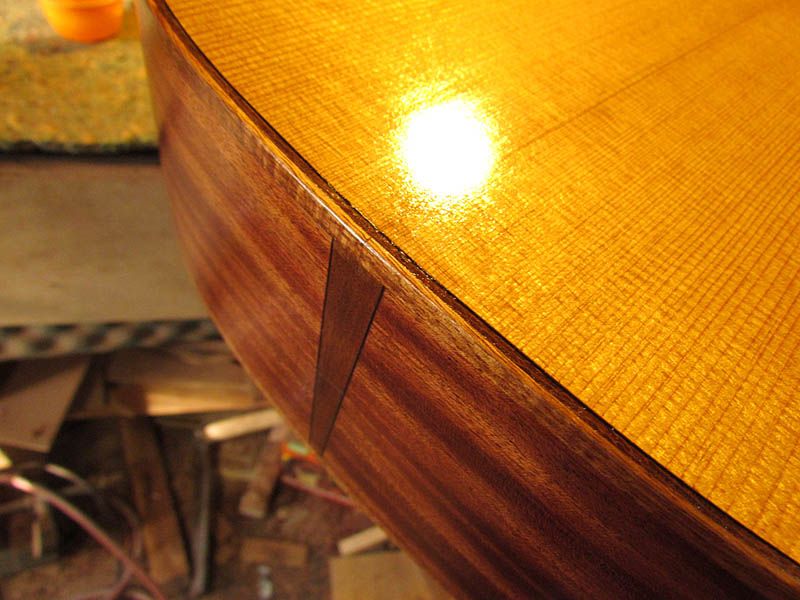
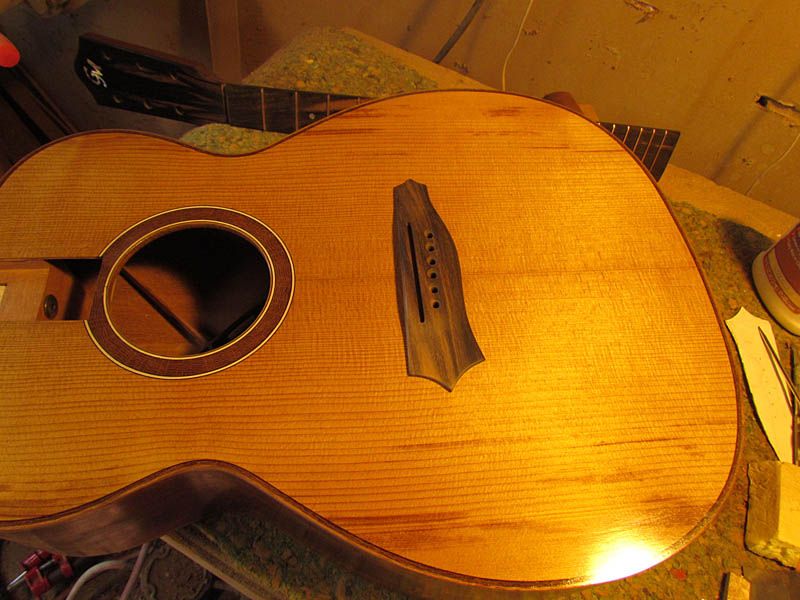
First of all, this wood is very stiff and stable. Parts like top and back plates stay very flat and, like I said elsewhere, sides refuse to bend, thus the workaround of heat treating them after bending, which appears to work well. However, make sure your sides don't have much spring back before cooking them. The wood almost borders on being brittle, but not to the point where it is weak. My binding channels in spruce tops used to have fuzzy edges...the TM tops have much less.
Sanding dust is more like powder with no hint of "stringeyness". And it sands easier, at least on woods like mahogany and spruce. I have the neck carving pretty much roughed out and it carved mush easier than the non-treated wood. I have not checked the before and after, but it appears that there has been about a 5 to 10% weight loss. I will be weighing before and after on some of the next batch I have done.
I had heard comments on gluing problems, but I did not experience any.
So, I realize that this is only one guitar plus preliminary steps on Sally's baritone uke, but I am quite favorably impressed. Obviously, the final test will be after it is strung up.
G