Page 6 of 12
Re: Documenting my first total thermally modified build
Posted: Sat Oct 31, 2015 9:54 am
by Eben
And don't forget to mention the feel those frets impart!
They reminded me of the effect of a scalloped fretboard - The speed and positive lock you get when fretting notes or chords is a really cool feel and great sound.
E
Re: Documenting my first total thermally modified build
Posted: Sun Nov 08, 2015 8:53 pm
by whitespruce
OK, first of all I want you to notice that I have cleaned off my bench

Yes, that IS the same bench as in the last post.
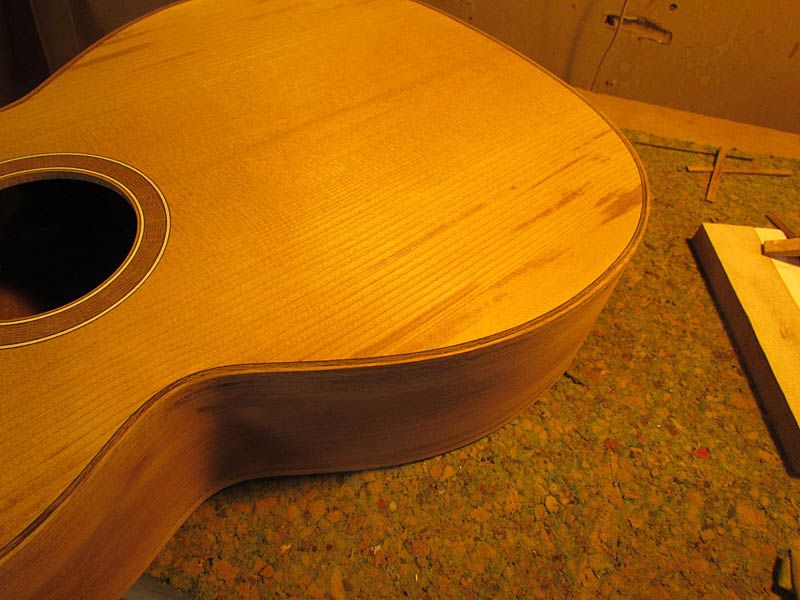
Now, on with dressing up the box.....Binding and Purfling
First, the end graft
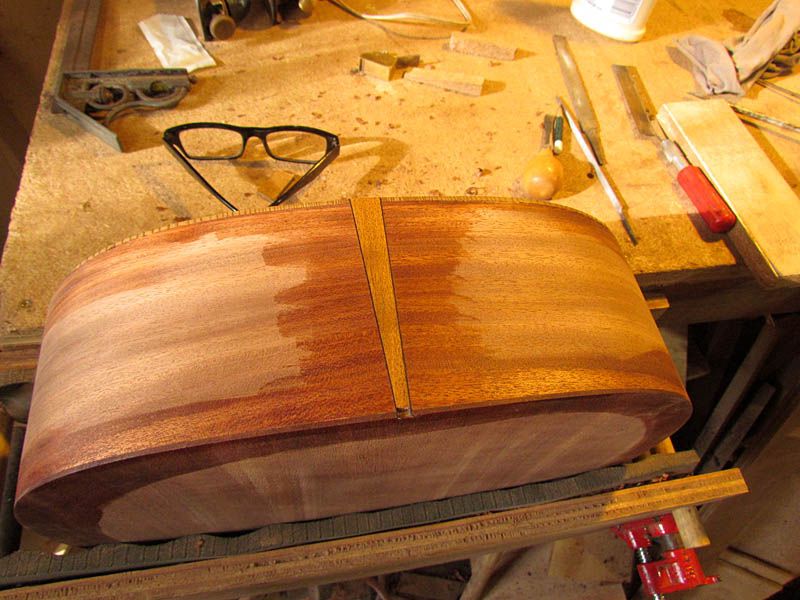
Just koa bordered with black lines
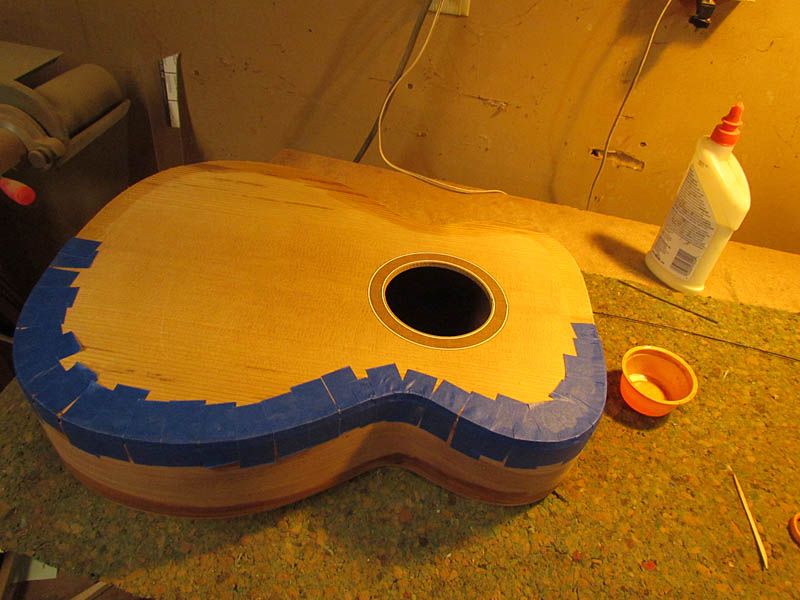
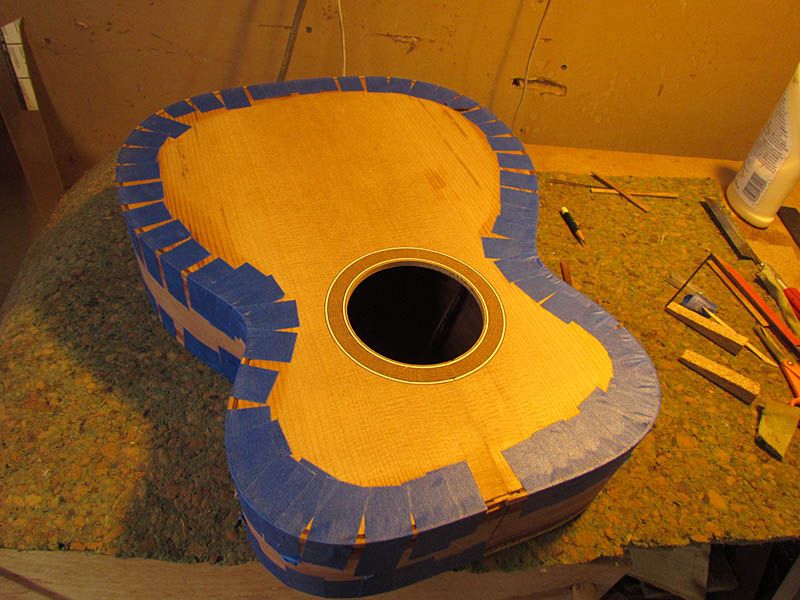
Then on to cutting the binding channels
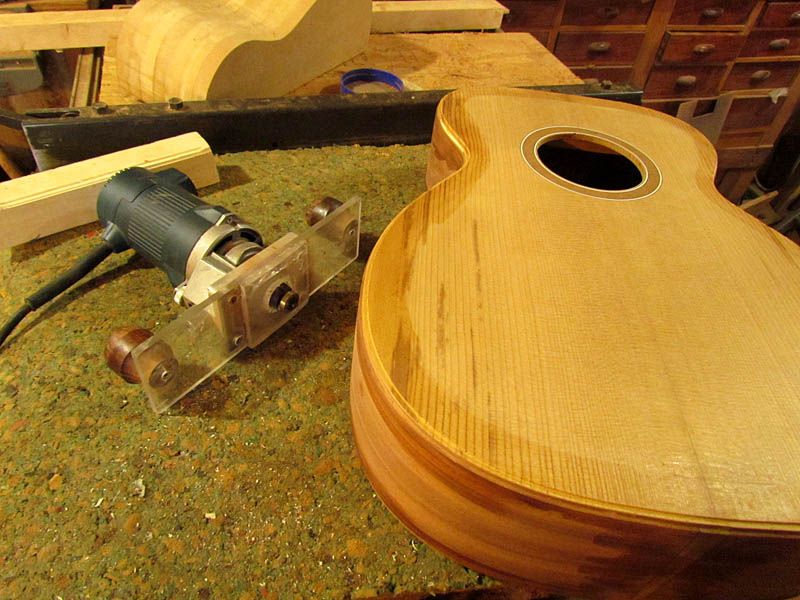
Yes, I know it is not possible to do this free hand with just a router, but I learned this back before anybody told me I couldn't.....And it seemed like a shame to waste the hand/eye coordination that I learned......so, I still do it that way

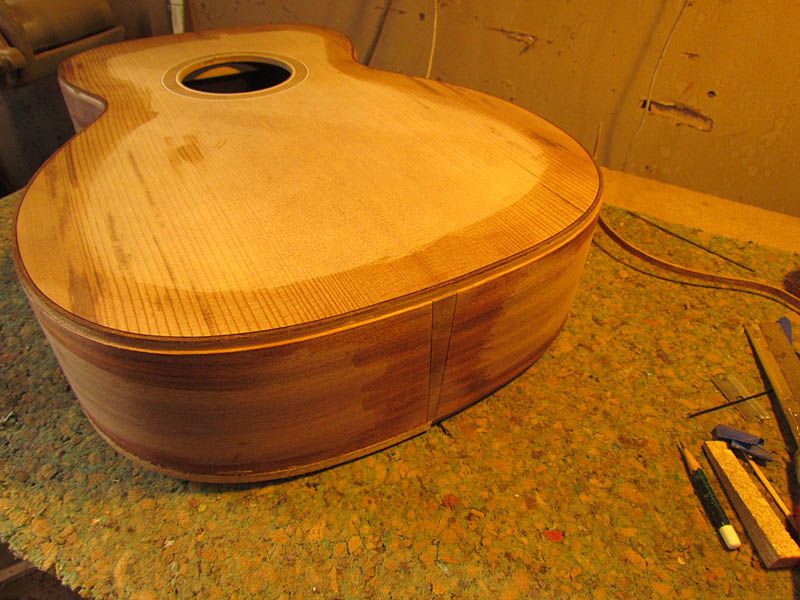
And here are the bindings bent
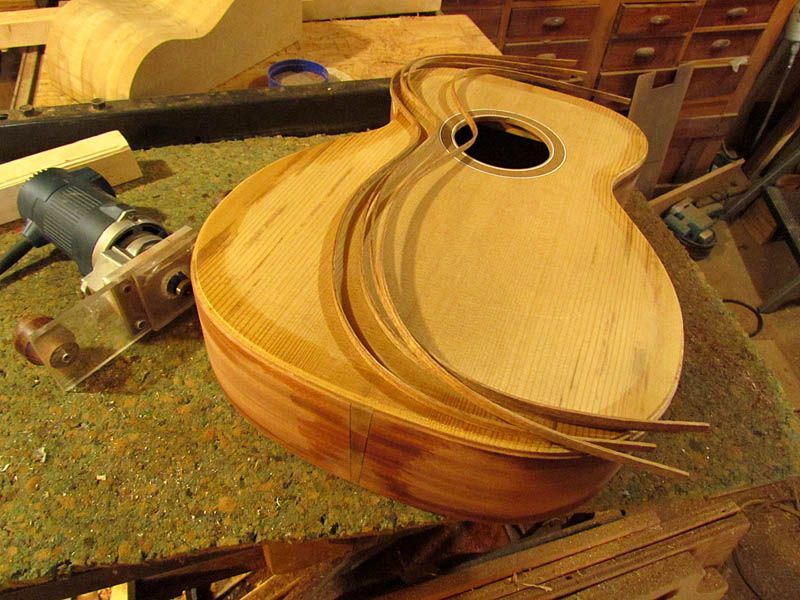
Again, koa
The top will have oak bark purfling to match the rosette, so here are strips being cut
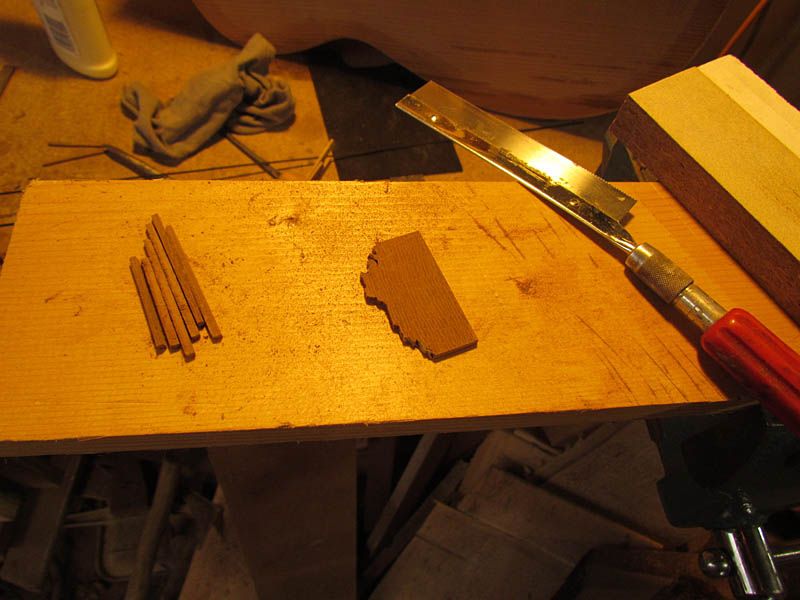
These are oversize in width and thickness. They will be glued in and then sanded to size
One side glued
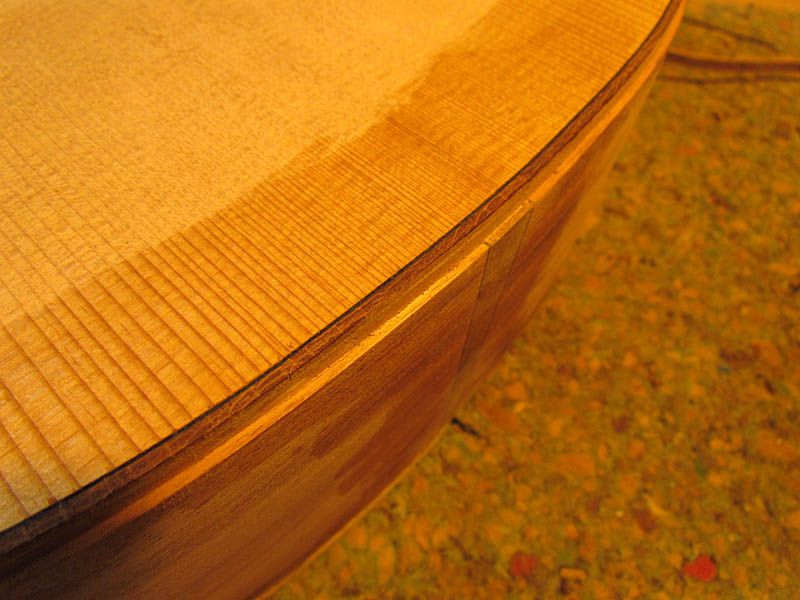
And here is the purfling sanded flush with the top and even with the binding channel
It sands very easily (notice that one back binding is glued on)
A closer look
Bindings glued
Bindings leveled
A closer look
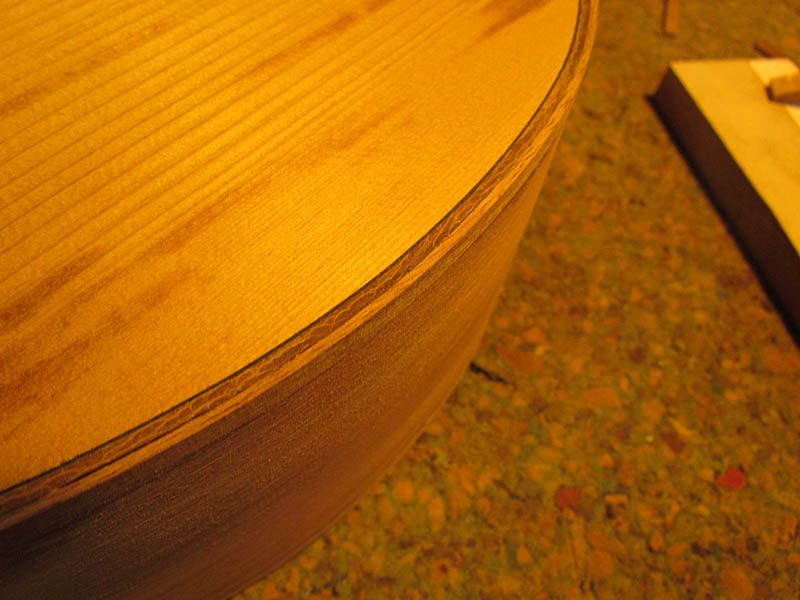
This gives a better feel for the bark purfling. I really like it. Just a bit of clean up to do and round the binding edge a bit.
Well, this one is getting close. Need to carve the neck and make the bridge, do the final sanding and get some finish on. I am anxious to hear this one strung up
G
Re: Documenting my first total thermally modified build
Posted: Mon Nov 09, 2015 6:24 pm
by johnparchem
It is fun to see this guitar come so far. Amazing difference in the look of your bench.
Re: Documenting my first total thermally modified build
Posted: Tue Nov 10, 2015 12:55 pm
by charangohabsburg
whitespruce wrote:OK, first of all I want you to notice that I have cleaned off my bench
Yes, that IS the same bench as in the last post.
Hmmm... very inspiring!


That bark purfling sounds ...errr I mean looks sensational!
Re: Documenting my first total thermally modified build
Posted: Tue Nov 10, 2015 9:24 pm
by Pat Foster
Bark purfling will look great under finish!
Pat
Re: Documenting my first total thermally modified build
Posted: Tue Nov 10, 2015 10:39 pm
by whitespruce
Pat Foster wrote:Bark purfling will look great under finish!
Pat
Pat, I am still thanking you for your suggestion that got the whole bark thing started.
G
Re: Documenting my first total thermally modified build
Posted: Wed Nov 11, 2015 10:17 pm
by michael
Grant, I really like watching you build. How did you come up with the bracing system that you use? Looks like it was dreamt up after a heavy night of tipping the ale!! I noticed that you are using Osage Orange for a bridge patch. Have you done any resawing on O.O.? My brother recently had a pretty big Osage tree come down in a storm and I asked him to save me a chunk. Would you cut it while it is still green or wait till it ages? Heard somewhere that it is to hard to cut after drying.
Mike
Re: Documenting my first total thermally modified build
Posted: Wed Nov 11, 2015 11:00 pm
by whitespruce
Michael, I have told the story of my bracing pattern several times. Guess I need to find one of those and post a link. Goes back to 2002 and no tipping of the ale involved.
I reawed osage orange both green and dried. It was easier to cut after it dried for me.
G