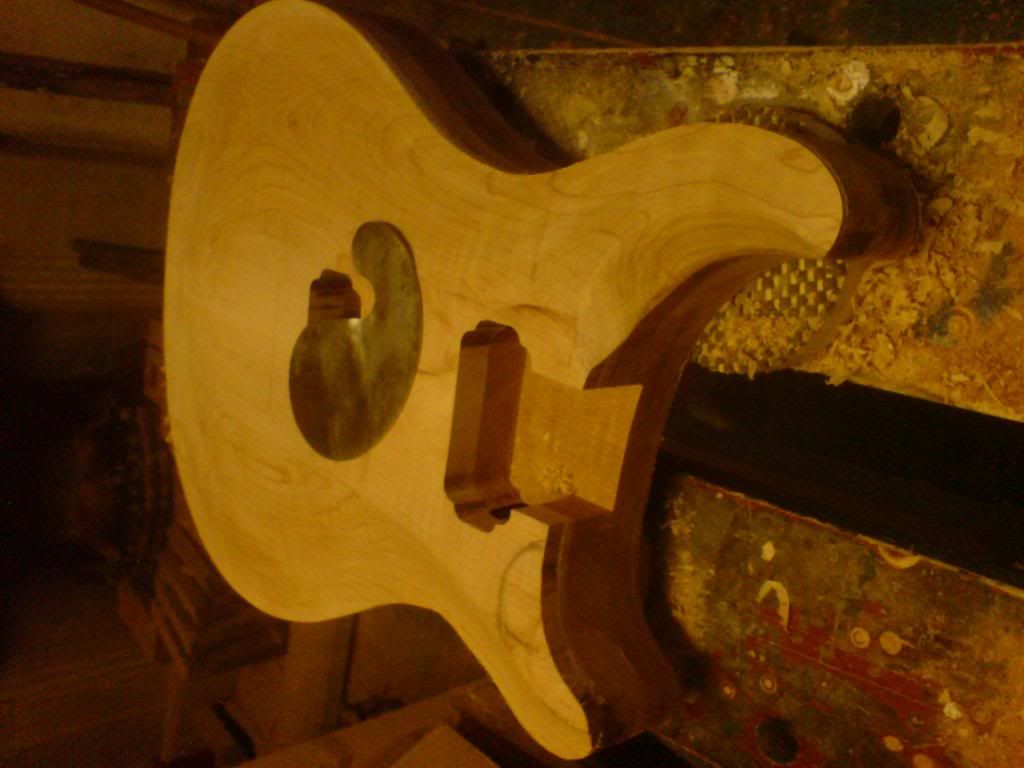
Here are the pics of my latest Prs style build, this one is a 22fretter with a semi solid body seeing as the trend for weight reduced guitars seems to be in full swing here in the uk ..... Time was cheap guitars were too light , now it seems everything needs to be super light! Ah well how times change.... So its a weight relieved 2" sapele body and a 3/4" maple cap with a one piece sapele neck with wenge board and maple bindings... my first attempt at neck / head binding too.
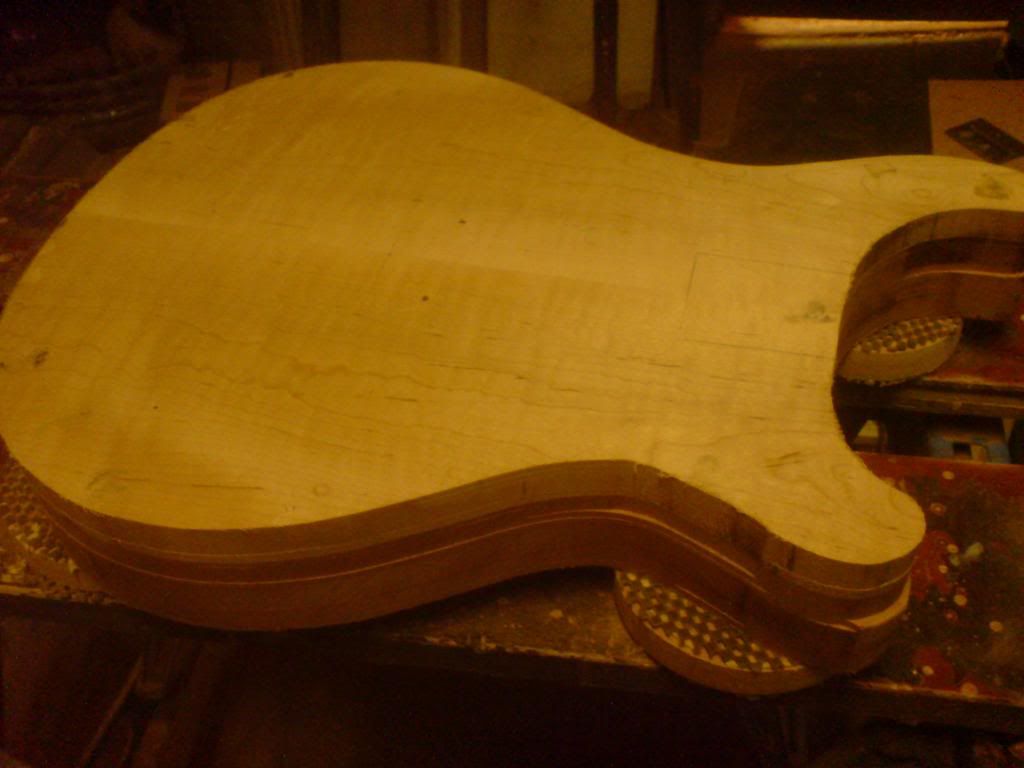
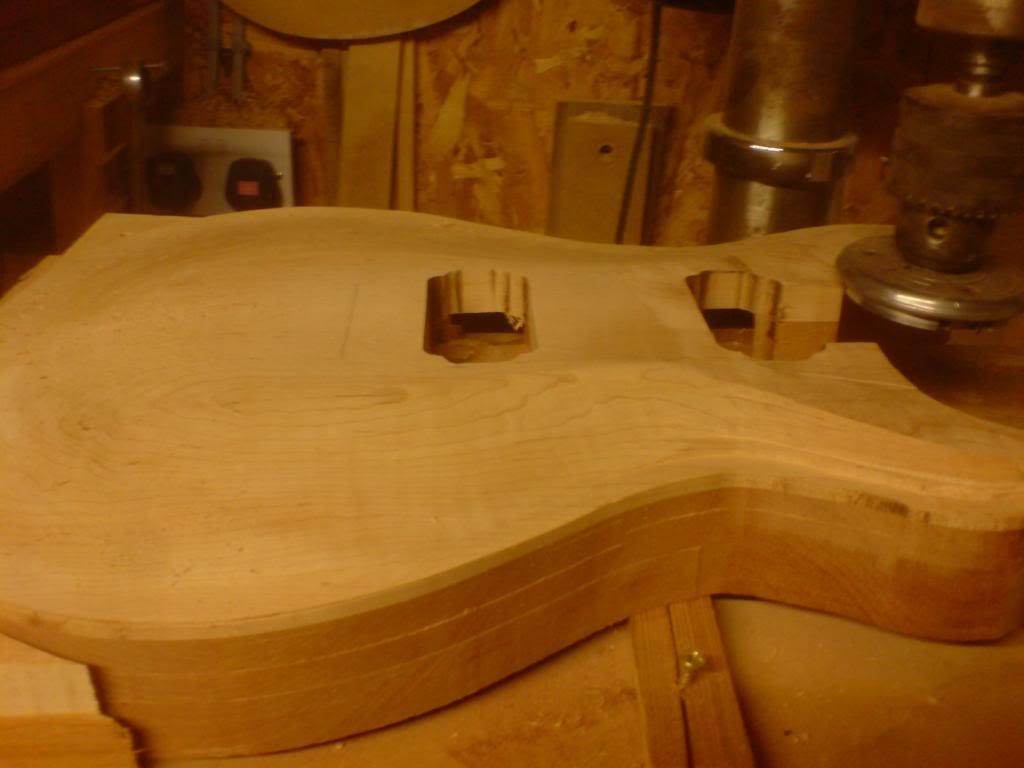
If I were going to make another of these I think I would make a template for the hollow bits as it is very difficult to conrol the router free hand as demonstrated by the wobbly cut lines, but hey its inside and I'm not putting any F holes in so it will only ever be seen in this pic.. I chose to leave a wall around the control cavity to make shielding easier and more effective. It also hides the fact that its a semi.
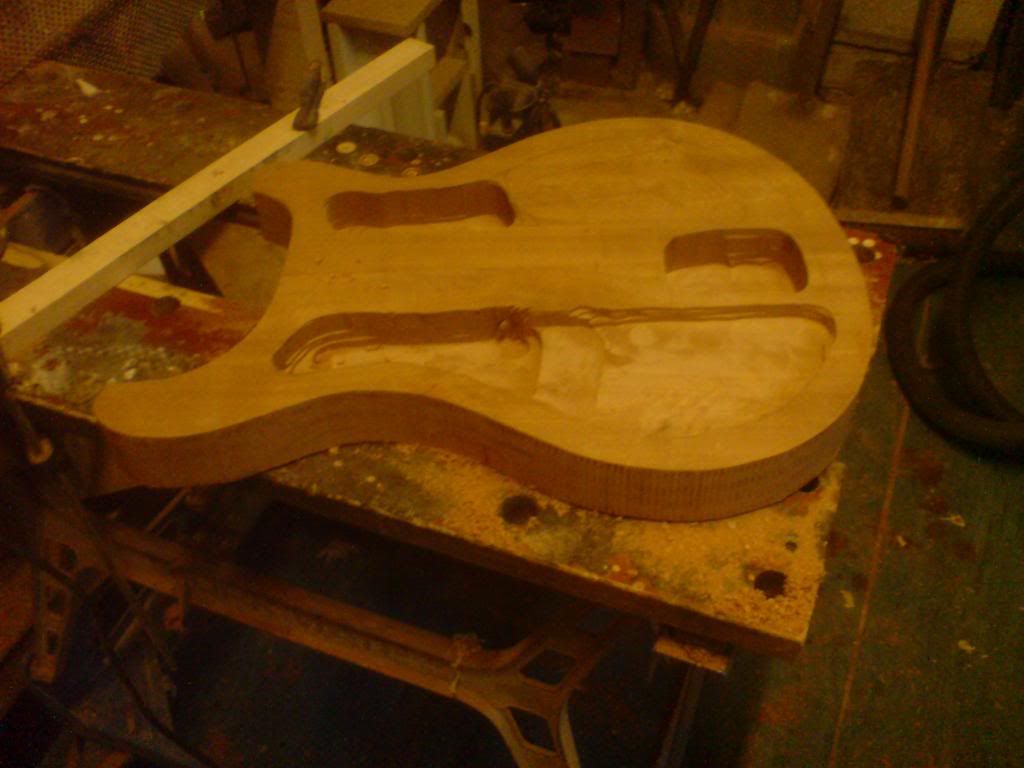
the top and back getting glued up , at this point they are both just rough cut to shape and get routed at a later point. Once the body blank is routed to final shape the top carving starts as usual with the step cut using my plunge router. The first cut ( outside ) was done in 3 passes to acievr the final depth before reducing the cut for the next step. I'm still just drawing the contour lines out by hand as I work though I do keep meaning to make a set of templates for this to keep the carve a little more consistent. Maybe I should have shown this pic first
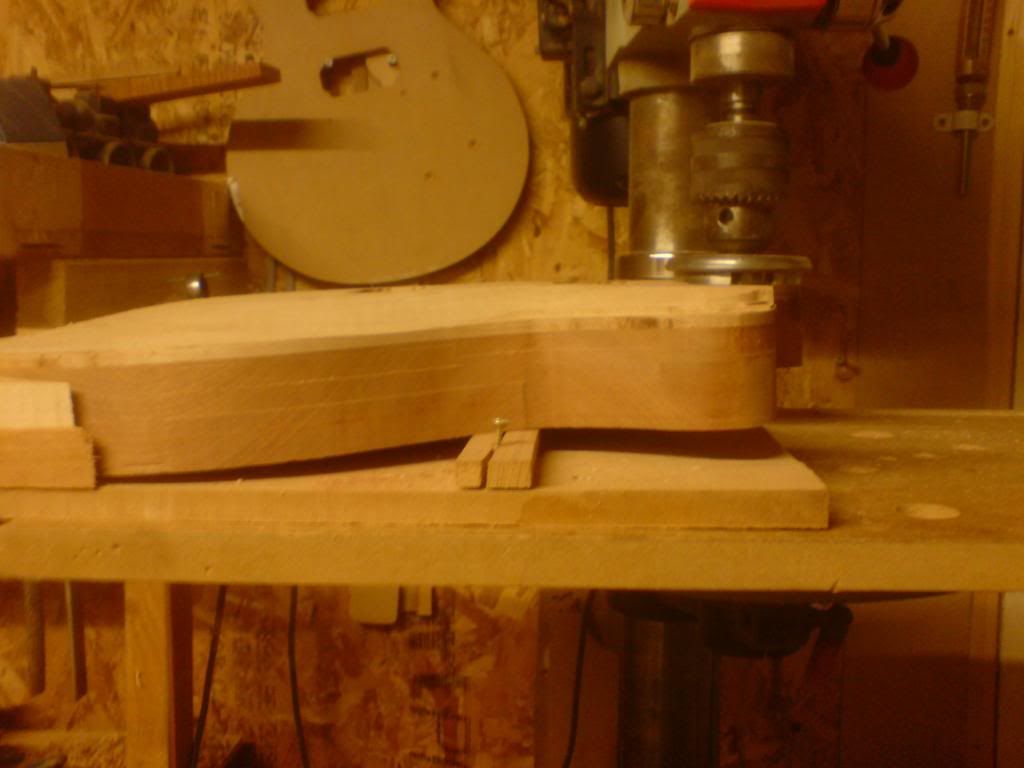
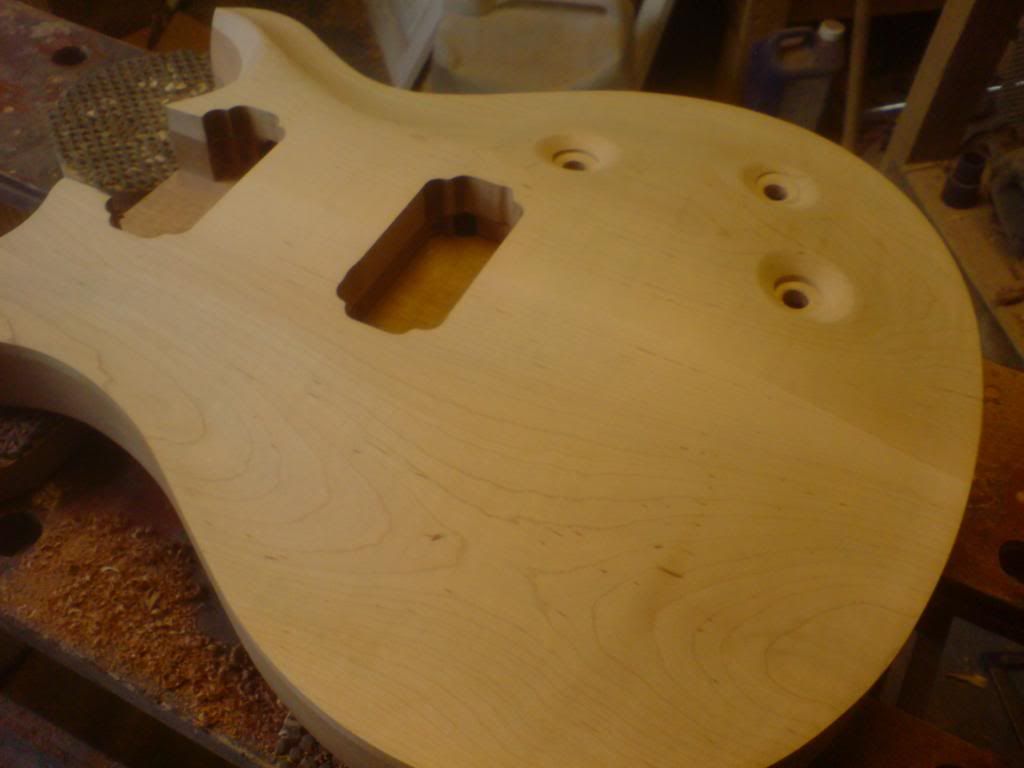
so following on from the router cuts, its on to the curved planes and scrapers to smooth out the steps and then on to the cavity routes. as this guitar is geting a wrap around bridge there's a little less routing to do than for the trem models. I used to route the neck pocket with the neck angle but now do it flat and cut the neck angle on the heel of the neck but I still cut the face angle using the safe t planer
the neck block still over deep waiting for the angle to be cut in a similar fashion as the top. I set the body down on the drill press table and zero my digital bevel box on it , then raise the horns up by sliding a stick underneath until I get the required angle and screw the stick in place. The back of the jig is made from the body offcut and holds it in place as its passed beneath the cutter
once the face angle is cut Its easier to finish carving the horns as they are greatly reduced in height at this point
and a little more work with the scraper followed by some work with a very sharp chisel to form the hollows the knobs sit in
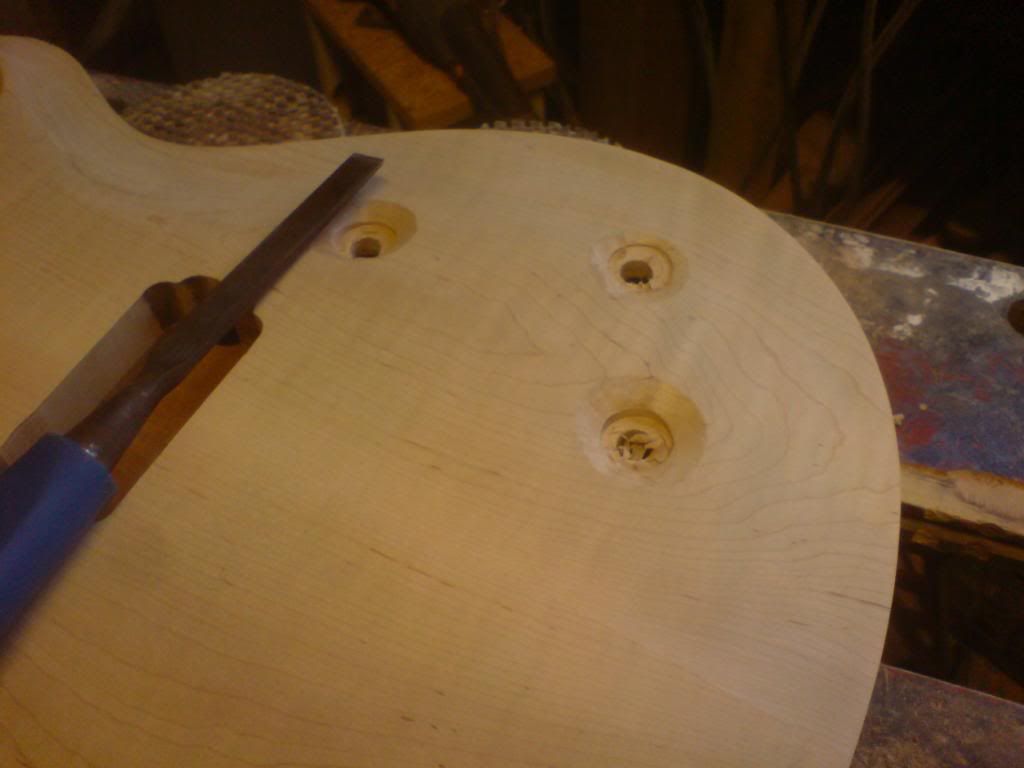
to get the bottom depth consistent I set the stop on the drill press and removr the centre of the hollow with a forstner bit before chamfering the edges with the chisel
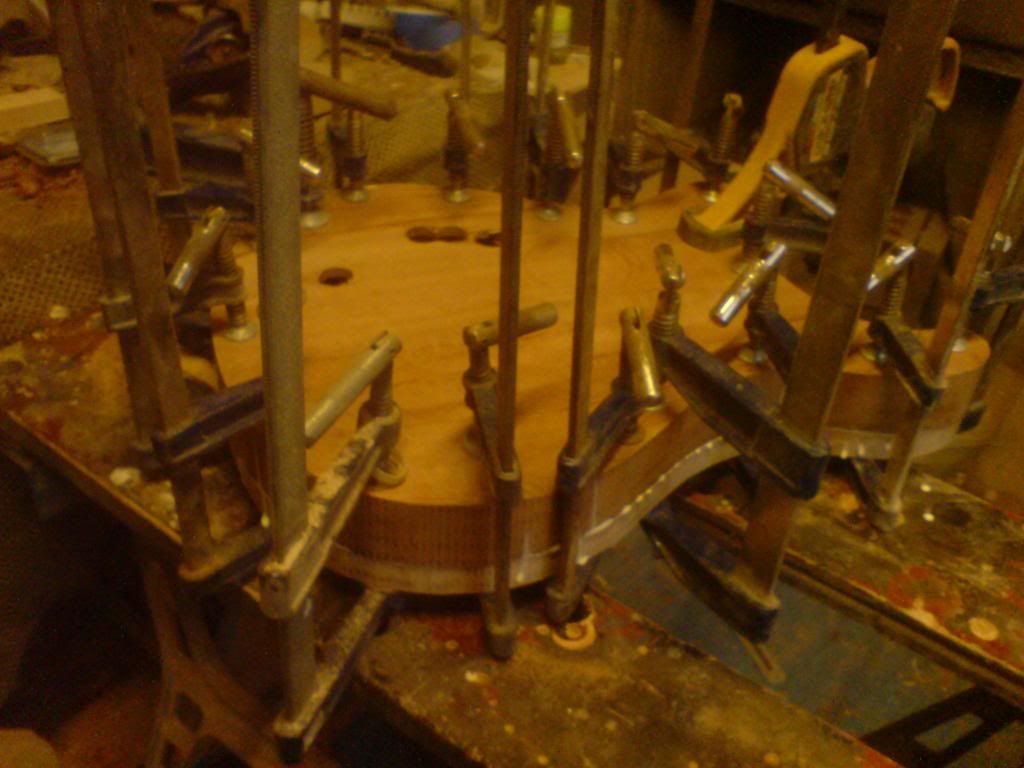
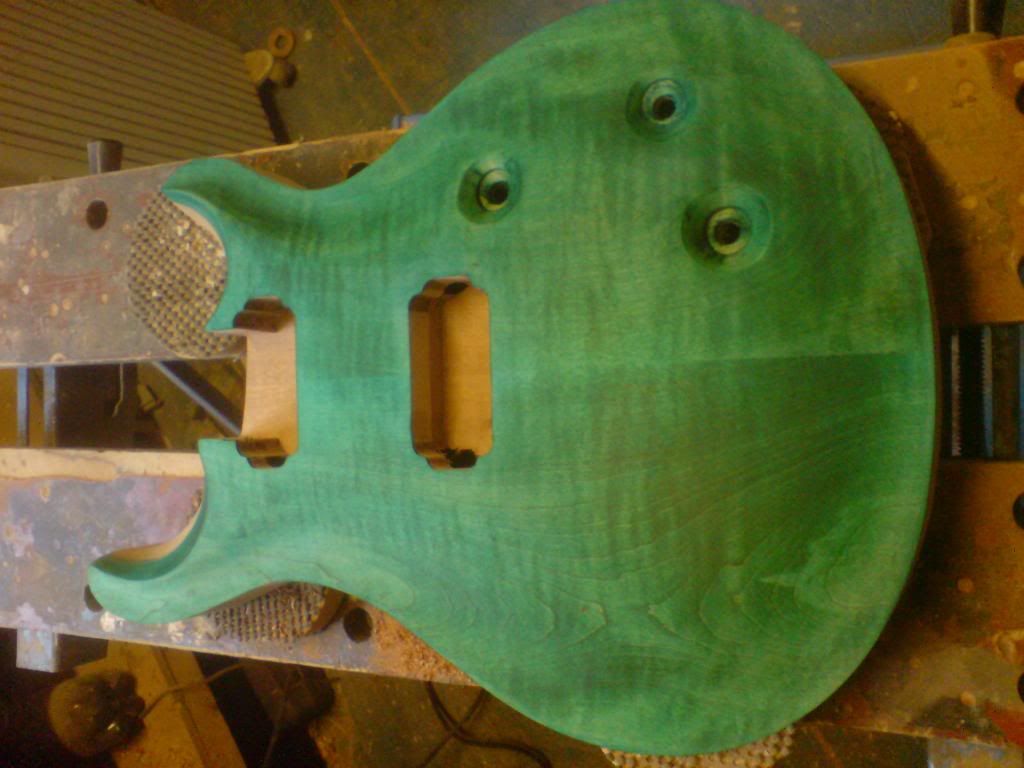
then it's time to sand , stain and sand again, the first stain coat was blut to help darken the figure and highlight and marks that need sanding out followed by green as thats the final colour although it was re sanded and re stained green another 3 times until I was happy with it
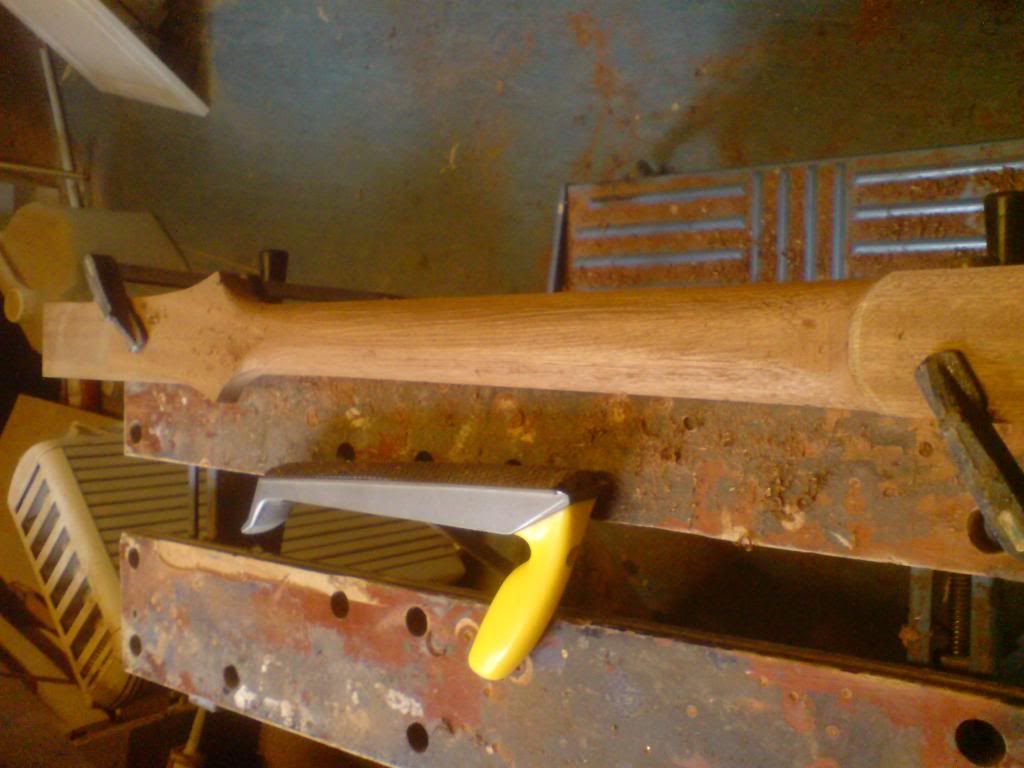
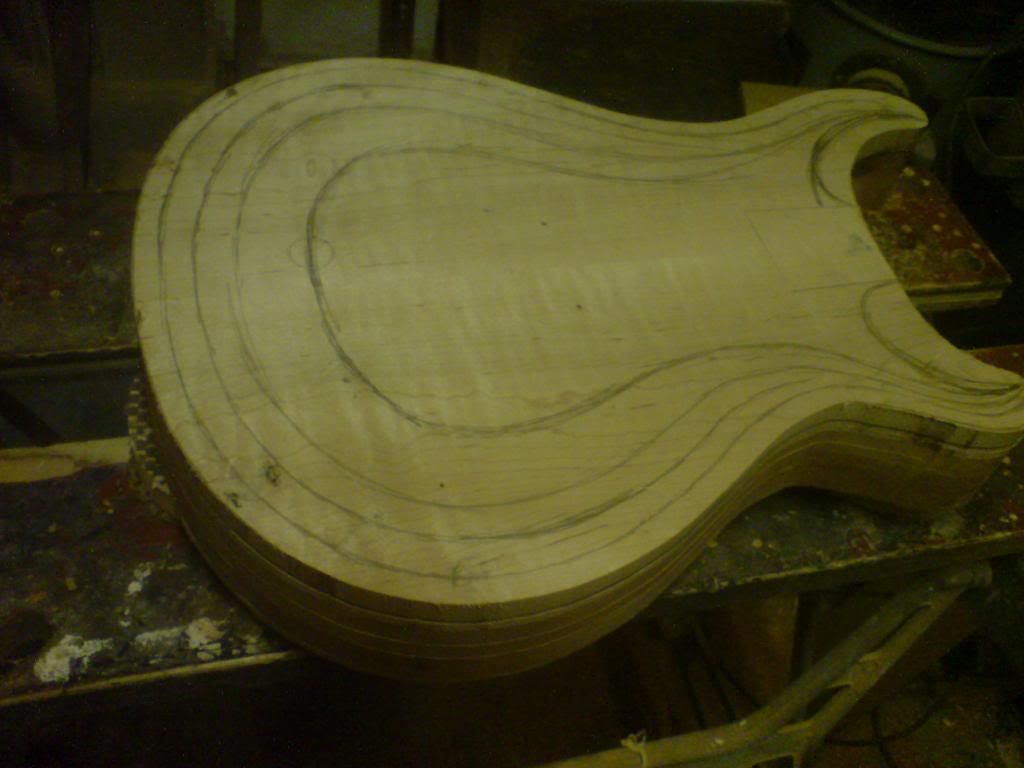
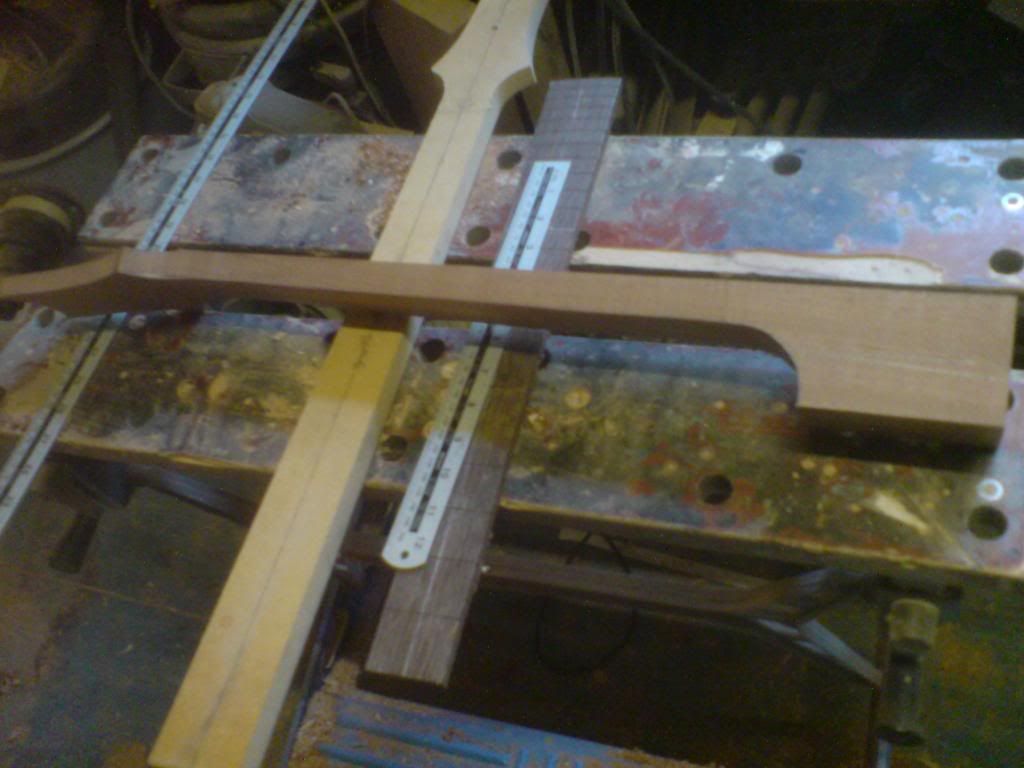
rough neck carving with the surform followed by scrapers then the fretboard is glued on and the carve is further refined with scrapers and then as a first for me the binding !
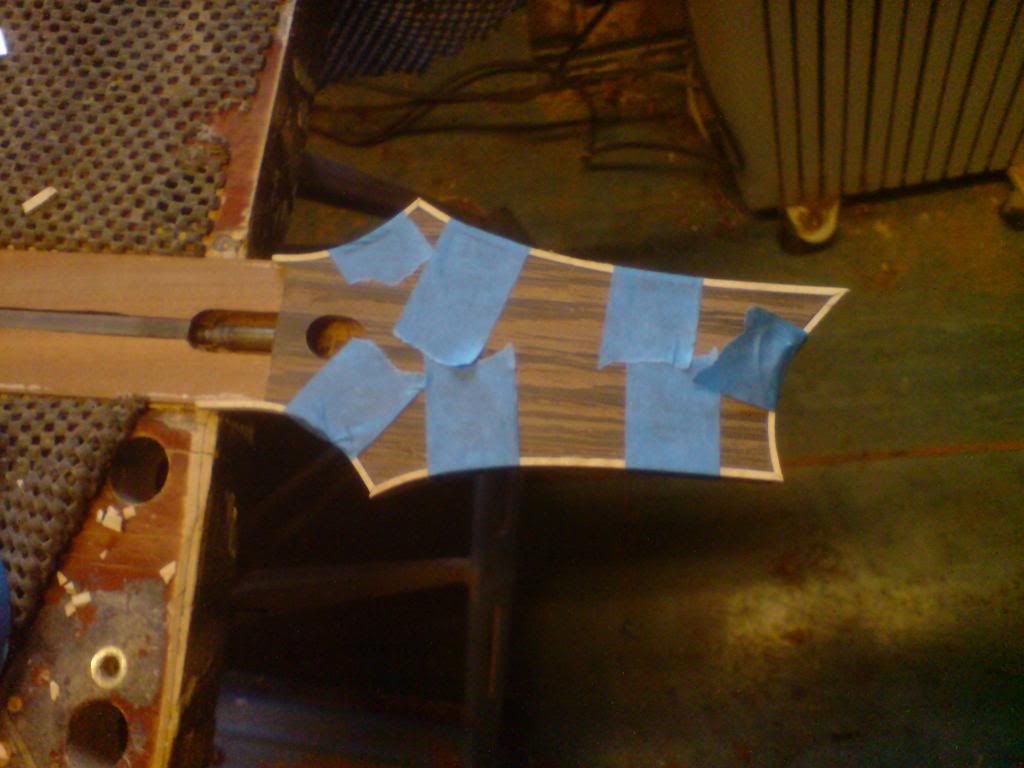
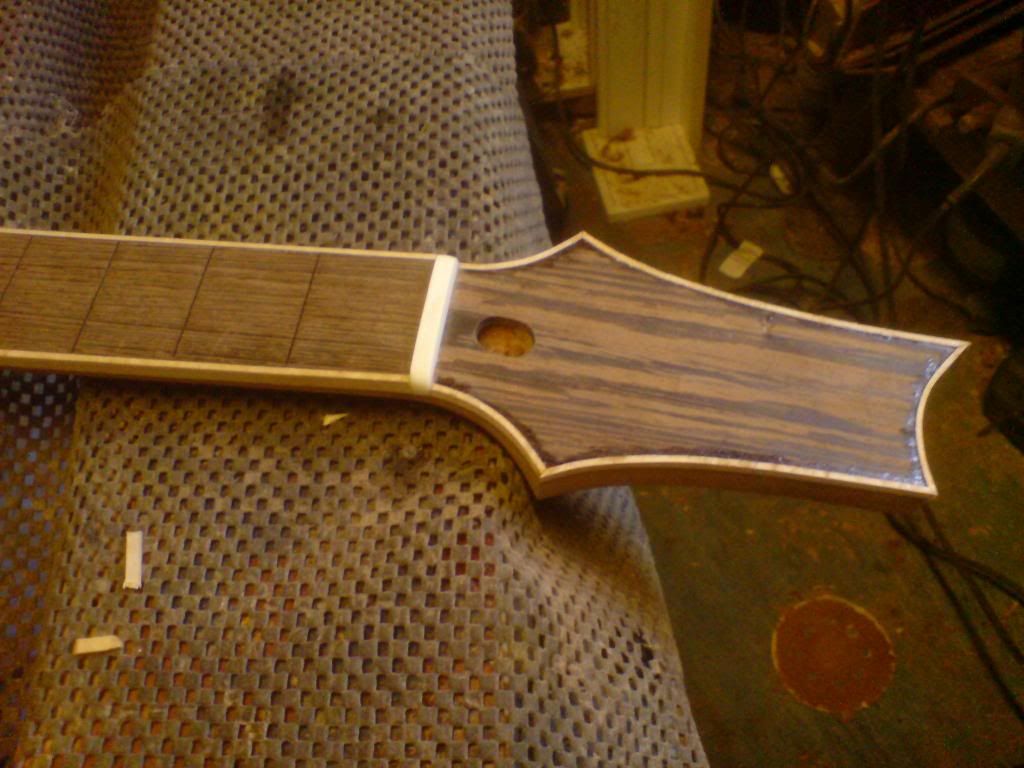
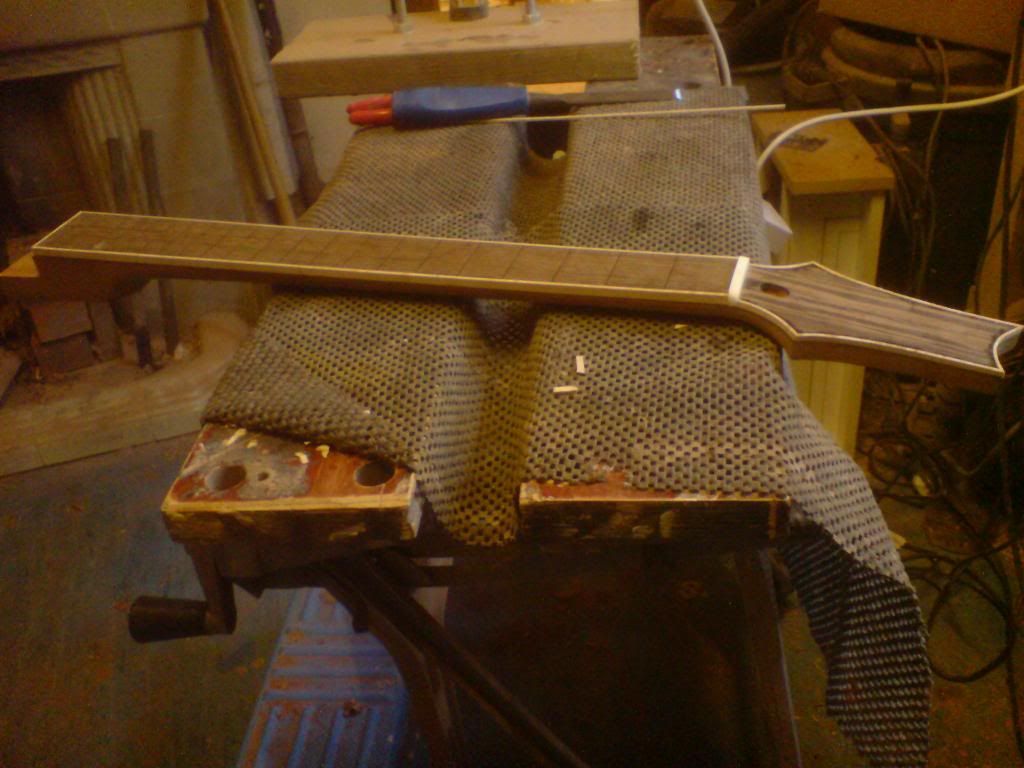
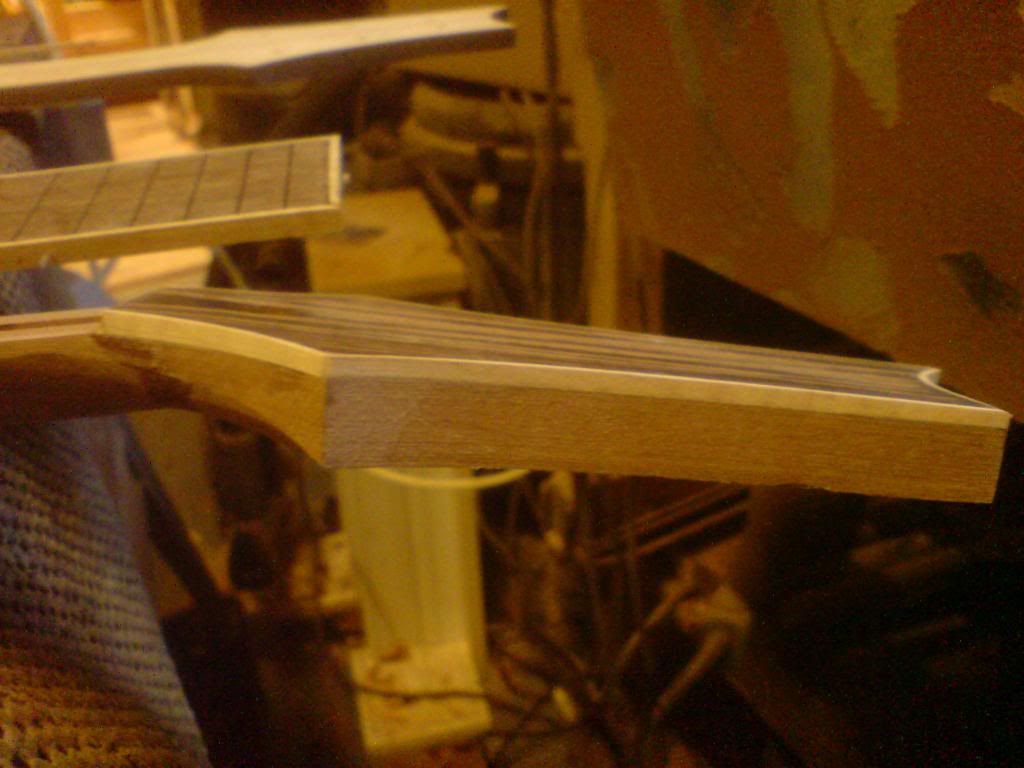
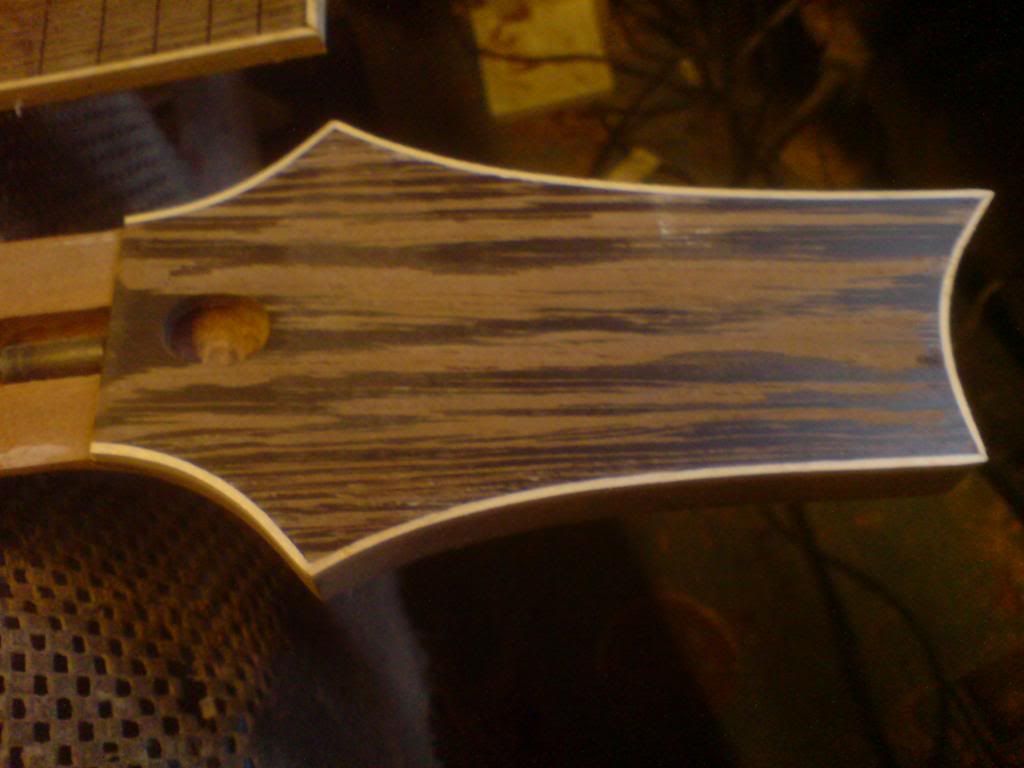
and the mitres in the binding are very neat ...even if I do say so myself! So thats pretty much where I'm at with this build. assembly and laquer will have to wait untill I file all the tangs back and install the frets....really should get a tang nipper, but they are very expensive here!I have all the hardware exept the bridge which I'll have to order soon . The pickups are Alnico II zebras wound to the same specs as the duncan Slash models , coil tap is getting wired in as a a push push pot instead of the usual push pull configuration and I'm going for the 3 way toggle switch also ..... considering another push push switch for phase reversal on the volume but as yet I'm undecided on that. I just realised I didn't mention the black MOP side dots and I may go for te PRS bird inlays including the eagle on the head as I found a supplier of them in vietnam and £20 to get them pre cut will save me a whole lot of time and probably end up cheaper than buying the blanks and cutting them myself
