Size 2 Martin build coming late October

Guitars by Grant Goltz of Hackensack, MN
Martin Higham
Posts: 140
Joined: Thu Dec 10, 2009 12:33 pm
Include Off Topic: Yes
Location: North Yorkshire, England

Re: Size 2 Martin build coming late October

Post by Martin Higham » Tue Mar 08, 2011 1:29 am

Hi Grant
There are a lot of first time or low budget builders on this Forum and I want to show them that it CAN be done for little expense and one can "make do" quite well with quick home made stuff. I hope this is helpful to some of you.
As a newcomer to the forum and one of the first time builders you refer to, I wanted to say how grateful I am for the time and effort you (and the others) put into threads like this. Your work is stunning and I am overwhelmed by the generosity of folks like you who are willing to share their skills and expertise with complete strangers. I've been looking through this thread with my jaw on the floor at the quality of the work and the attention detail. It's going to be a beautiful guitar and your work is truly inspirational - right down to the untidy workshop which is a particular encouragement to me :D
One of the happy problems I am having at the moment is working my way through the sheer wealth of information that has already been accumulated here. I am spending so much time in front of my computer that my wife is beginning to think I've got another woman :D
Anyway, keep up the good work Grant (not to mention Waddy T, Colin, Pat etc who are just a few of the other contributers I have browsed). I applaud your skill and your generosity and long may it continue.

I love this forum. :clap: :clap: :clap:

Martin
"What's he building in there? What is he building in there?.....
We have a right to know"
Tom Waits

User avatar
whitespruce
Site Admin
Posts: 4367
Joined: Thu Aug 21, 2008 6:53 am
Include Off Topic: Yes
Location: Northern Minnesota, USA

Re: Size 2 Martin build coming late October

Post by whitespruce » Thu Mar 10, 2011 10:11 pm

Well, thanks all for the words of encourgement. Always nice to know there is some interest :D

Oh, and I will start doing a few posts on simple shop made jigs after this weekend. I have to make another peghead drilling fixture, so that will be a good start.

Well, continuing on with the fingerboard. I cleaned up the fret slots a bit. used a flat X-Acto file that just fit kinda snug in the slot so it worked well to even things up
Image

Then I clamped on a support for the fingerboard overhang to keep it level while I radiused the fingerboard
Image
Just bandsawed it out of a short piece of 2 by 4. I can slip paper shims under the end of the fingerboard if need be.

So, next I started roughing out the fingerboard radius with a block plane
Image
Just trying to get rid of some of the excess wood so I can sand with a radius block

I chalk across the board so I can judge the progress and keep things even
Image
I alternate between the radius block and the level with sandpaper on the edge to keep things straight. I rechalk as needed and gradually work it all down until the chalk marks sand off even. What I am after is to get the board perfectly straight and with an even radius the full length.. I am using 100 grit on the radius block and the level. After I am satisfied with the shape, I sand down to 220 grit with the radius block. I will final sand after putting on the ivoroid binding.

So, before I put on the binding, i chamfer the slots a bit with a triangular file
Image
Won't be able to do this after the bindings are on.

So the bindings are glued on with the B-72 disolved in acetone.
Image
This stuff sticks very well and very fast, so needs for clamping are minimal

After the adhesive is dry, I use a small dental pick sharpened into a chisel end to clean any excess dried glue from the slots
Image
Then I sand the surface down to 600 grit, and I am ready for the frets.

More to follow.

G

User avatar
whitespruce
Site Admin
Posts: 4367
Joined: Thu Aug 21, 2008 6:53 am
Include Off Topic: Yes
Location: Northern Minnesota, USA

Re: Size 2 Martin build coming late October

Post by whitespruce » Thu Mar 10, 2011 10:49 pm

OK, ready to do the bar frets. I have never used these before, so this is a learning experience. I looked at the short tutorial on Frank Ford's site. Not really a step-by- step there, but enough basics to keep me from getting too far astray :?

So those of you who level the board and press in normal frets carefully so there is nothing to level and all comes out perfect.......FORGET IT, you can't do that with bar frets. Regular "T" frets sit down snug onto the top of the fingerboard. Bar frets sit down tight with the bottom of the fret slot. And you don't bend the bar frets to match the radius of the fingerboard....they go in straight and you file the tops to the fingerboard radius afterwards. WHOLE 'NOTHER ANIMAL :shock:

So, the first part of the process is to cut a fret to length. You can't just cut off a length with a nippers, these are some serious metal. I use a jeweler's saw and it works fairly well. Then you have to notch the end to fit over the fingerboard binding. I press the fret into a slot cut into a fingerboard offcut with the right length sticking out
Image

Then I hold it on the bench with the end sticking out (red arrow) and start filing
Image
And, no, I did not use that small file - it would have taken forever.

So here is what I am after
Image
You kinda have to eyeball the depth to get close to the depth of the end of the fret slot. And remember that this will be deeper at the nut end where the fingerboard is narrower than at the other end.

So here is a fret ready to go in
Image
I check how tight it is going to fit into the slot. I had to give the flat faces a few swipes with the small file to get a snug, but not too tight fit.

Than I wiped some glue into the slot to lubricate things and tapped it in with a small hammer
Image
Notice it sits taller on the ends than at the center. One thing you don't have to worry about is denting the top of the fret, because you will totally shape each fret later. Oh, and don't forget to pound down the fret ends tight to the binding.

So here are a few more frets in
Image
The main considerations are to have enough fret height in the center and have the ends tight to the binding. I planned my fret slot depth so the frets sit down solid to the bottom of the slot

So here are most of the frets in
Image
I will finish this tomorrow, Knocked off tonight at 8:00 as usual to eat.

So a few thoughts on bar frets. They cost 4 times the price as regular frets, even more than stainless steel. They take about twice the time to instal, even after a short learning curve. And they will take a considerable amount of time to file to shape and crown the tops.

But...they are accurate for the period of this replica guitar, so that is why I am doing it. Also, since they have at least 3 times the mass of metal as "T" frets, I suspect they will enhance the sound at least a bit.

More to come :mrgreen:

G

User avatar
Jim
Posts: 1756
Joined: Wed Aug 27, 2008 9:29 am
Include Off Topic: Yes
Location: Albany, Indiana

Re: Size 2 Martin build coming late October

Post by Jim » Fri Mar 11, 2011 8:34 am

It sure takes a lot of time and expertise to duplicate the bar frets exactly, Grant! I'm guessing that cutting, shaping and installing the frets would take more than one day to complete, right? And then there is still the work of leveling and shaping each fret--another day at least?

I can't wait to see this masterpiece guitar this summer!

Jim
"When people hear good music, it makes them homesick for something they never had and never will have." -- Edgar Watson Howe

User avatar
whitespruce
Site Admin
Posts: 4367
Joined: Thu Aug 21, 2008 6:53 am
Include Off Topic: Yes
Location: Northern Minnesota, USA

Re: Size 2 Martin build coming late October

Post by whitespruce » Sat Mar 12, 2011 10:35 am

Jim, yes, this is a time consuming. Basically sorta making frets from scratch, kinda like building a guitar starting with logs :lol:

What you are doing is just inlaying these bars of metal into the fingerboard and leaving enough metal sticking up so you can shape it into a fret. But it is interesting, and actually kinda rewarding when you get done. Oh, and while I do have the time, the expertise will come after a couple more fingerboards :?

So one of the additional things that one discovers is that you must not have too tight of a fit with bar frets. On standard frets, just the barbs on the tangs push against the sides of the slots and they sink into the wood. With bar frets, the entire face of the fret pushes against the wood and the wood does not give. The trick seems to be to thin the fret until you can almost seat it by hand, and just a couple of taps will finish it off. So how do I know? Well those last couple of frets that I put in were giving the fingerboard tongue a significant back bow that was difficult to flatten out. So I ended up removing the last 3 frets and thinning them down. The fingerboard tongue still backbows a bit because it is unsupported, but I can push it flat, so I think all will be OK. Hopefully the main neck part will be fine. For sure, it will not need a truss rod or any other stiffener to prevent an upbow.

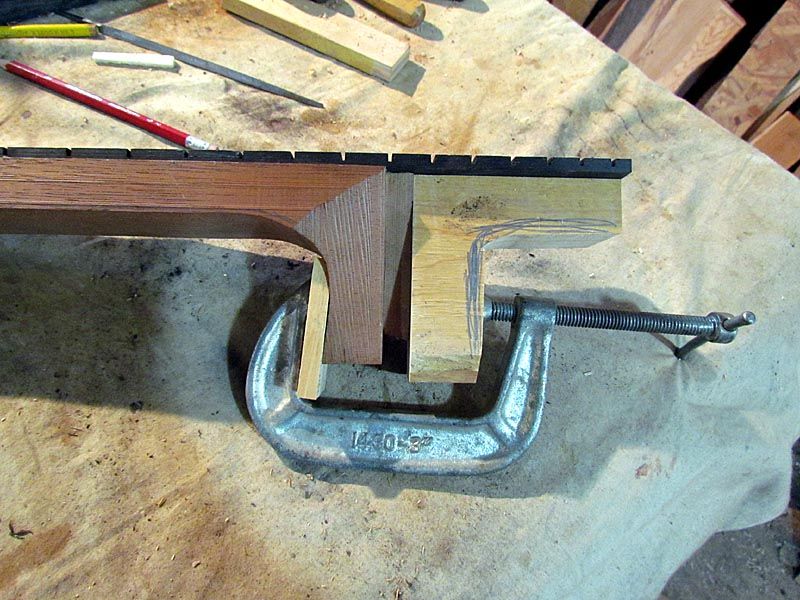
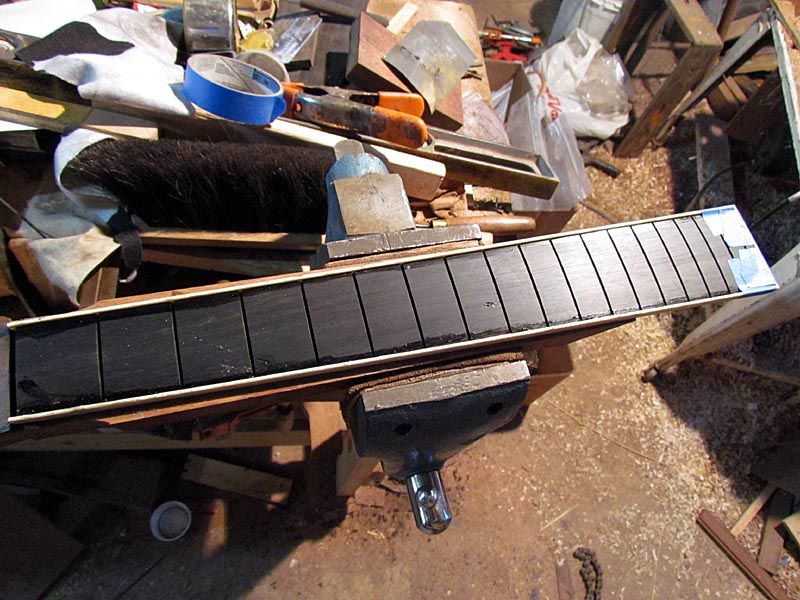
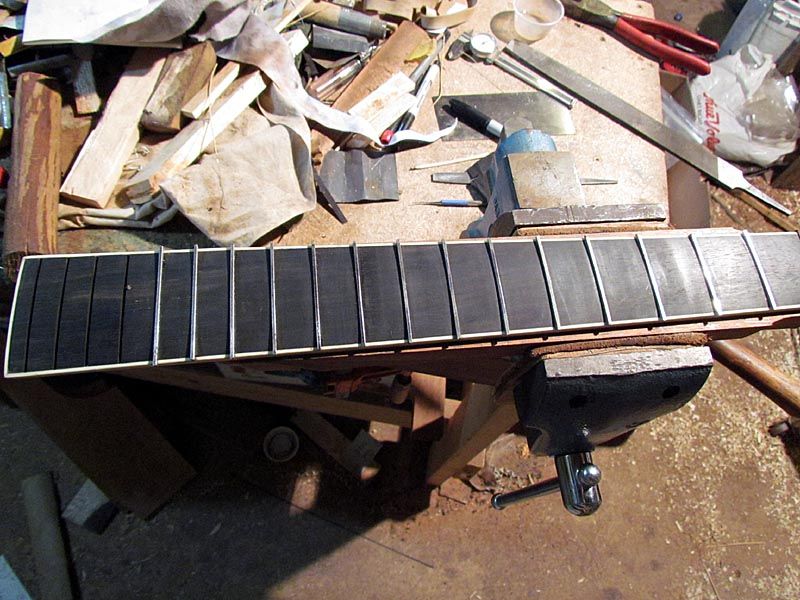
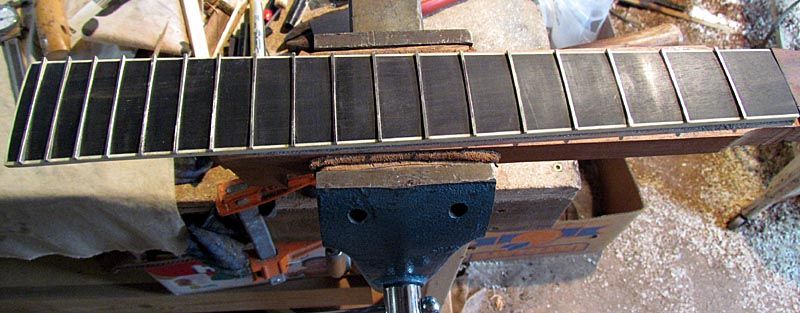
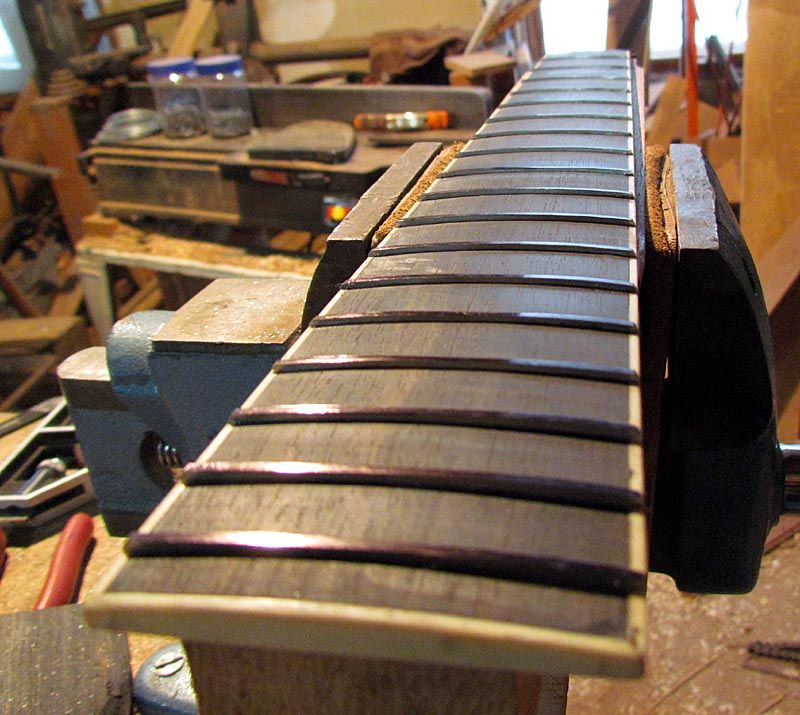
So here is the fingerboard with all the frets in place
Image

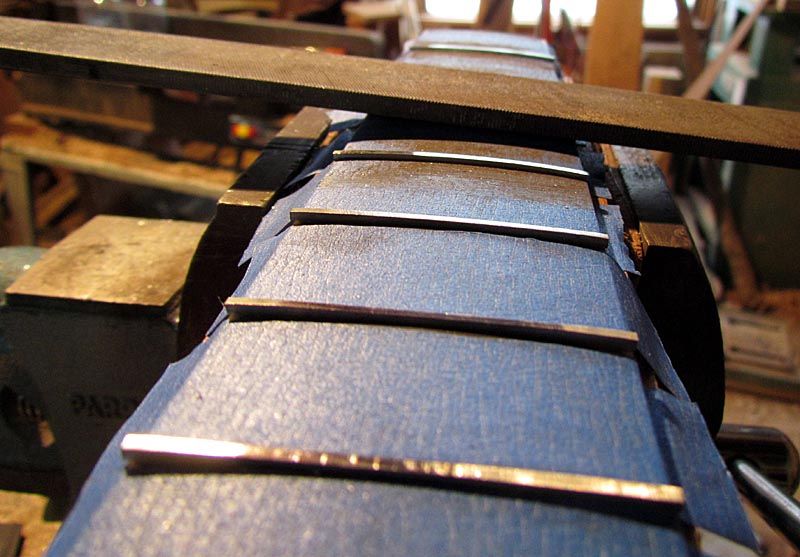
And here it is taped up so I can shape the frets to the fingerboard radius
Image

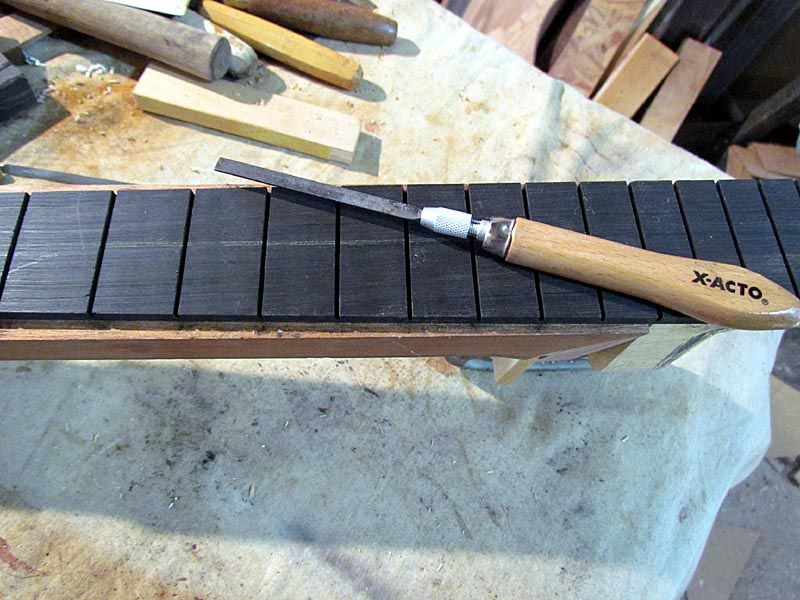
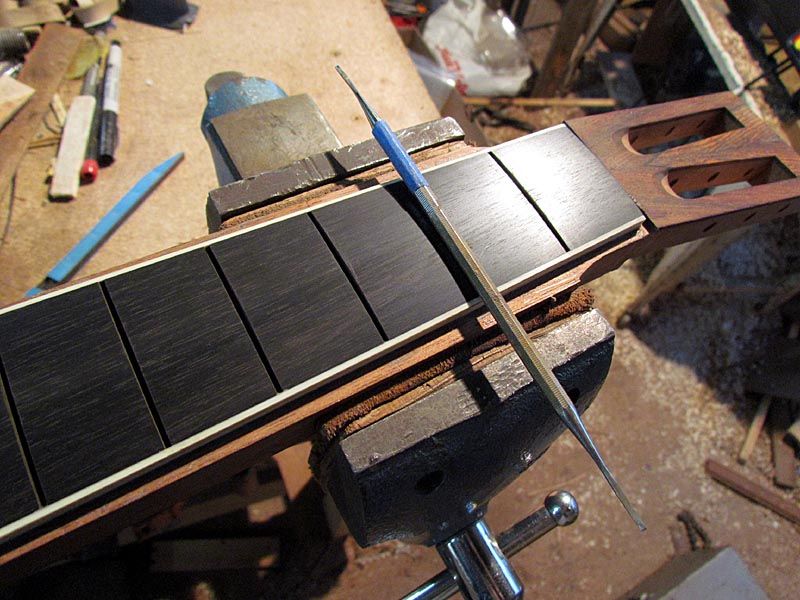
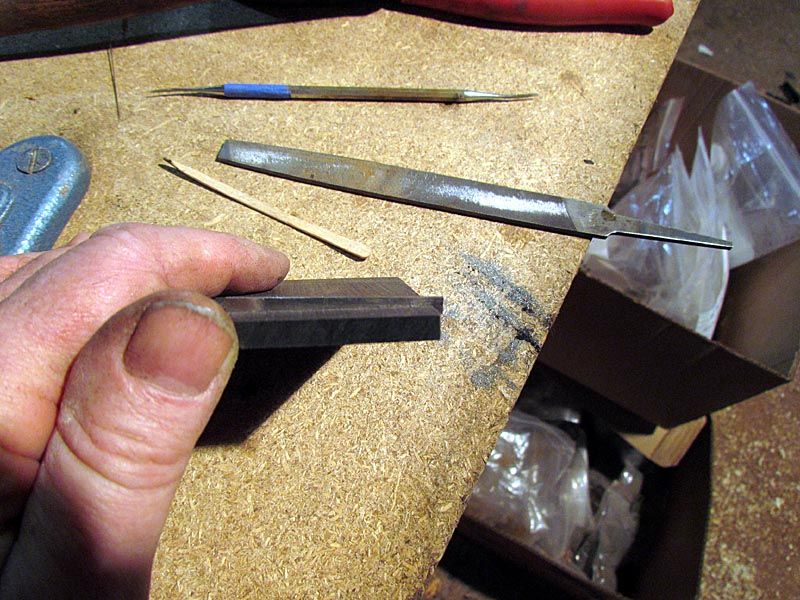
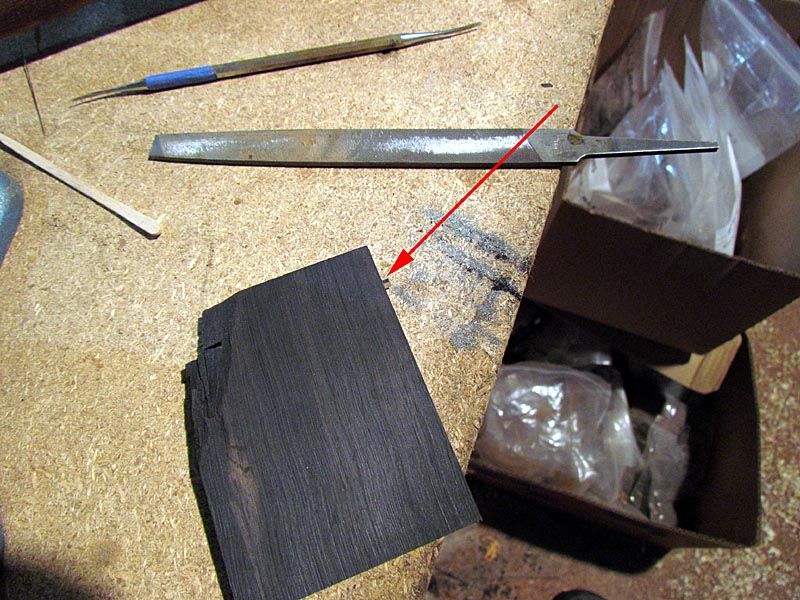
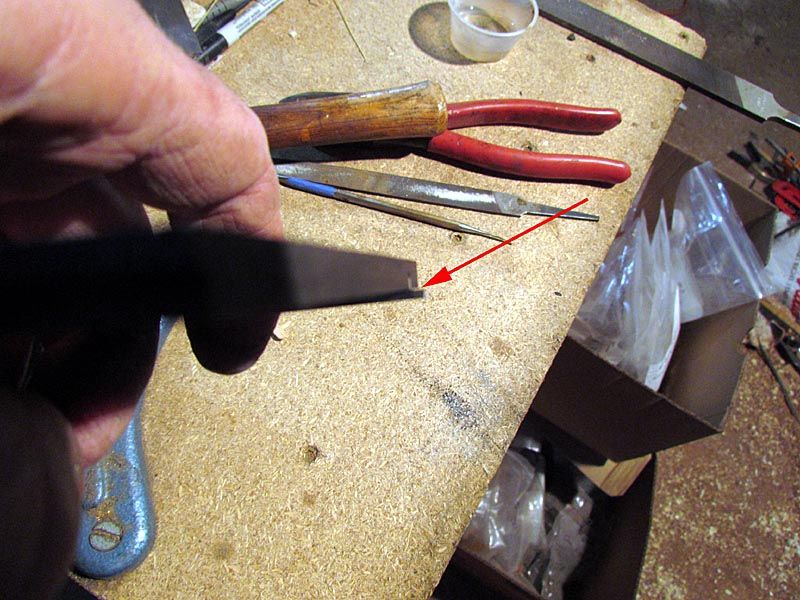
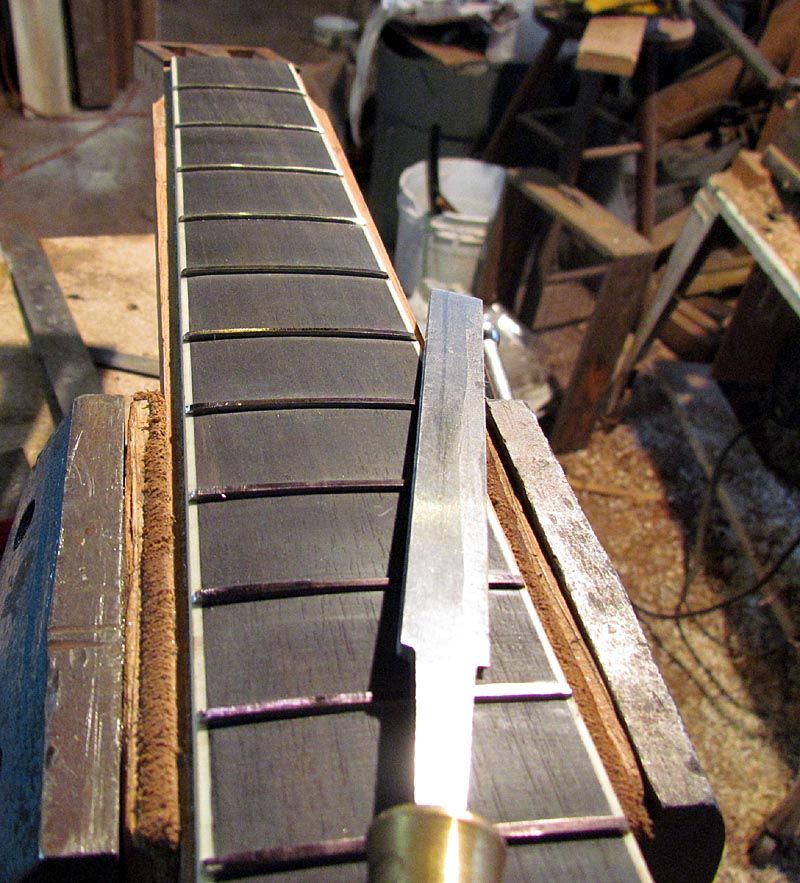
So to shape the frets, I took a reject ebony binding strip and sanded it down to a tad over .040" thickness. I cut it into 2 pieces and glued them to a file
Image
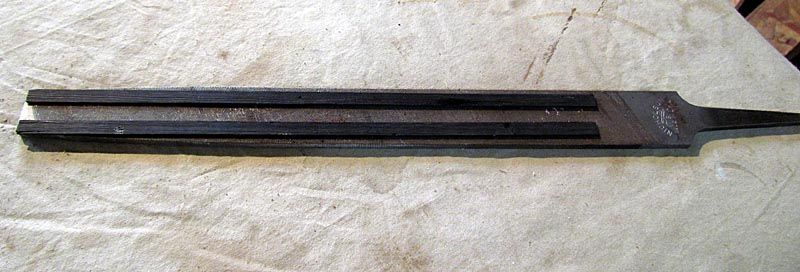
These will serve as thickness guide rails that will ride on the curvature of the fingerboard as the frets are shaped

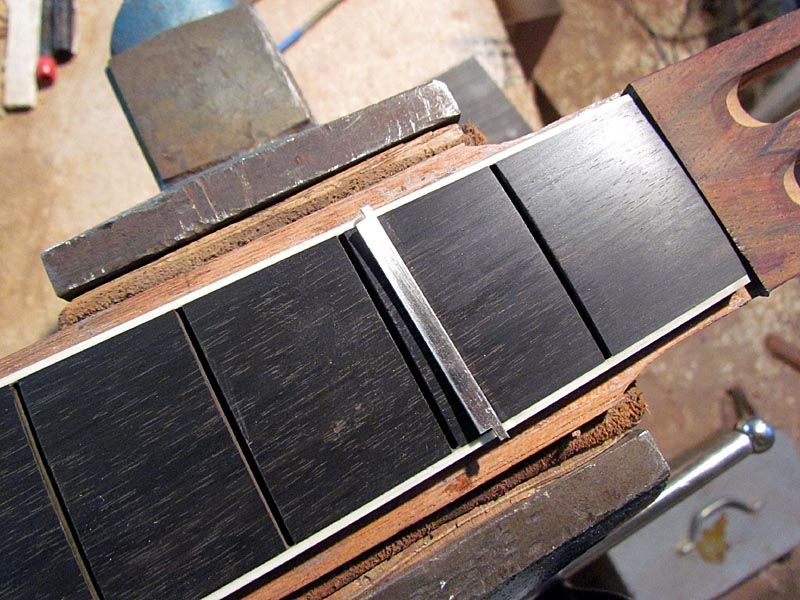
So here you can see a shaped fret (closest to the file, compared to those yet to be shaped
Image
So I just continued the process on the rest of the frets. It took about 5 minutes or so on each fret. Actually I worked on several frets at a time because they heated up quite a bit from filing and I had to give them time to cool

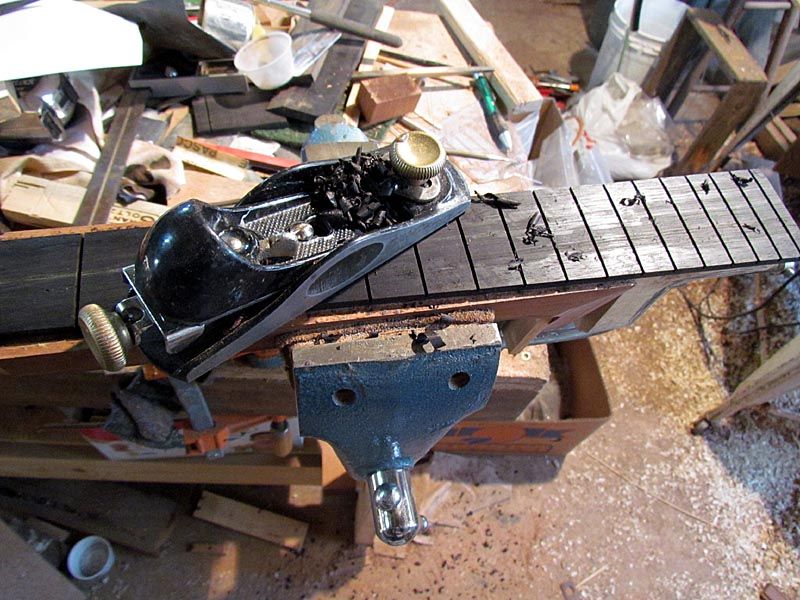
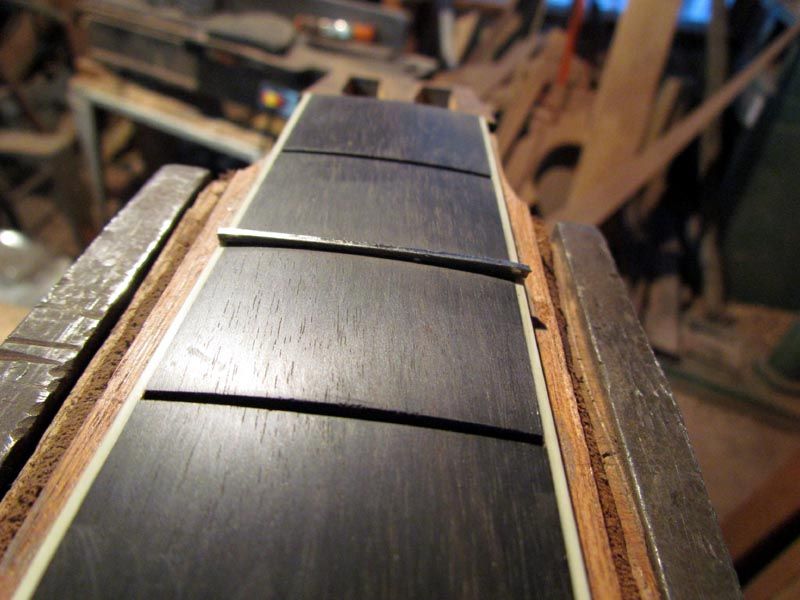
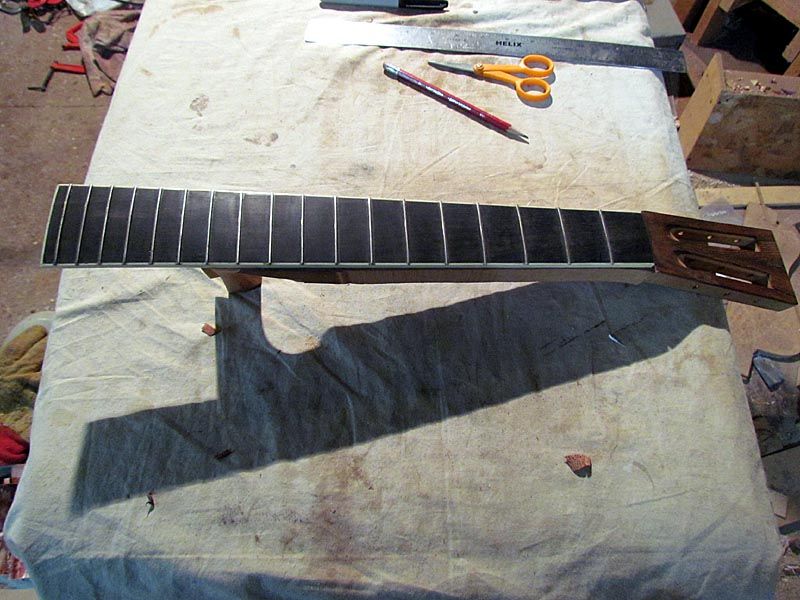
So here they are pretty much filed and the tape removed
Image

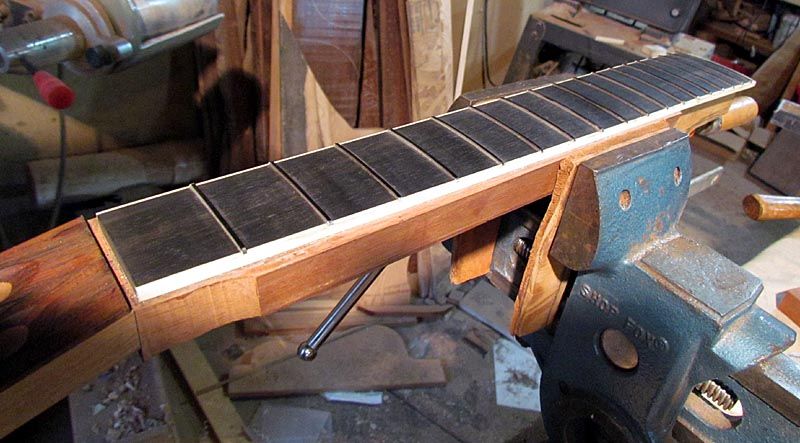
You can probably see that the frets, especially near the fingerboard end, need a bit more shaping, especially on the treble side
Image

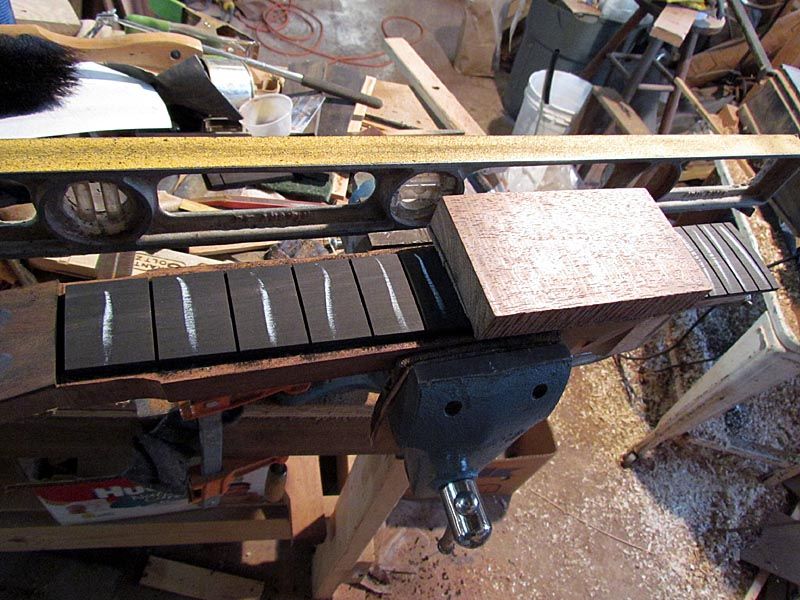
So I marked the tops with black marker and fine tuned the shape and checked for level. Took a bit of fiddling, but all came out decent. Then I used a regular fret crowning file and rounded the frets
Here, the ones closest to the nut have been done, the rest are still square-topped
Image

Here, they have all been rounded off
Image
Still some fine tuning and cleanup and polishing to do, but I will wait with that until after the neck is shaped.

As for time, it took 3 or 4 hours to cut and instal the frets, and I suppose I messed with the shaping and such for another couple of hours. I learned a lot in the process, so the next time will probably be neater and a bit faster. I kinda enjoyed doing this....makes regular fretting seem kinda bland :lol: :mrgreen:

So next, I will carve the neck to shape.

Stay tuned,

G

User avatar
Dennis Leahy
Dishwasher
Posts: 7082
Joined: Thu Aug 21, 2008 1:59 am
Include Off Topic: Yes
Location: looking for a place to live

Re: Size 2 Martin build coming late October

Post by Dennis Leahy » Sat Mar 12, 2011 12:04 pm

Thanks for the very cool documentation of this process. Are you going to deliver this guitar to me, or do I have to come and get it?

Dennis
Dennis Leahy

gilmoreguitars
Posts: 1029
Joined: Sun Aug 24, 2008 9:58 am
Include Off Topic: Yes
Location: Red Deer, Alberta
Contact:

Re: Size 2 Martin build coming late October

Post by gilmoreguitars » Sun Mar 13, 2011 11:56 am

Grant
You are the man!!!
david
"I was gonna get up off this barstool just as soon as I could figure it out..."
http://www.gilmoreguitars.ca

User avatar
Steve Kinnaird
Posts: 1111
Joined: Thu May 07, 2009 10:05 pm
Include Off Topic: Yes
Location: Nacogdoches, TX
Contact:

Re: Size 2 Martin build coming late October

Post by Steve Kinnaird » Thu Mar 17, 2011 7:58 am

Tip 'o the hat to you, Grant.
I don't think I would have taken the pains of authenticity all the way to bar frets.
But what an experience when it's all said and done!
Good work.

Steve

Post Reply